First experiments with Raspberry Pi Compute Module 4
I’m one of those people with boxes full of devices, waiting to be used in experiments… And from time to time, I dive into those boxes to fill in the gaps in between other tasks.
Last week I was working on a blog post about Azul Zulu with JavaFX support for ARM systems, like the Raspberry Pi.
These are all the links of my presentation at BeJUG in Waregem, Monday, July 24, 2024.
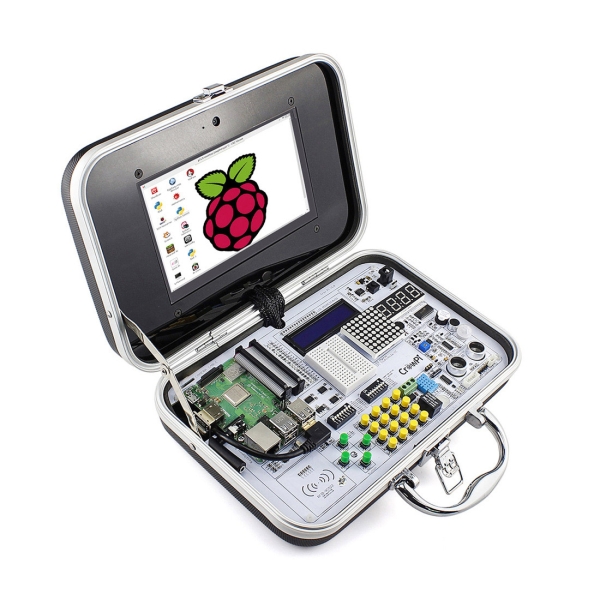
People who follow me, know I’m a big fan of the Elecrow CrowPi, the little suitcase with a Raspberry Pi and a lot of electronic components included.
These are all the links of my presentation at the JChampions Conference, Monday January 29, 2024, 16:00 CET.
On July 15th of 2023, I published a post here about my initial experiments with CRaC on the Raspberry Pi.
One of the most “fancy” electronic components is definitely a LED strip. It’s really cool to control a long strip of lights with only a few lines of code… But, there is a problem.
These are all the links of my presentation at Devoxx Belgium, Wednesday 12:00-12:50, Room 7.
Yes, the Raspberry Pi Operating System is awesome! But the Pi4J project made it if even more awesome by adding “goodies” for Java developers!
To make it as easy as possible to get started with Java on the Raspberry Pi to interact with electronic components, I started a new section on the Pi4J website with JBang examples.
With the April release of the Zulu Build of OpenJDK, Azul announced the integration of CRaC in its version 17 of Java for Linux.
On Foojay.io, Bazlur Rahman is publishing a series of interviews with various people from the OpenJDK community.
More than two years ago, I blogged about the use of the Raspberry Pi as an HDMI camera for the ATEM Mini.
Exactly one year ago, in December 2021, I published three articles of MQTT messaging with Raspberry Pi, Raspberry Pi Pico and HiveMQ Cloud.
After my talk at J-Fall I got the question what is required to get started with #JavaOnRaspberryPi.
Links used in my talks at Devoxx 2022 (Antwerp, Belgium) and J-Fall (Ede, The Netherlands).
As I’m becoming a senior developer in terms of age, I’ve transitioned from one language to another.
If you create a new SD card for a Raspberry Pi with the operating system, you can choose the “Raspberry Pi OS Full (32-bit)” edition, which includes Java 11.
As part of the Pi4J project, we created an example game with JavaFX and FXGL that uses an Arcade kit with a Joystick and big push buttons.
After my first 3D-printing experiment “A 3D printed multi-functional tripod (well actually quadpod)”, I wanted to clean-up my desk.
The power of technology is something that keeps amazing me every day. The number of things you can do with some small electronic components and a bit of programming is overwhelming.
As I wrote in my previous post “Using a Raspberry Pi as HDMI camera”, you can build your own inexpensive HDMI-camera with a Raspberry Pi Zero and a camera module.
TL;DR; Yes, you can build your own Raspberry Pi HQ camera to use as an HDMI source for the ATEM Mini Looking for an affordable camera with HDMI output?
In the previous two posts in this series, we used Java on the Raspberry Pi mini-computer to send sensor data to HiveMQ Cloud, and visualize it on a dashboard.
In the previous post we started our discovery of HiveMQ Cloud with Java on the Raspberry Pi.
A few years ago I did my first experiments with an MQTT server (Mosquitto) running on a Raspberry Pi to connect an Arduino and Raspberry Pi for the drumbooth of my son.
The Raspberry Pi in combination with an inexpensive touch screen, makes a perfect controller for a machine or game console.
In a previous post “Getting Started with FXGL Game Development” we already have taken a look at the FXGL game development framework developed by Almas Baimagambetov.
Are you a serious Java-developer looking for a fun project? Or want to learn something completely new and use your Java-knowledge to control electronic components?
Today I could give my talk “Having fun with Java and JavaFX on the Raspberry Pi” at the JFXDays.
Today I had my first Devoxx talk, after my Java virtual talk a few weeks ago at the “Oracle Groundbreakers APAC Virtual Tour 2020” conference (21/10)!
After my virtual conference talk “Java and JavaFX on the Raspberry Pi” at the “Oracle Groundbreakers APAC Virtual Tour 2020”, I got in touch with some people who were working on JavaFX 3D in the past, and were curious how that would behave on the Raspberry Pi.
Yesterday evening Ubuntu announced the release of Ubuntu 20.10 “Groovy Gorilla” with desktop support for the Raspberry Pi 4 (4 and 8Gb).
Today I had the honor to speak at the “Oracle Groundbreakers APAC Virtual Tour 2020” conference.
The OpenJDK sources are now fully available and developed on GitHub as a result of Project Skara.
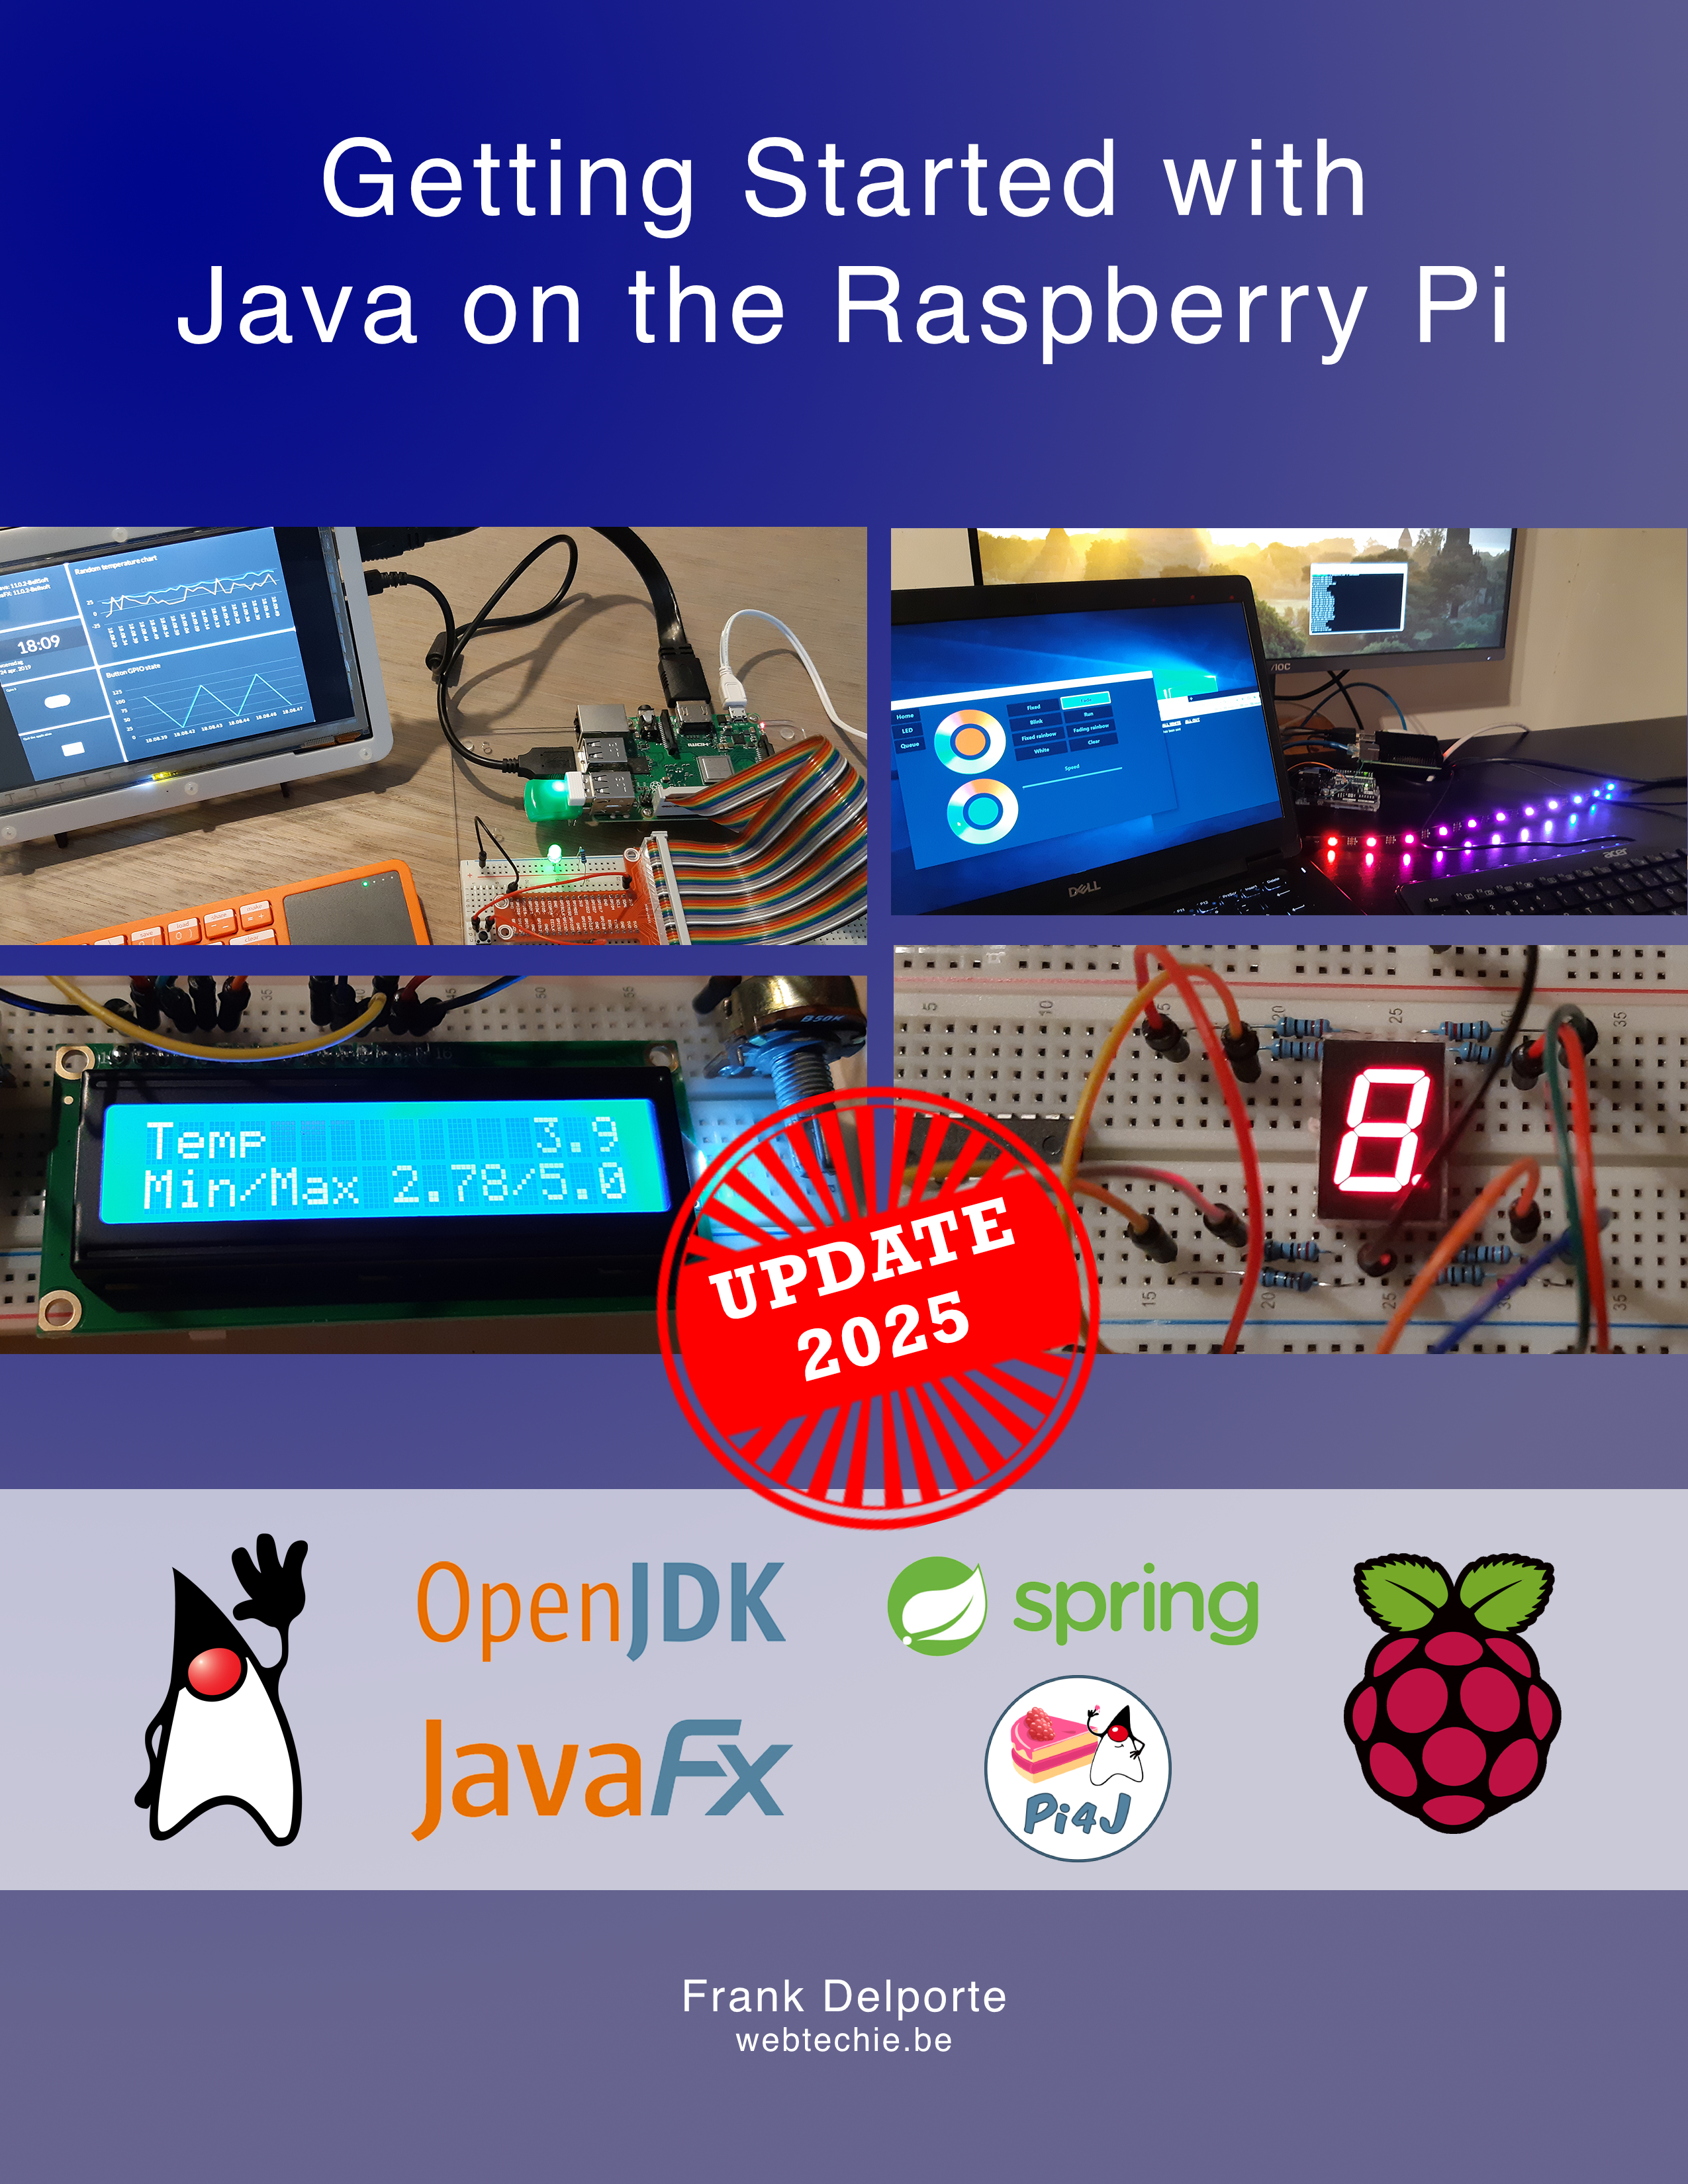
In my book “Getting Started with Java on the Raspberry Pi”, I give more info about IDEs (= Integrated Development Environment) for Java development.
A topic which comes up from time to time in questions related to Java and the Raspberry Pi, is the support of the 4th version of this board in combination with Pi4J, “the friendly object-oriented I/O API and implementation library for Java programmers to access the full I/O capabilities of the Raspberry Pi “.
A micro SD card is the default way to add an operating system to the Raspberry Pi.
Thanks to Twitter and LinkedIn I got into contact with several developers who are doing Java stuff on Raspberry Pi and I want to share those projects with you as they can be an inspiration for all of us to get started with Java development on the Raspberry Pi.
For this post I did some experiments with Java 15, reusing the Ubuntu 64bit SD card which was also used for the earlier post “Comparing a REST H2 Spring versus Quarkus application on Raspberry Pi”.
In this article “Java vs Python - Which Programming Language Should Programmer Learn First?” by Javin Paul, you can find a comparison between the two most popular programming languages.
In a previous post “Installing Java and JavaFX on the Raspberry Pi”, you can read how to install BellSoft LibericaJDK to be able to run JavaFX applications with a graphical user interface on a Raspberry Pi with ARMv7 or ARMv8 processor.
Goal of this comparison In my previous post “A Spring REST and H2 database application on the Raspberry Pi” an example was described to store sensors and measurements in a H2-database through REST API’s with a Spring application on the Raspberry Pi.
Java on Raspberry Pi The “Pi” in the name of the Raspberry Pi refers to Python, but as a Java developer I love to know and experiment with the various Java frameworks I also use at work.
In my book “Getting Started with Java on Raspberry Pi” I dedicated a chapter on Pi4J, the leading framework to combine the power of Java with the hardware capabilities of the Raspberry Pi.
In “The MagPi Magazine” #93 and #94, published by the Raspberry Pi Foundation, you can find two articles which describe how you can get started with Java, Maven, Visual Studio Code and Pi4J on the Raspberry Pi.
One of the most read articles on this blog is about the installation of a recent Java on Raspberry Pi (March 13, 2019), so it’s time for an update!
Based on multiple examples from my book “Getting started with Java on Raspberry Pi”, I created a touchscreen controller for the drum booth of my son.
While looking for a cheap and nice component to demonstrate the use of SPI (Serial Peripheral Interface) I found out this 8x8 matrix LED display on a board with a MAX7219 chip is the perfect piece of hardware!
Pi4J contains helper methods to minimize the work needed to use certain hardware modules on the Pi with Java.
Trisha Gee (Coder, blogger, speaker, Developer Advocate at JetBrains, @trisha_gee), which I interviewed for “Chapter 4: Choosing an IDE”, and Josh Long (Spring Developer Advocate at Pivotal, @starbuxman) worked together on a blog series in which they showed the power of reactive data produced by a Spring application.
In my book I explain the use of bits and bytes by using a shift register SN74HC595 IC and 5101AS LED number display.
The best way to understand and learn something new, is to document it yourself. That’s what I’m doing in every step for my book-in-progress.
One of the example applications in my book “Getting started with Java on the Raspberry Pi” combines a JavaFX application with Mosquitto on the Raspberry Pi to control a LED strip with an Arduino.
Some time ago I ordered a “Breadboard Pi Bridge - Pi Ports to Breadboard in Numerical Order” and reworked my Pi test setup from the previous blogs.
What is Pi4J See https://www.pi4j.com/1.2/index.html This project is intended to provide a friendly object-oriented I/O API and implementation libraries for Java Programmers to access the full I/O capabilities of the Raspberry Pi platform.
As I was learning Spring Boot myself, I thought the easiest way to learn was trying to build an example and write about it.
While trying out what Pi4J can do, I found it could easily be extended with a JavaFX application to provide info about the headers on a Pi board.
As my daily work mainly is Java and back-end stuff on “real servers”, I set myself for 2019 as a personal goal to experiment with Java 11 on a Raspberry PI.
What we will do Based on the previous blog posts we can install and run Java 11 we have a minimal JavaFX 11 application which runs fine on a PI So there is one “small” step remaining: build something which actually does something on the PI, talking to the GPIO’s and show what’s happening.
In part 2 of this blog series Java 11 was successfully installed on a PI.
After my first (and failed) attempt to get Java 11 running on an old Raspberry PI, I bought a brand new 3 Model B+ version.
One of my goals for 2019 is experimenting with the latest Java and JavaFX versions on a Raspberry PI.
As a self-study project I experimented to create a Pong game + slide shown on a Raspberry PI with Tkinter, GPIO and physical buttons.
Java Quick Start Is Java your first programming language and do you want to get up and running fast?
For sale as ebook on Leanpub, with continuous free updates! Introduction When I first managed to blink a LED connected to a Raspberry Pi with Java, I was super excited!