How to Share Your Work With a Movie or Podcast
If you are blogging about your work, at some point, you’ll want to share your experience with a movie or in a podcast. In this post, I want to share the tools I’m using and give some advise to get you started with a small (or bigger) budget…
Audio
For the audio part there is one very important rule: “Garbage in = Garbage out”. Yes, you can apply a lot of filters and effects in a later phase, but you can’t make a bad recording, sound good. You need a clear and good recording as a starting point!
Microphone
A good microphone is the minimal requirement, and no, your computer microphone is not good enough. Ideally you should use a microphone that you can place about +- 10cm from your mouth, a bit out of center.
Some examples:
- Blue Snowball
- Rhode recording kit: includes an interface to easily connect and adjust the volume of a headset
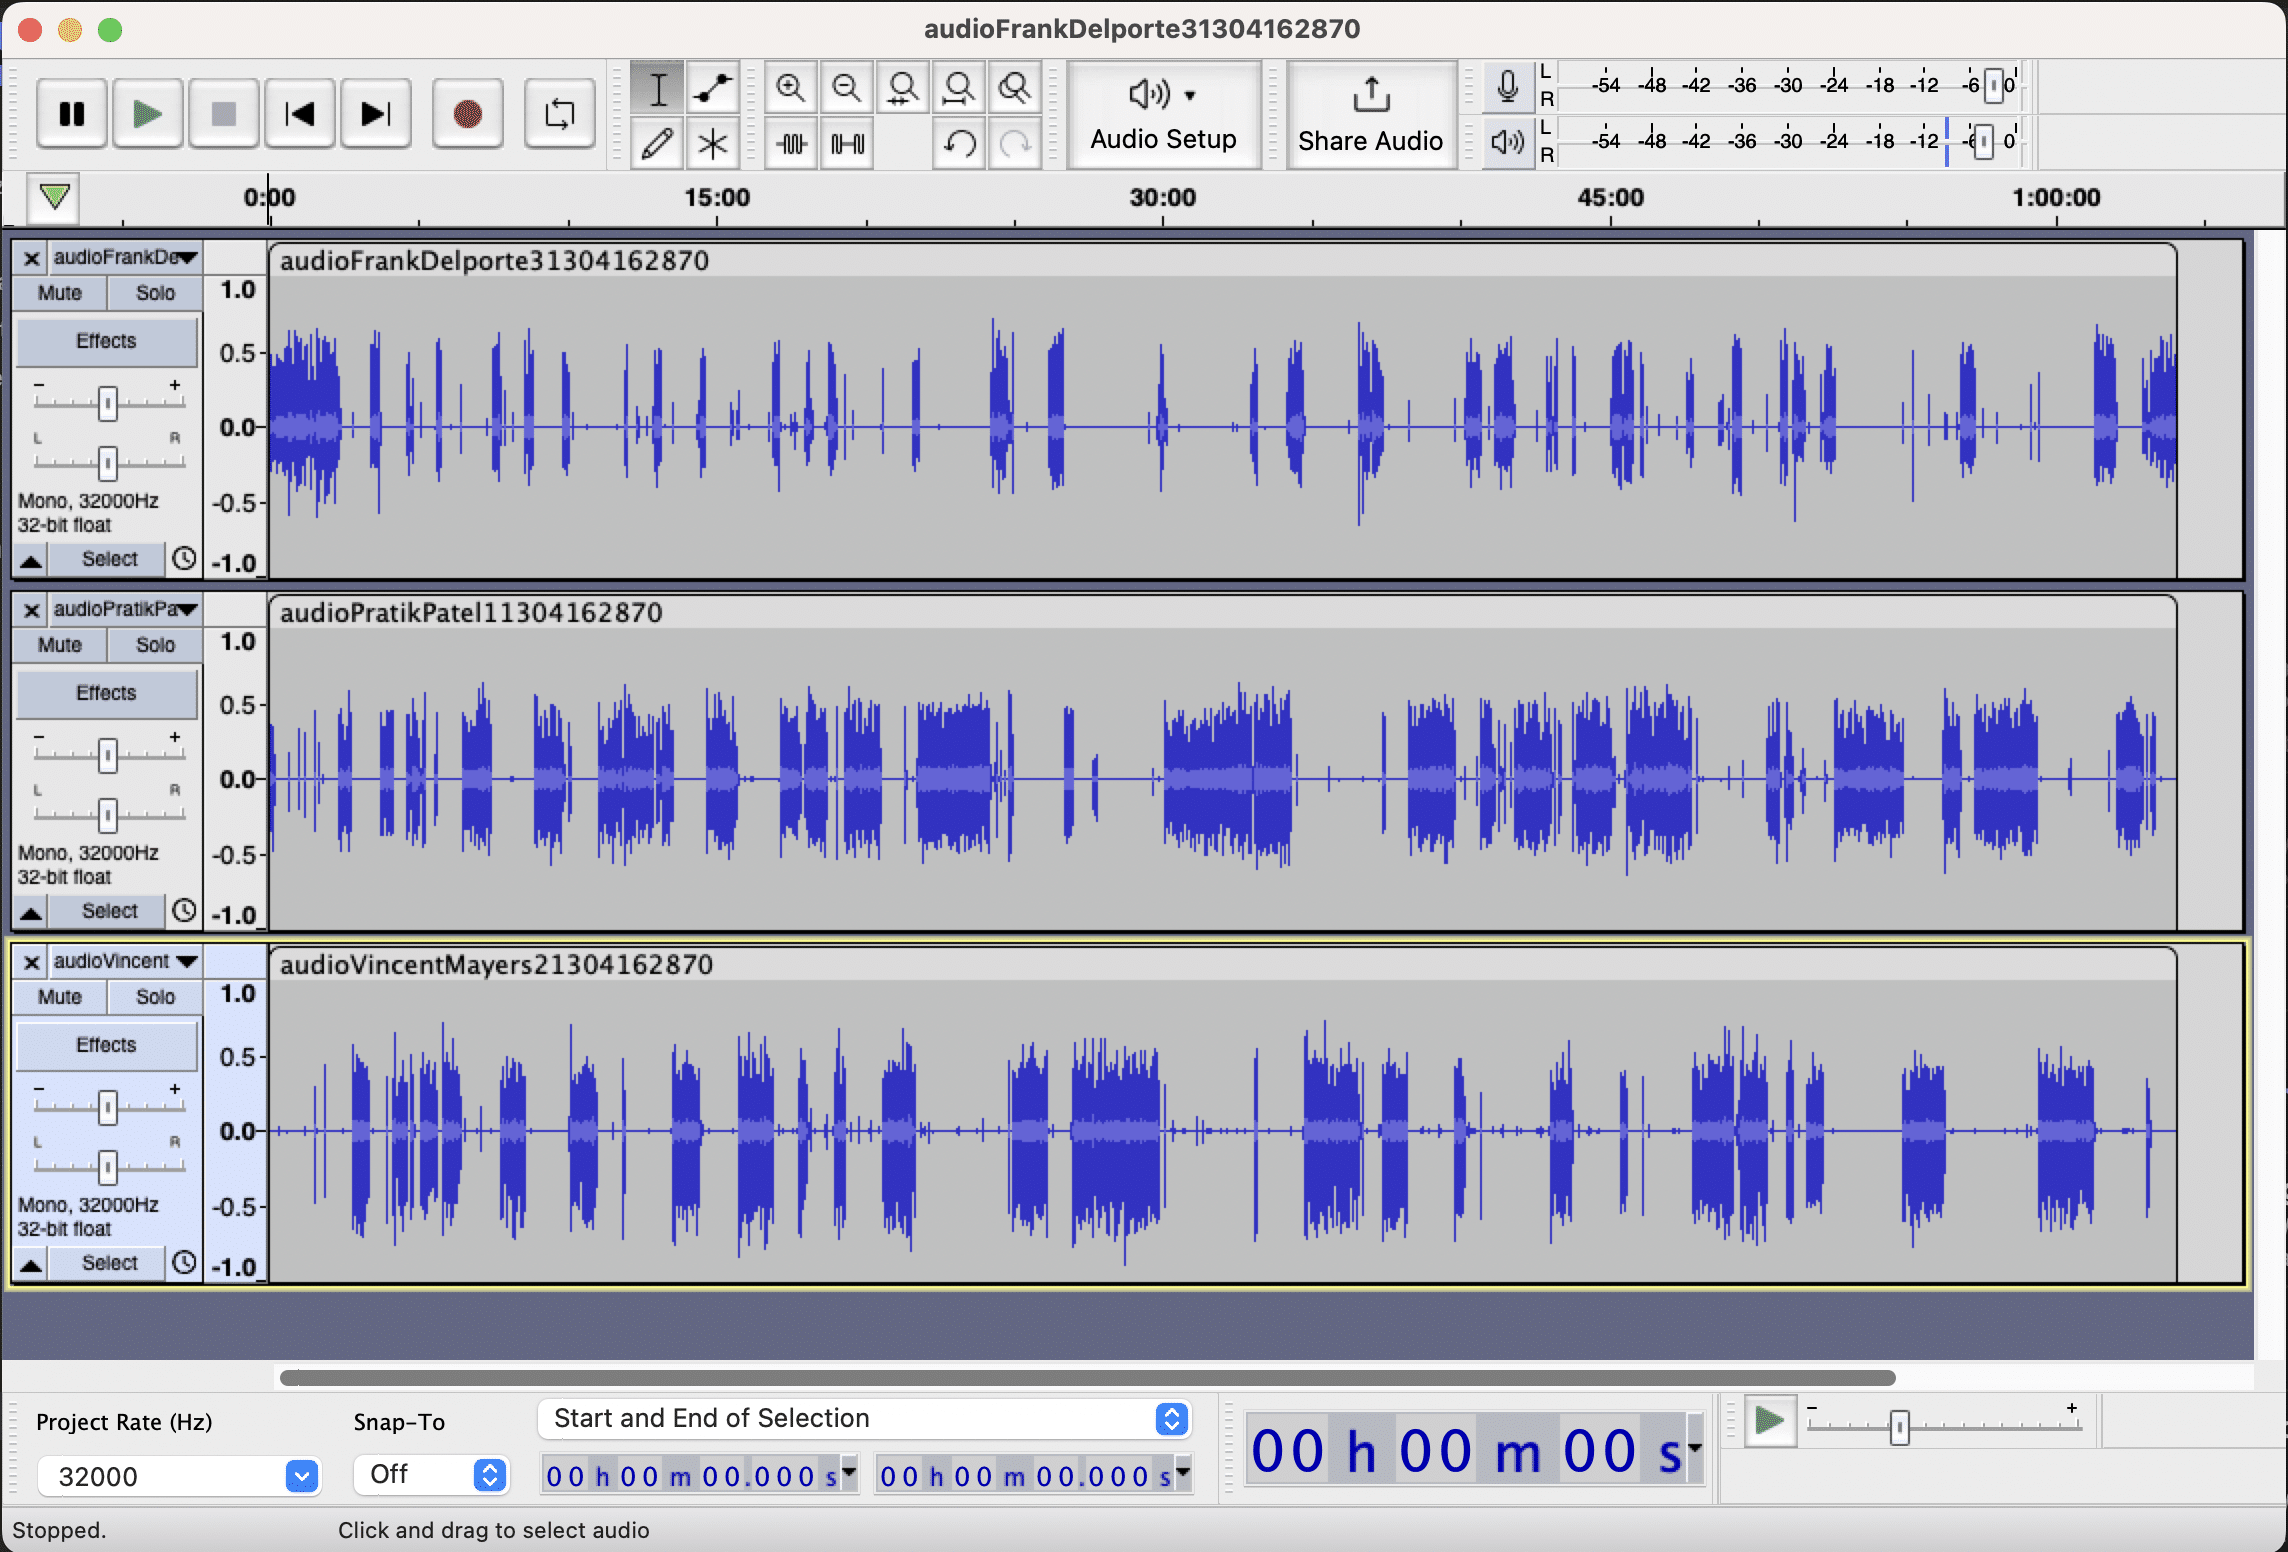
If you are using audio recording software, like Audacity, adjust the level to record at -10db.
Noice demping
Having some curtains or foam in front of you and at least one side, will prevent most of the echo.
Recording
Recording your screen and yourself
If you are using macOS, you don’t need to install any additional tools!
Record your IDE, terminal, browser or other program:
- Open the program and enlarge the font size.
- Best to size the program window to 1920*1080 to have correct aspect ratio.
- Hit Shift+Command+5 to select an area the size of your program.
- Hit Enter, you are now recording that portion of the screen.
- Hit Shift+Command+5 again and click “Stop recording”.
- The recorded clip will be shown at the right bottom corner of your screen.
- Click on it and hit “Done”, the clip is now saved on your Desktop.
Record yourself for the explanation:
- At the same time, you can open Quicktime.
- File > New movie recording.
- Select your camera (built-in or USB webcam) and microphone.
- Hit record in the quicktime window.
- When done, hit stop, and save the file.
Recording a podcast
I found out Zoom is a great tool to record podcasts with several remote guests. If you go into the recording preferences of the program, you can select “Record a separate file of each participant”. When you finish the recording, you’ll find a file per meeting guest, which makes editing and finetuning the sound of each speaker very easy to do!
Another important tip: make sure multiple people make a recording at the same time, in case the connection of one of you drops, the file is corrupted,… Better to be safe than sorry!
Green key
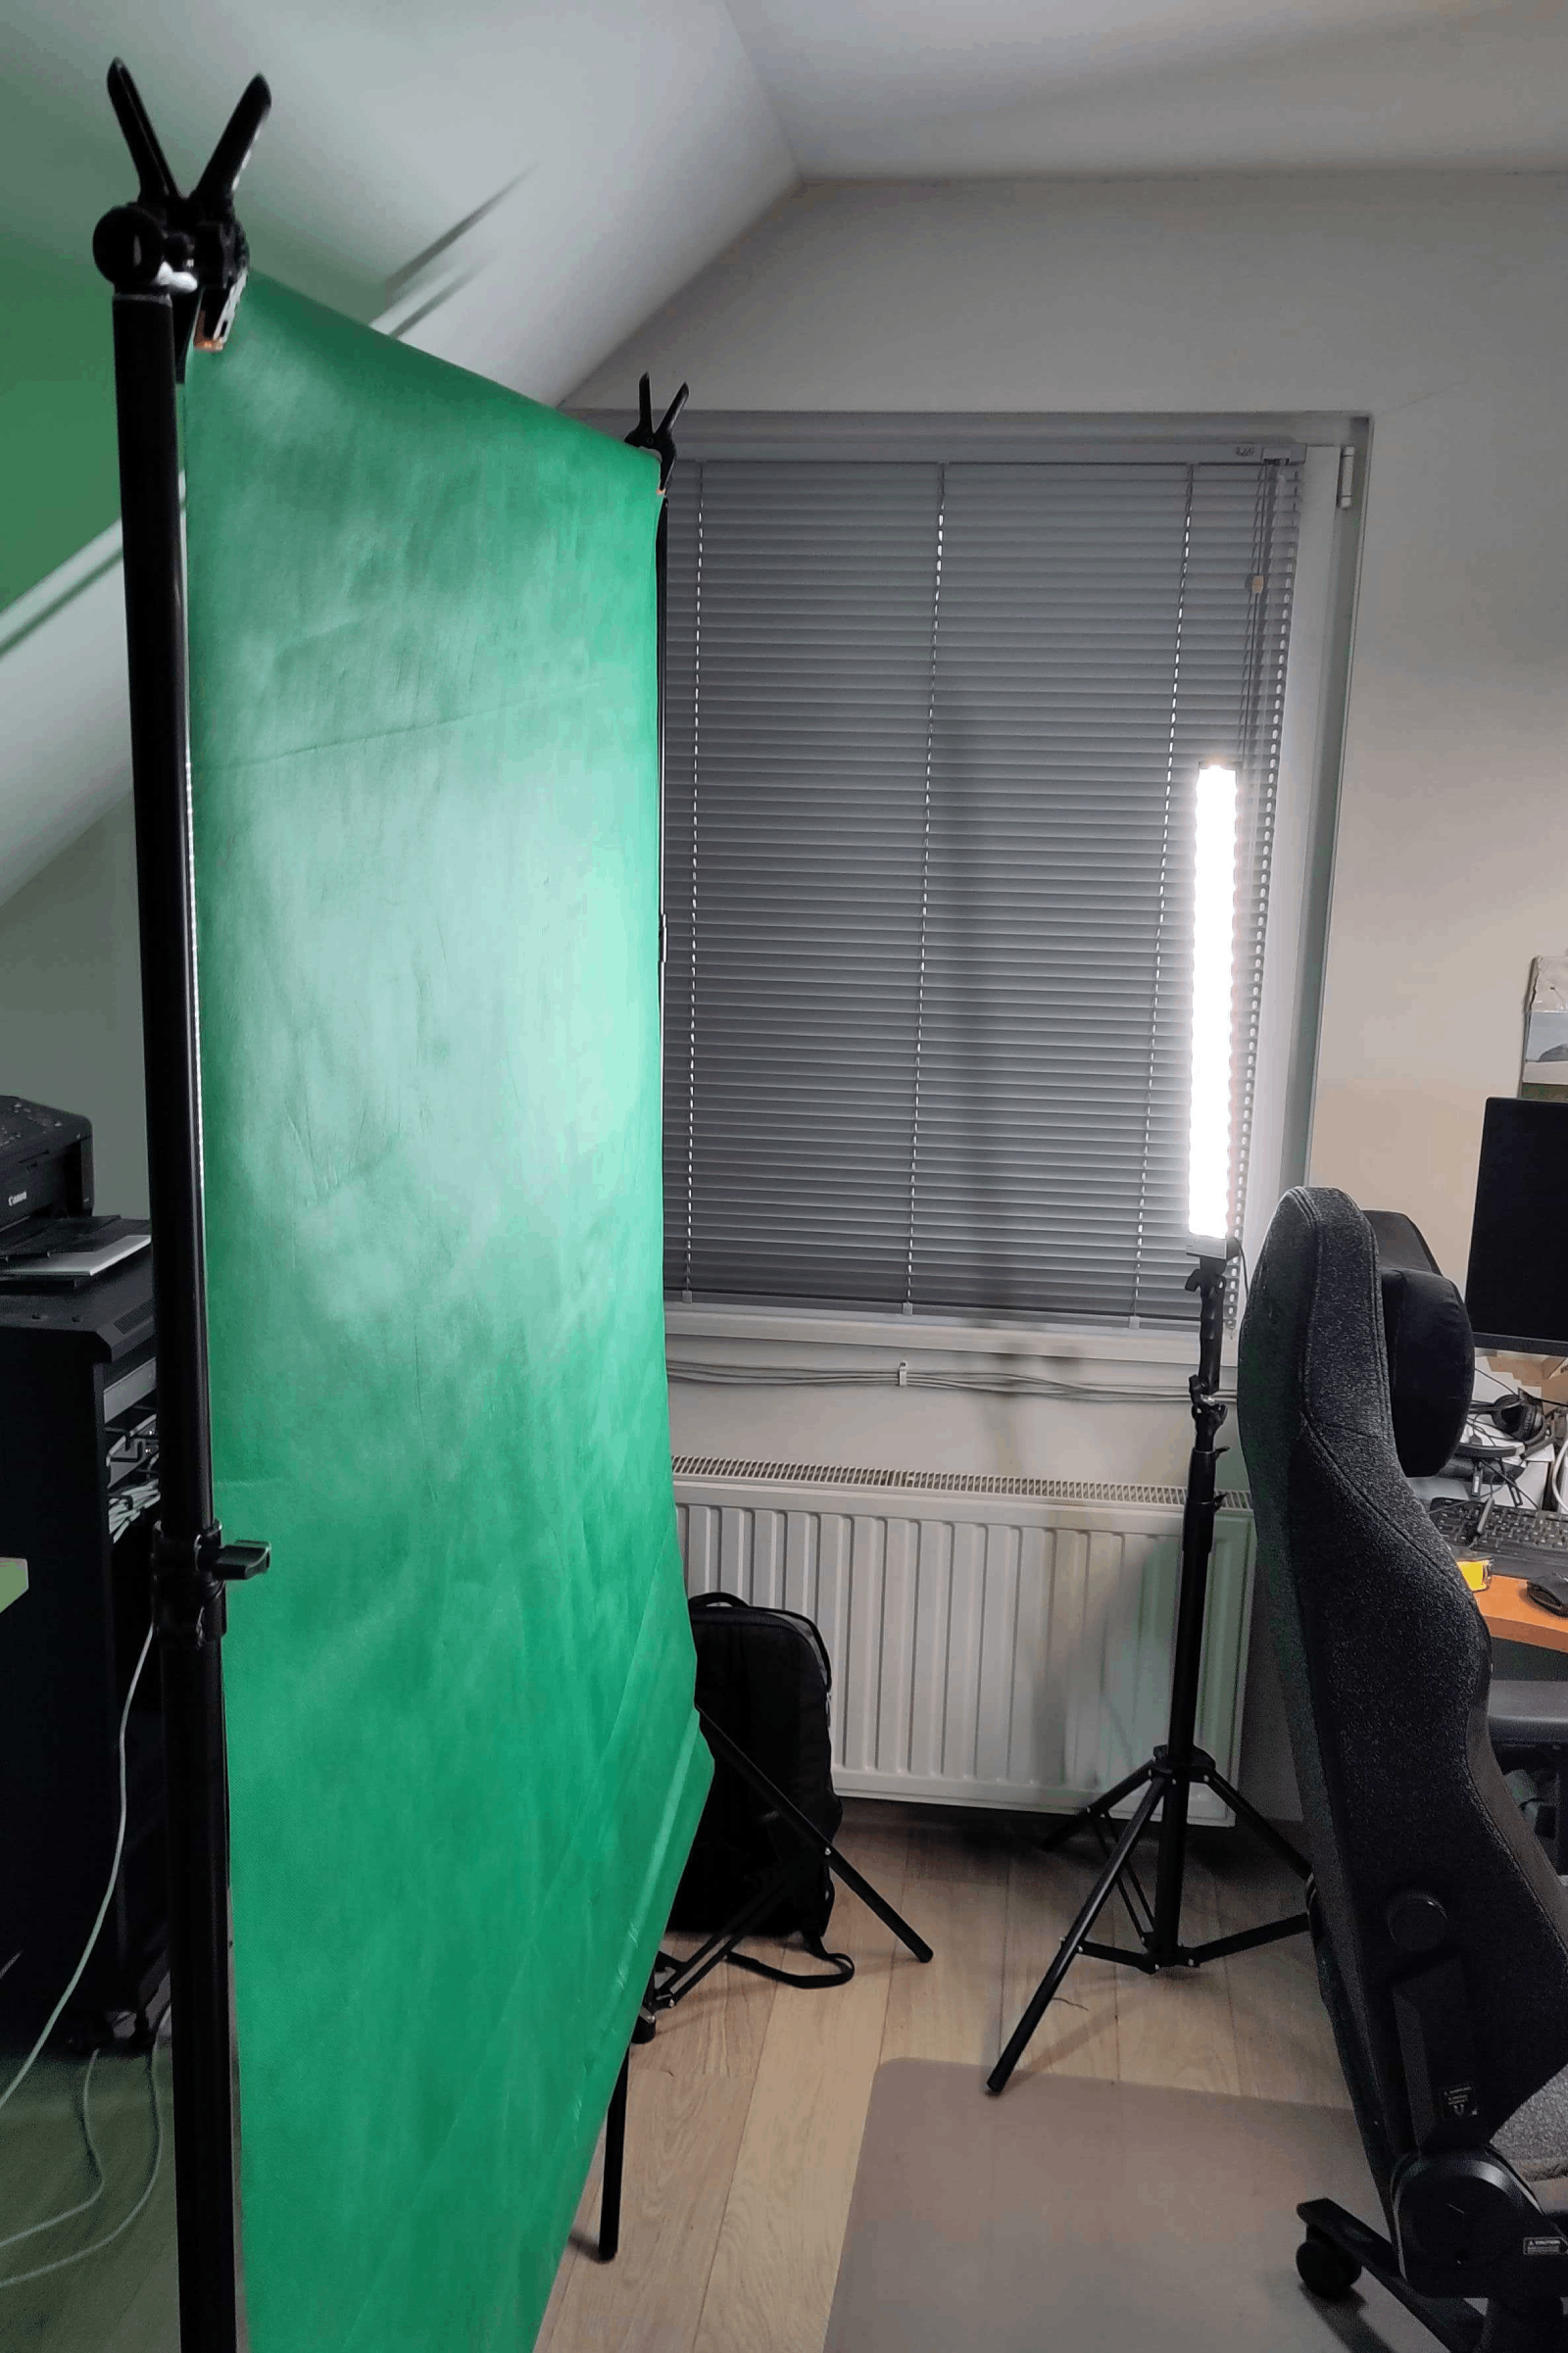
Normally I don’t care a lot about the background if I’m recording myself. Most of the time it’s a bit a mess of several components and on-going projects with Raspberry Pi’s and other stuff. But when I need to do something “official” I use a green key and extra lights for a better result. Also here the ATEM Mini helps me to replace the green screen with a nice static image.
These are the materials I use for this approach. By the way, the pendant light is an ideal, dimmable lightning solution to have a smooth light for any type of work.
- I-Pendant Pro Dim DALI White
- Bresser BR-2250 LED Striplight
- Walimex pro Tele Background System
- Green screen fabric
Additional video options
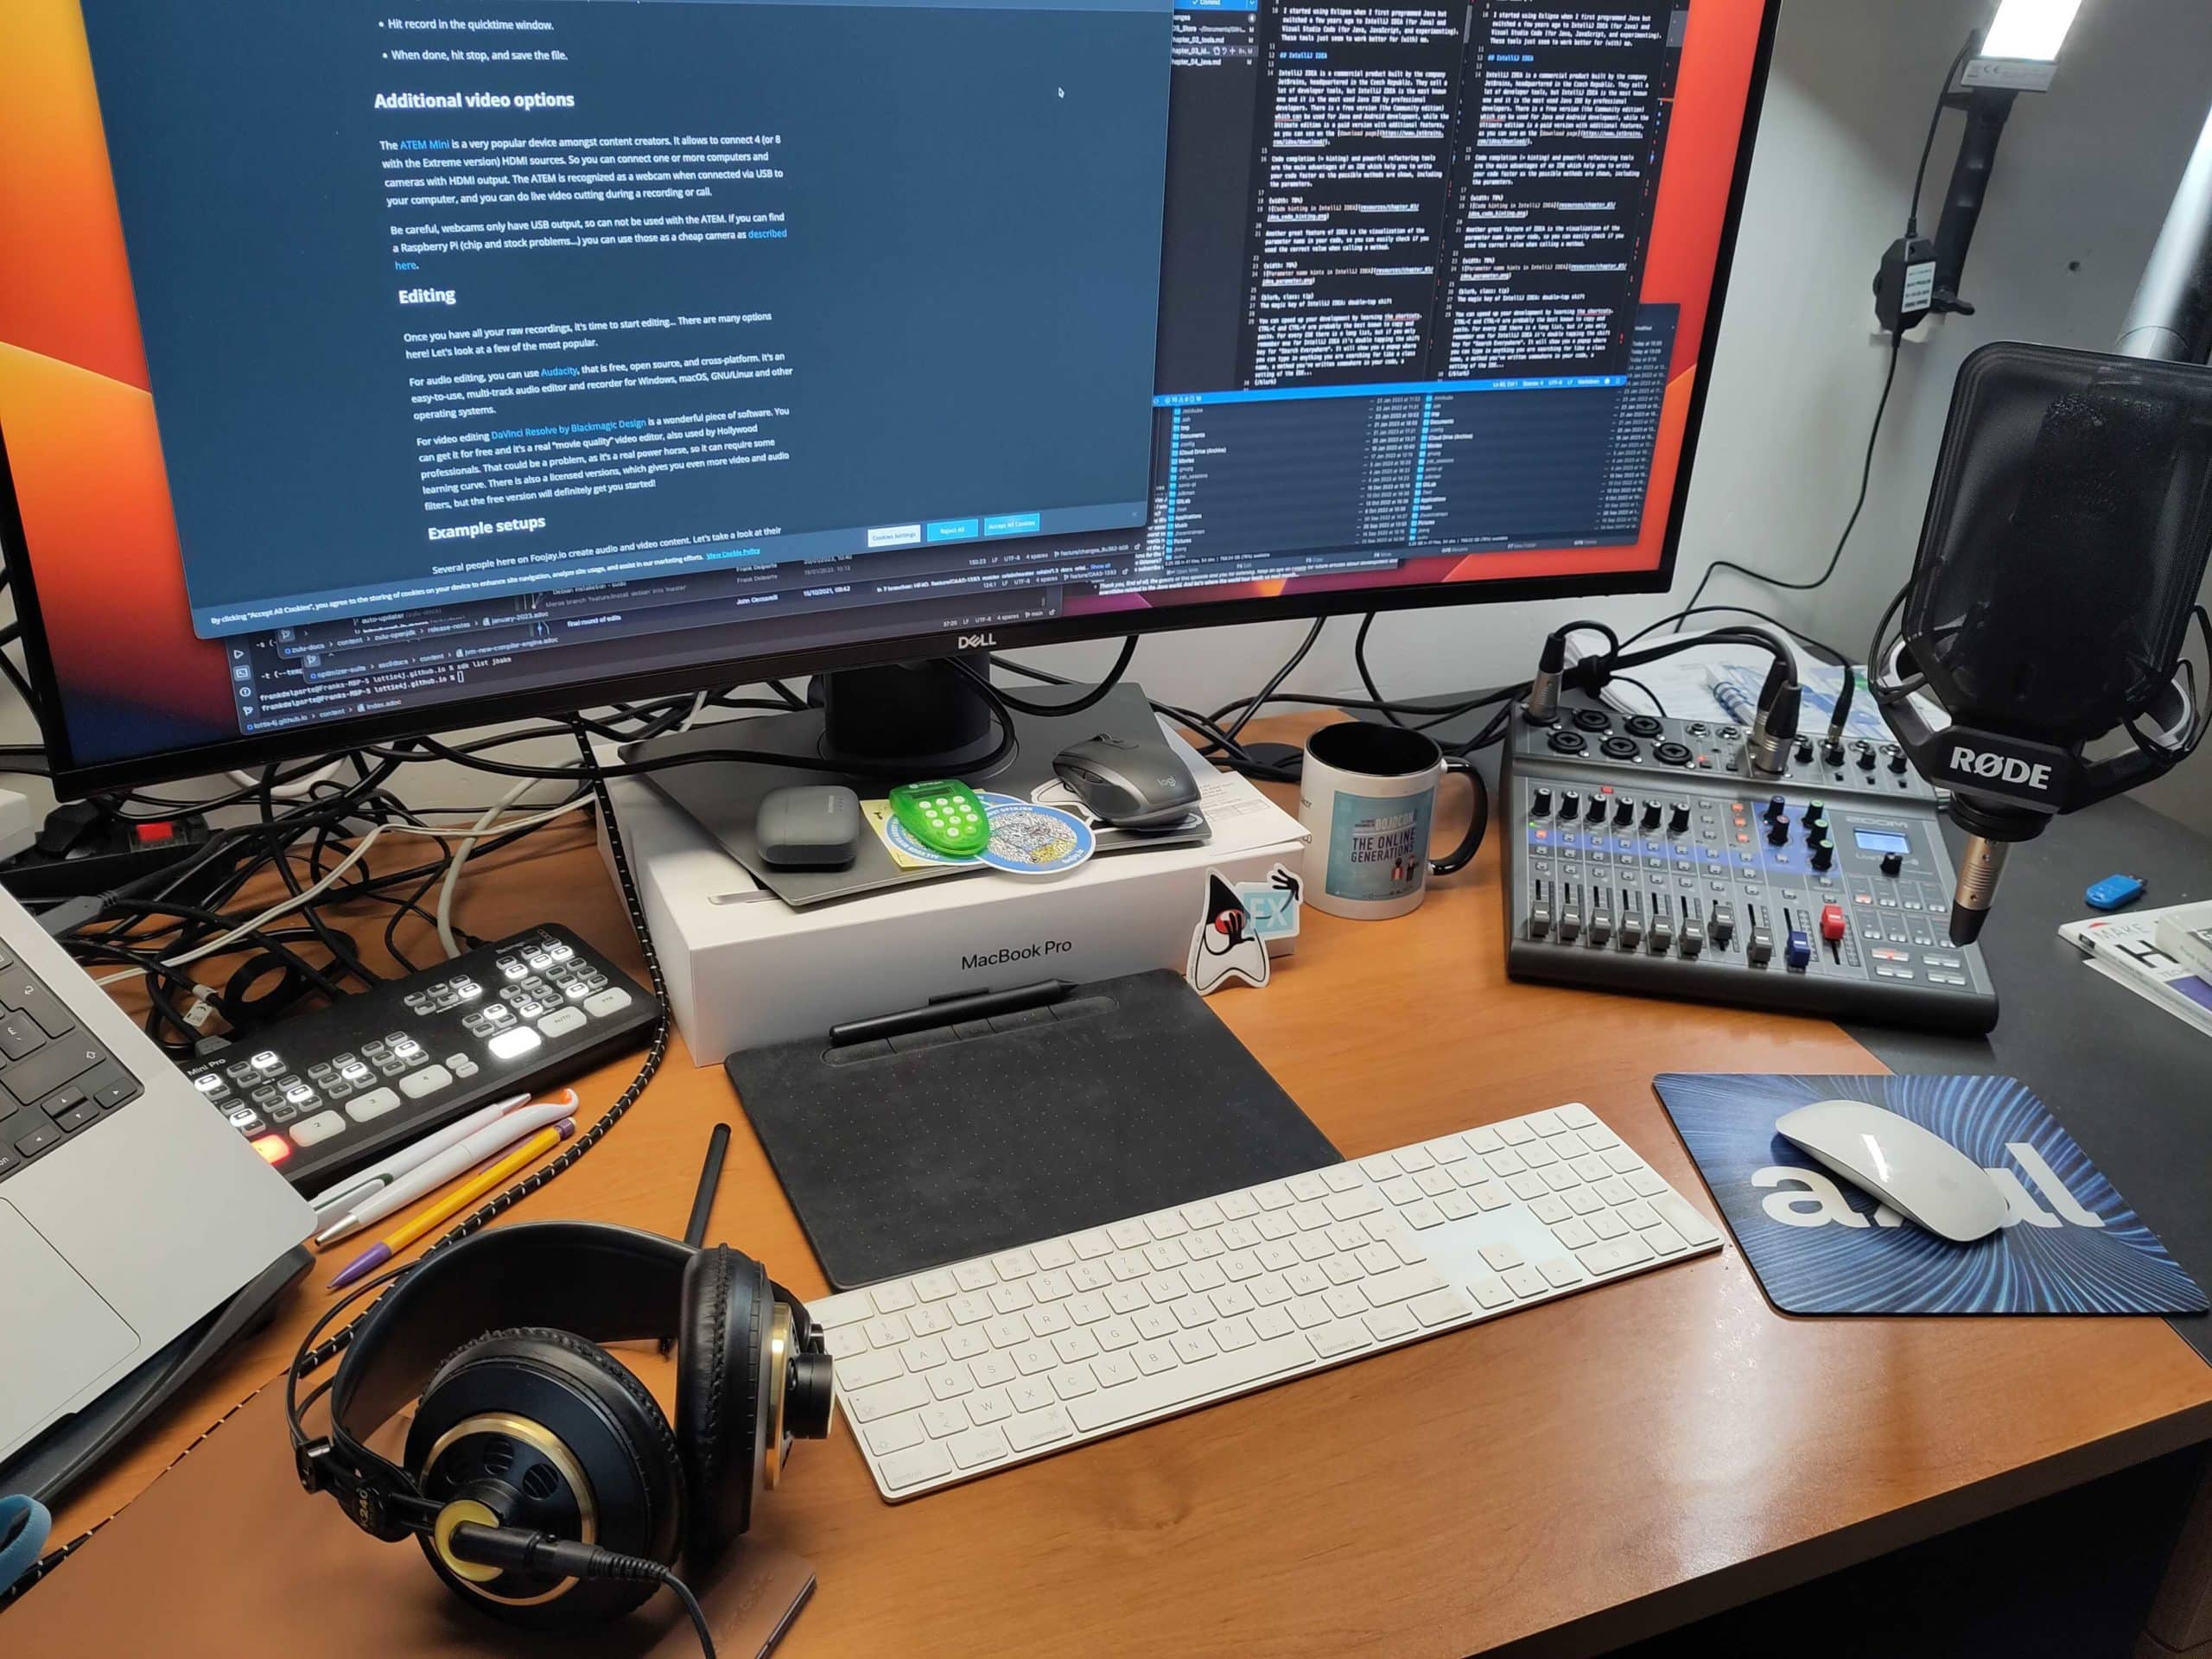
The ATEM Mini is a very popular device amongst content creators. It allows to connect 4 (or 8 with the Extreme version) HDMI sources. So you can connect one or more computers and cameras with HDMI output. The ATEM is recognized as a webcam when connected via USB to your computer, and you can do live video cutting during a recording or call.
Be careful, webcams only have USB output, so can not be used with the ATEM. If you can find a Raspberry Pi (chip and stock problems…) you can use those as a cheap camera as described here.
Editing
Once you have all your raw recordings, it’s time to start editing… There are many options here! Let’s look at a few of the most popular.
For audio editing, you can use Audacity, that is free, open source, and cross-platform. It’s an easy-to-use, multi-track audio editor and recorder for Windows, macOS, GNU/Linux and other operating systems.
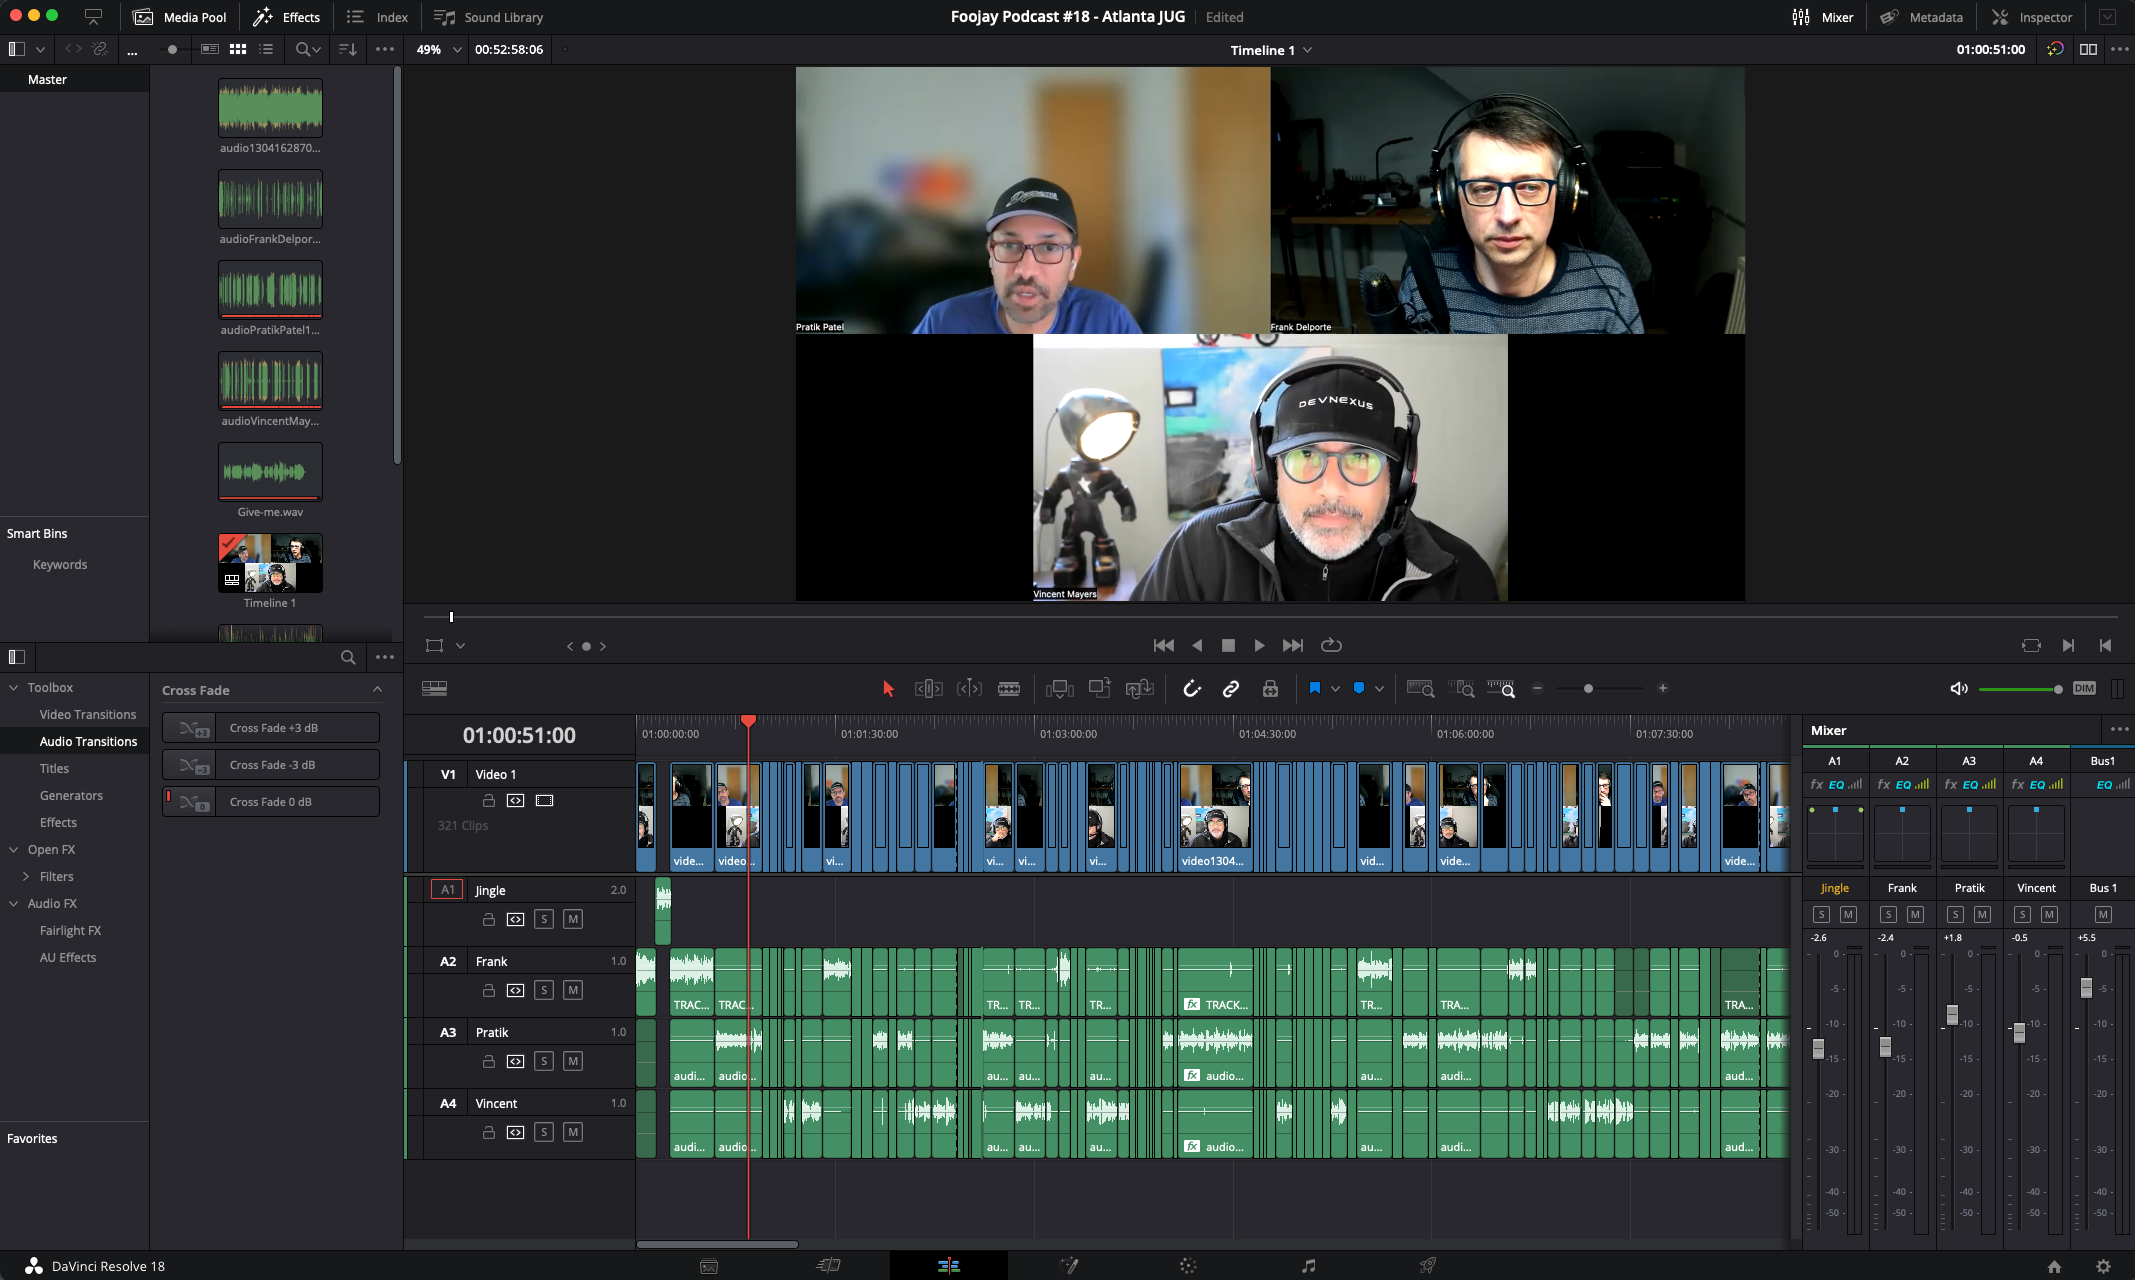
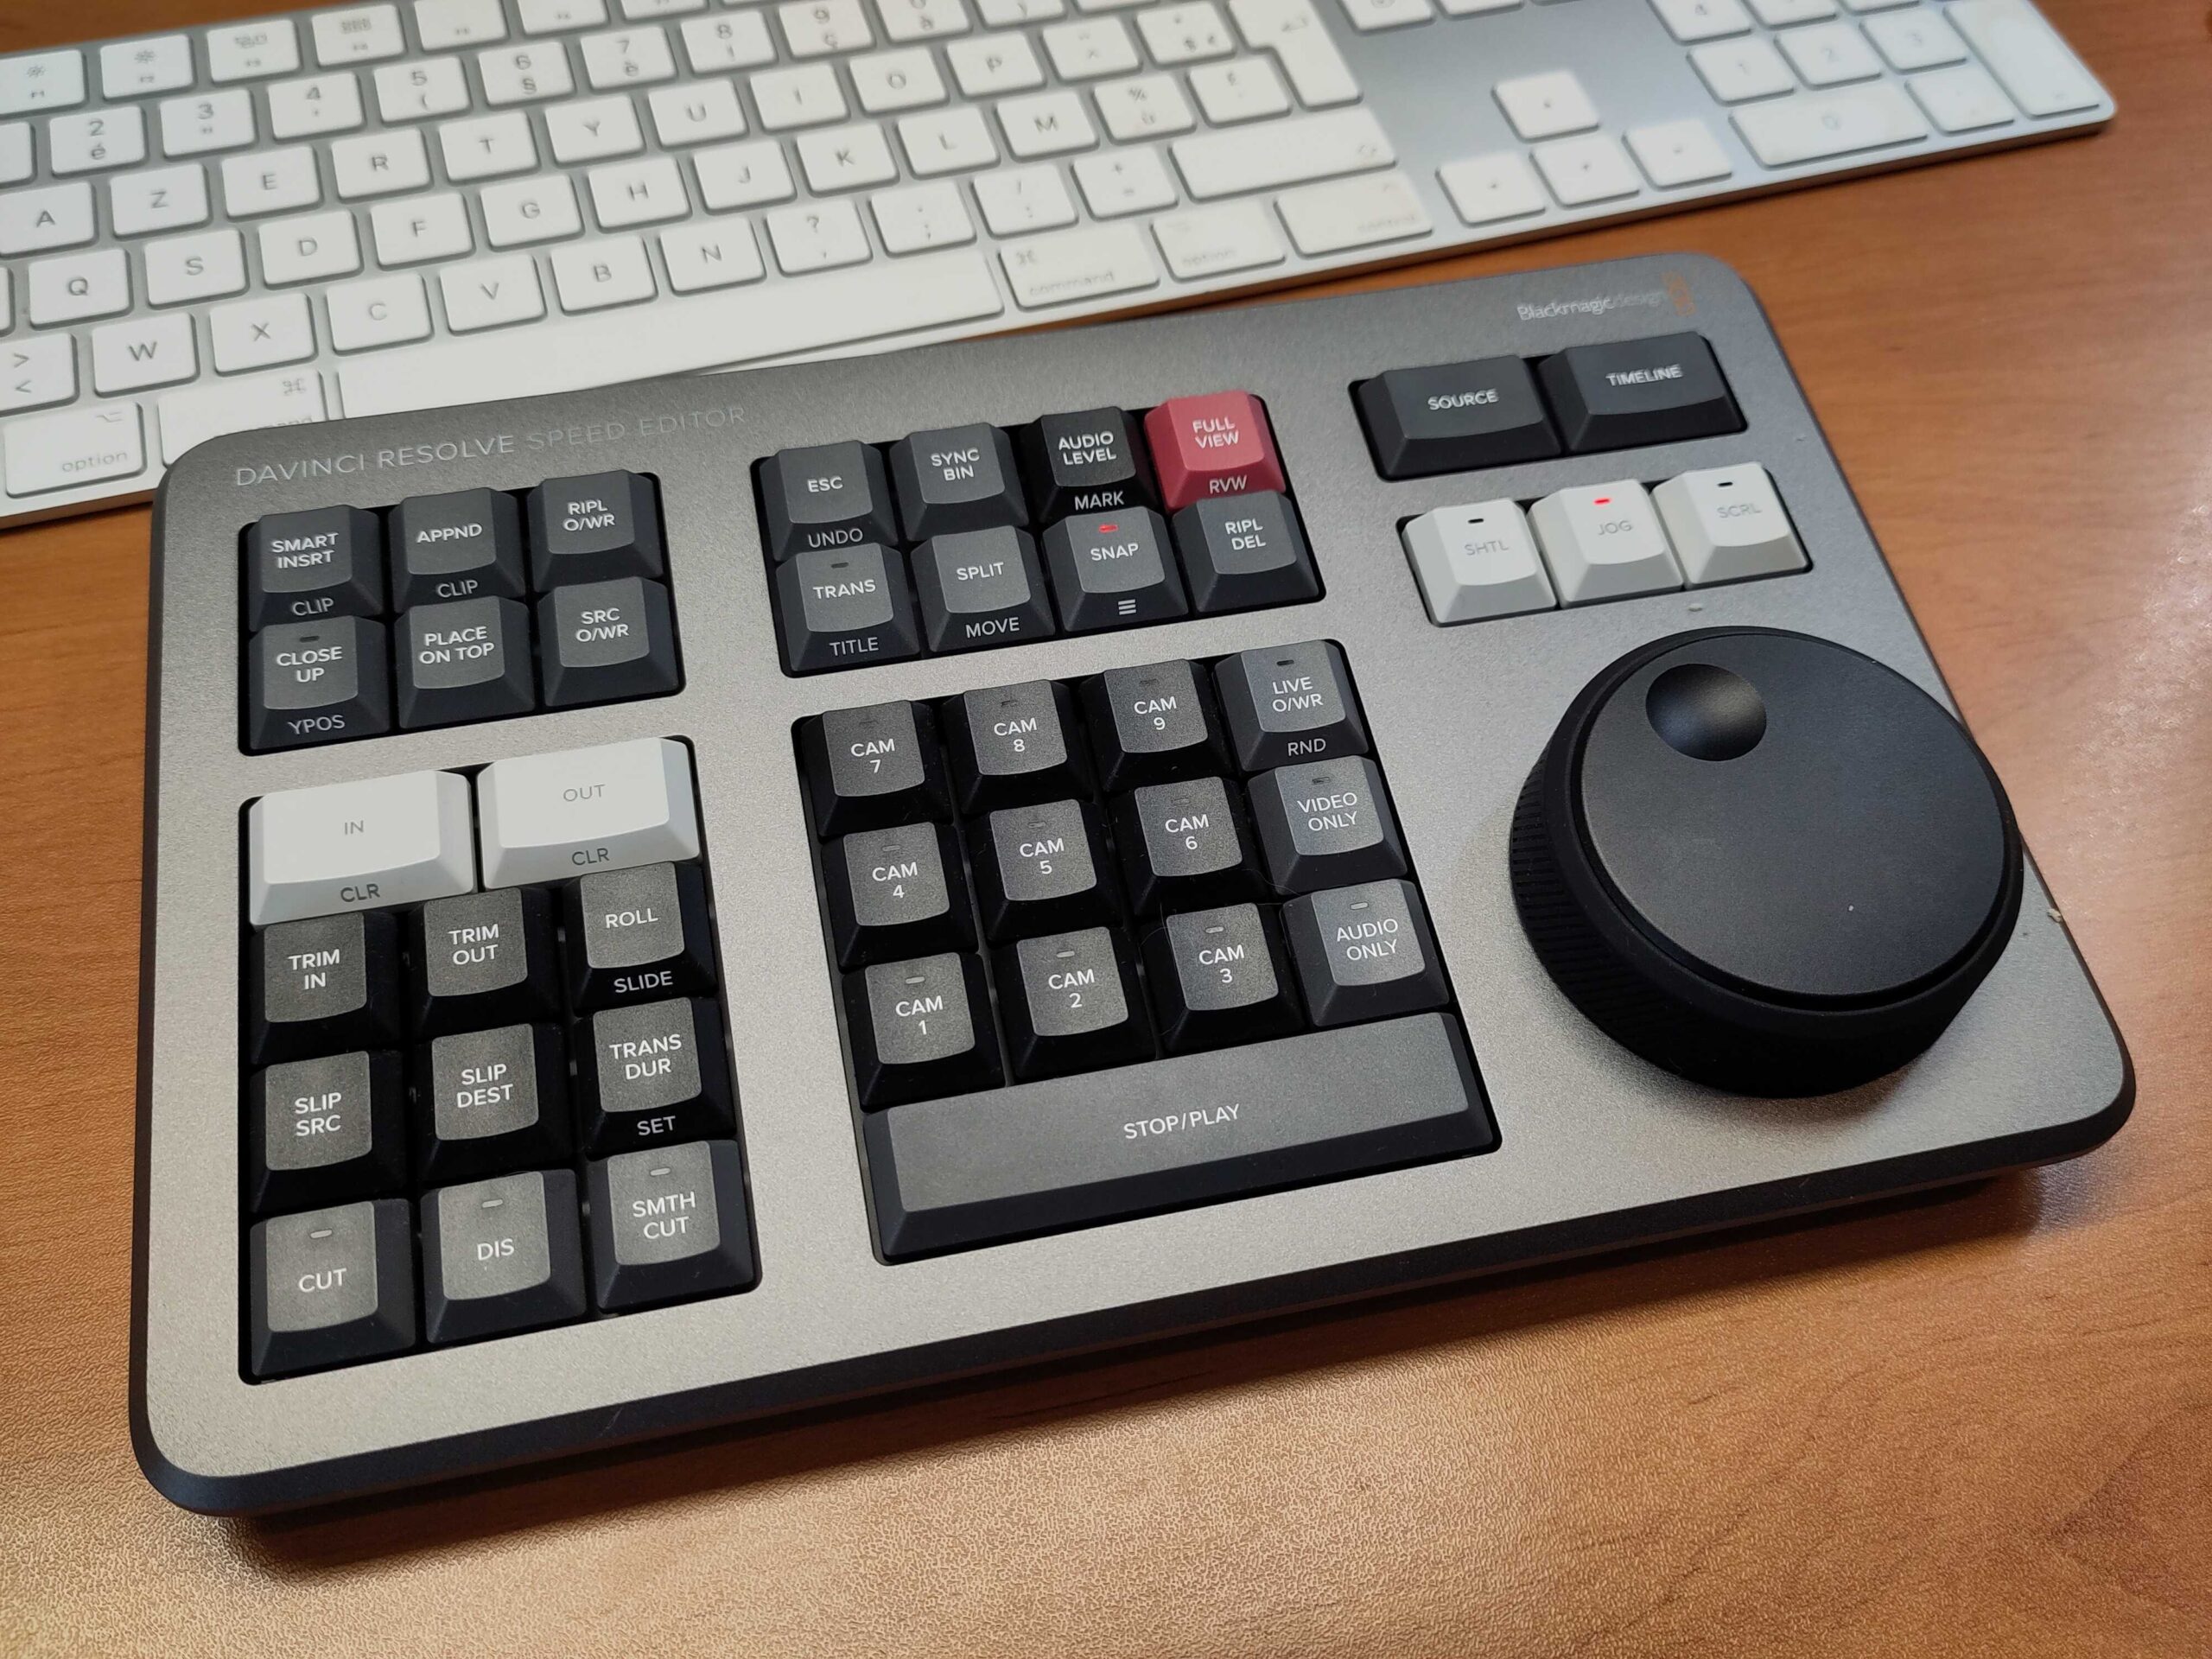
For video editing DaVinci Resolve by Blackmagic Design is a wonderful piece of software. You can get it for free and it’s a real “movie quality” video editor, also used by Hollywood professionals. That could be a problem, as it’s a real power horse, so it can require some learning curve. There is also a licensed versions, which gives you even more video and audio filters, but the free version will definitely get you started! I also use DaVinci Resolve for podcast-editing, as I bought the additional Speed Editor which enables to cut “euhs”, repeats and pauzes with the push of a few buttons. This approach speeds up the editing process significantly! You can buy this device included with a license for the full version of DaVinci Resolve, but if you search on ebay, you can also find it a lot cheaper without such a license if you already have one.
My setup
I graduated from a film school and started my professional career as a video editor in 1994. It’s amazing to see how this technology has evolved and at which low price you can buy professional equipment like the ATEM Mini, or build your own camera with a Raspberry Pi. On my blog, I shared a movie recorded with this setup.
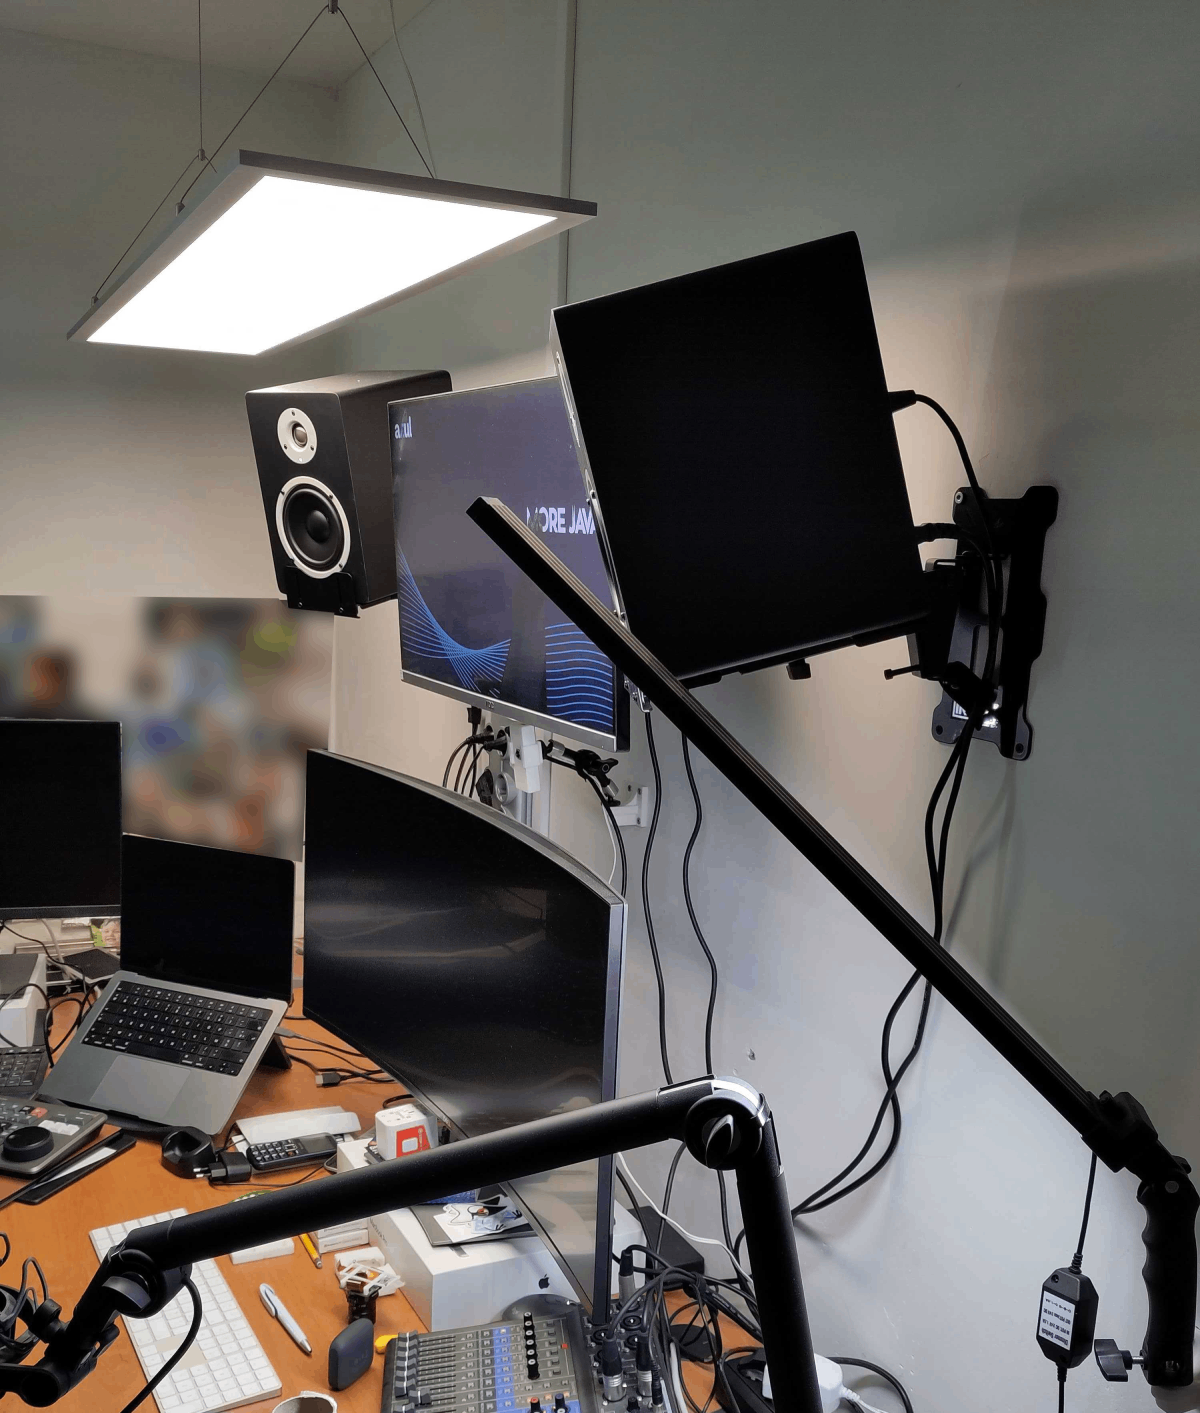
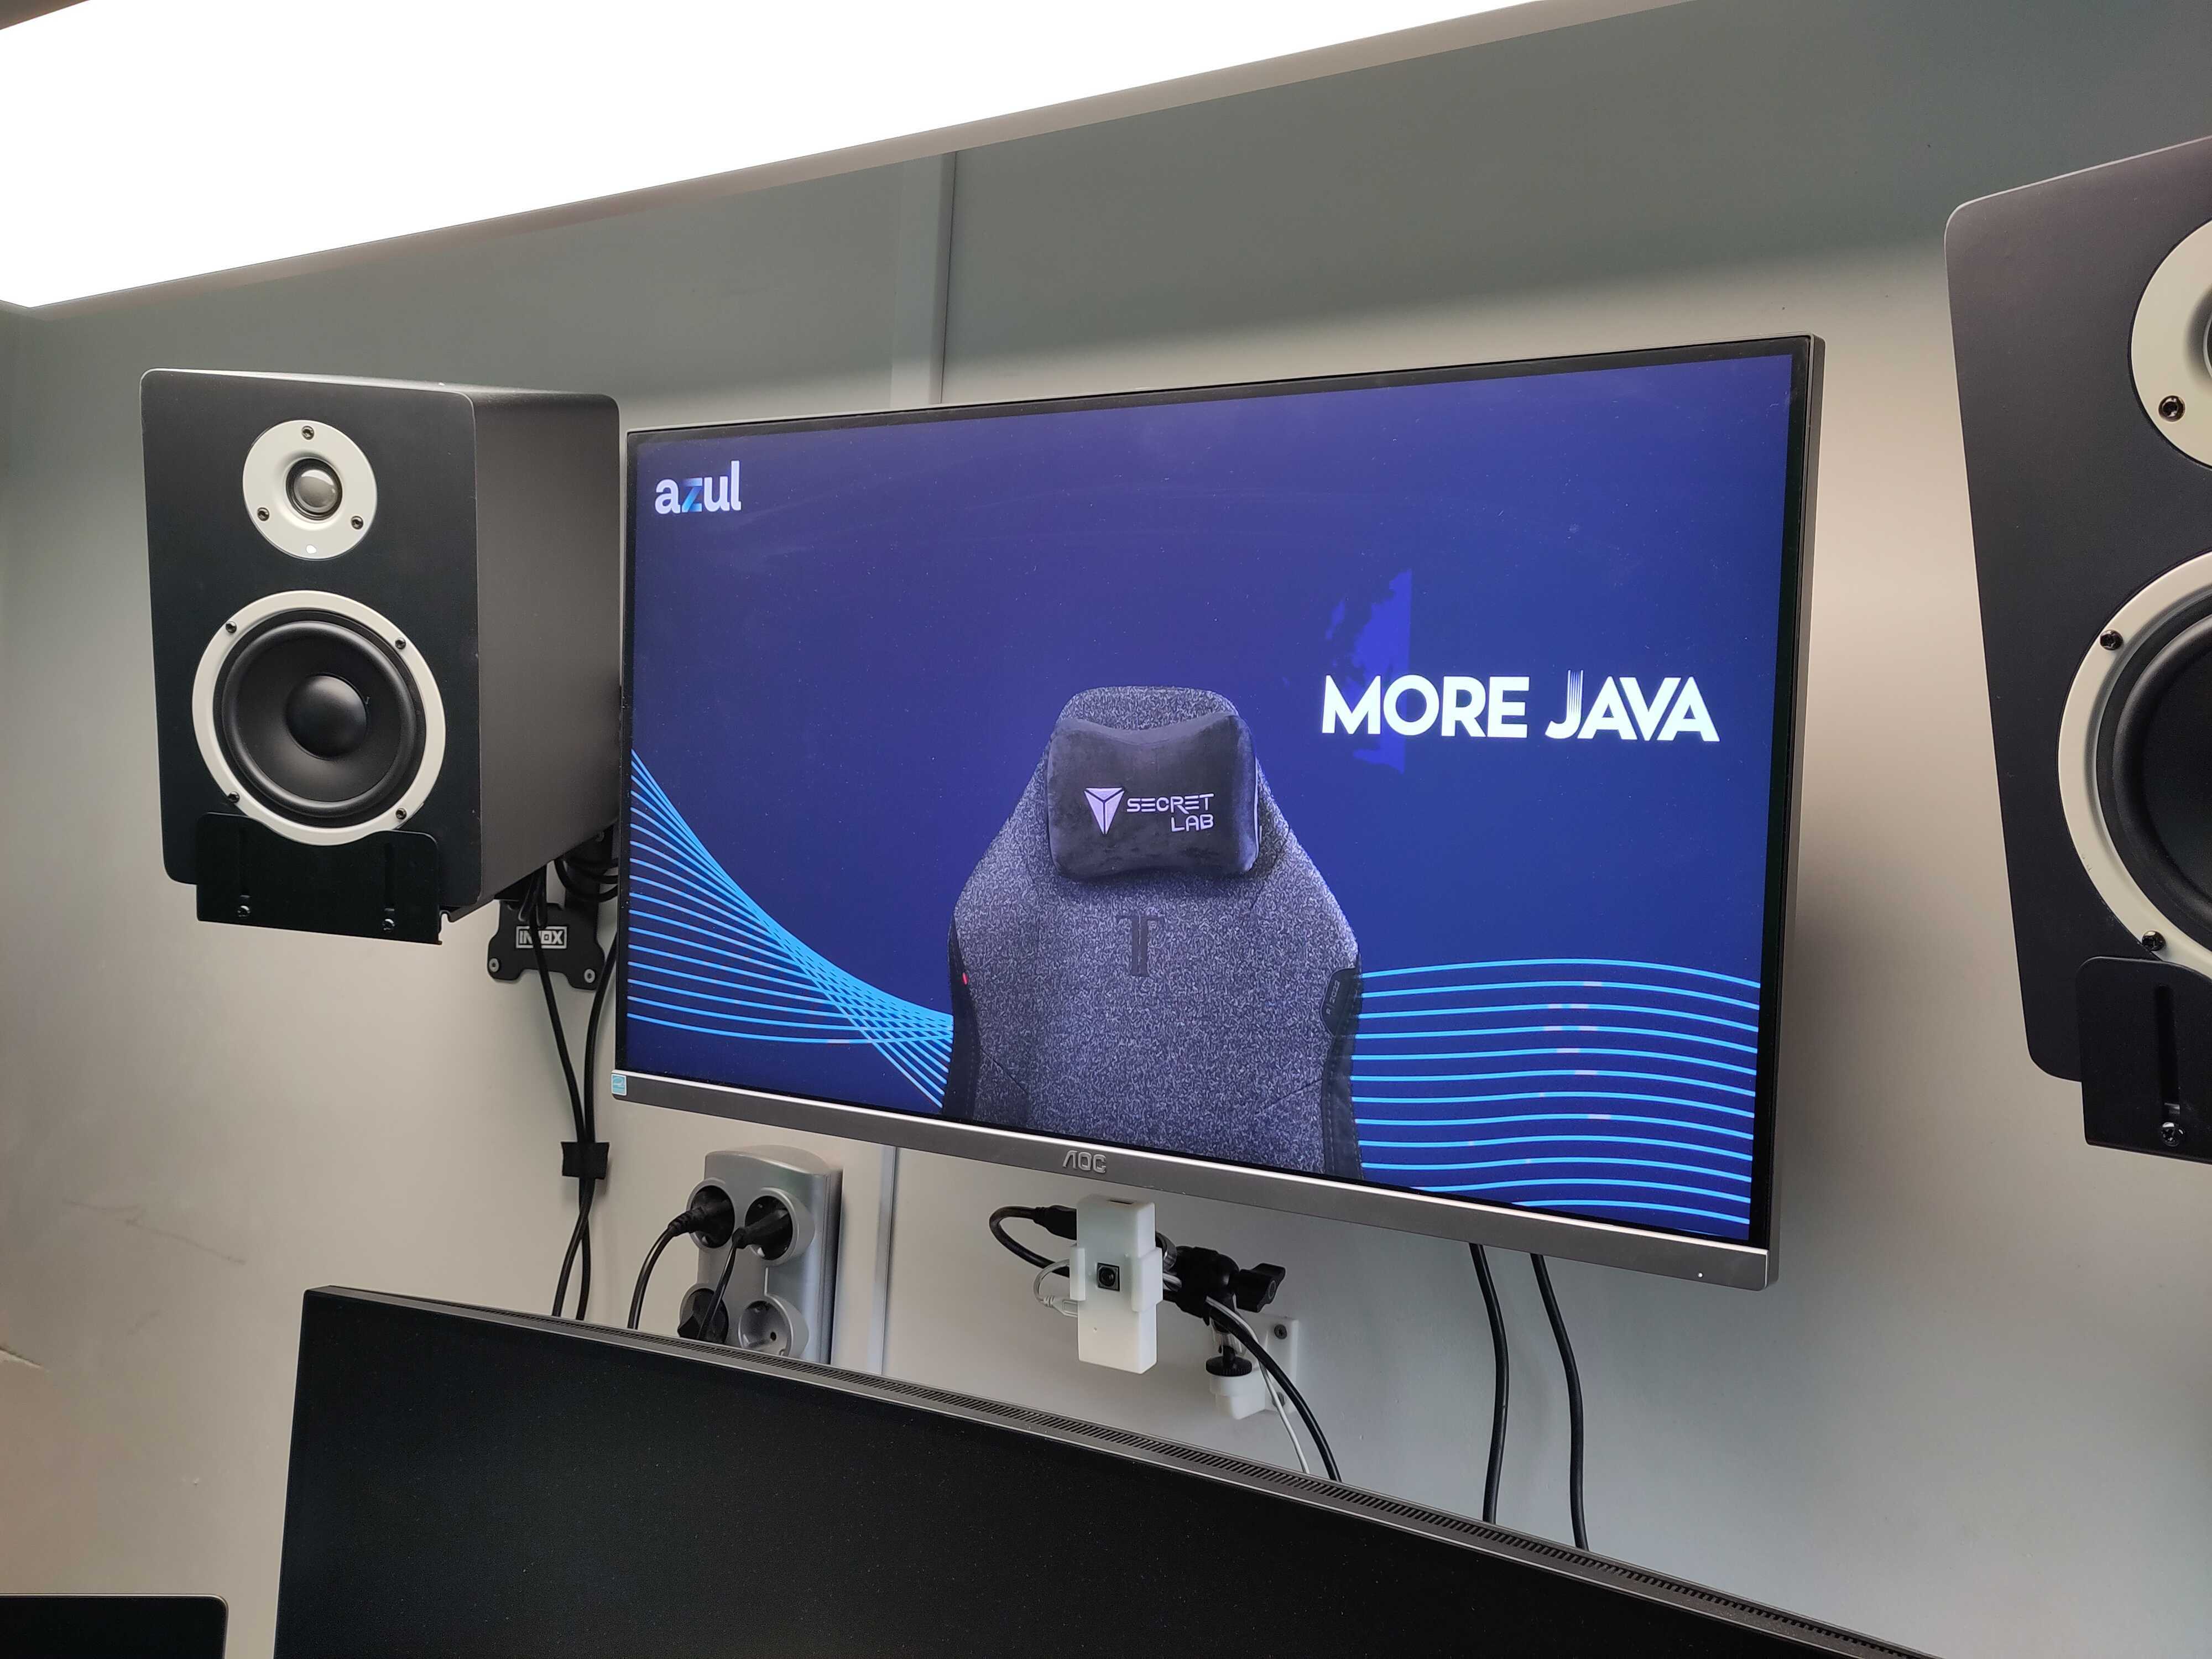
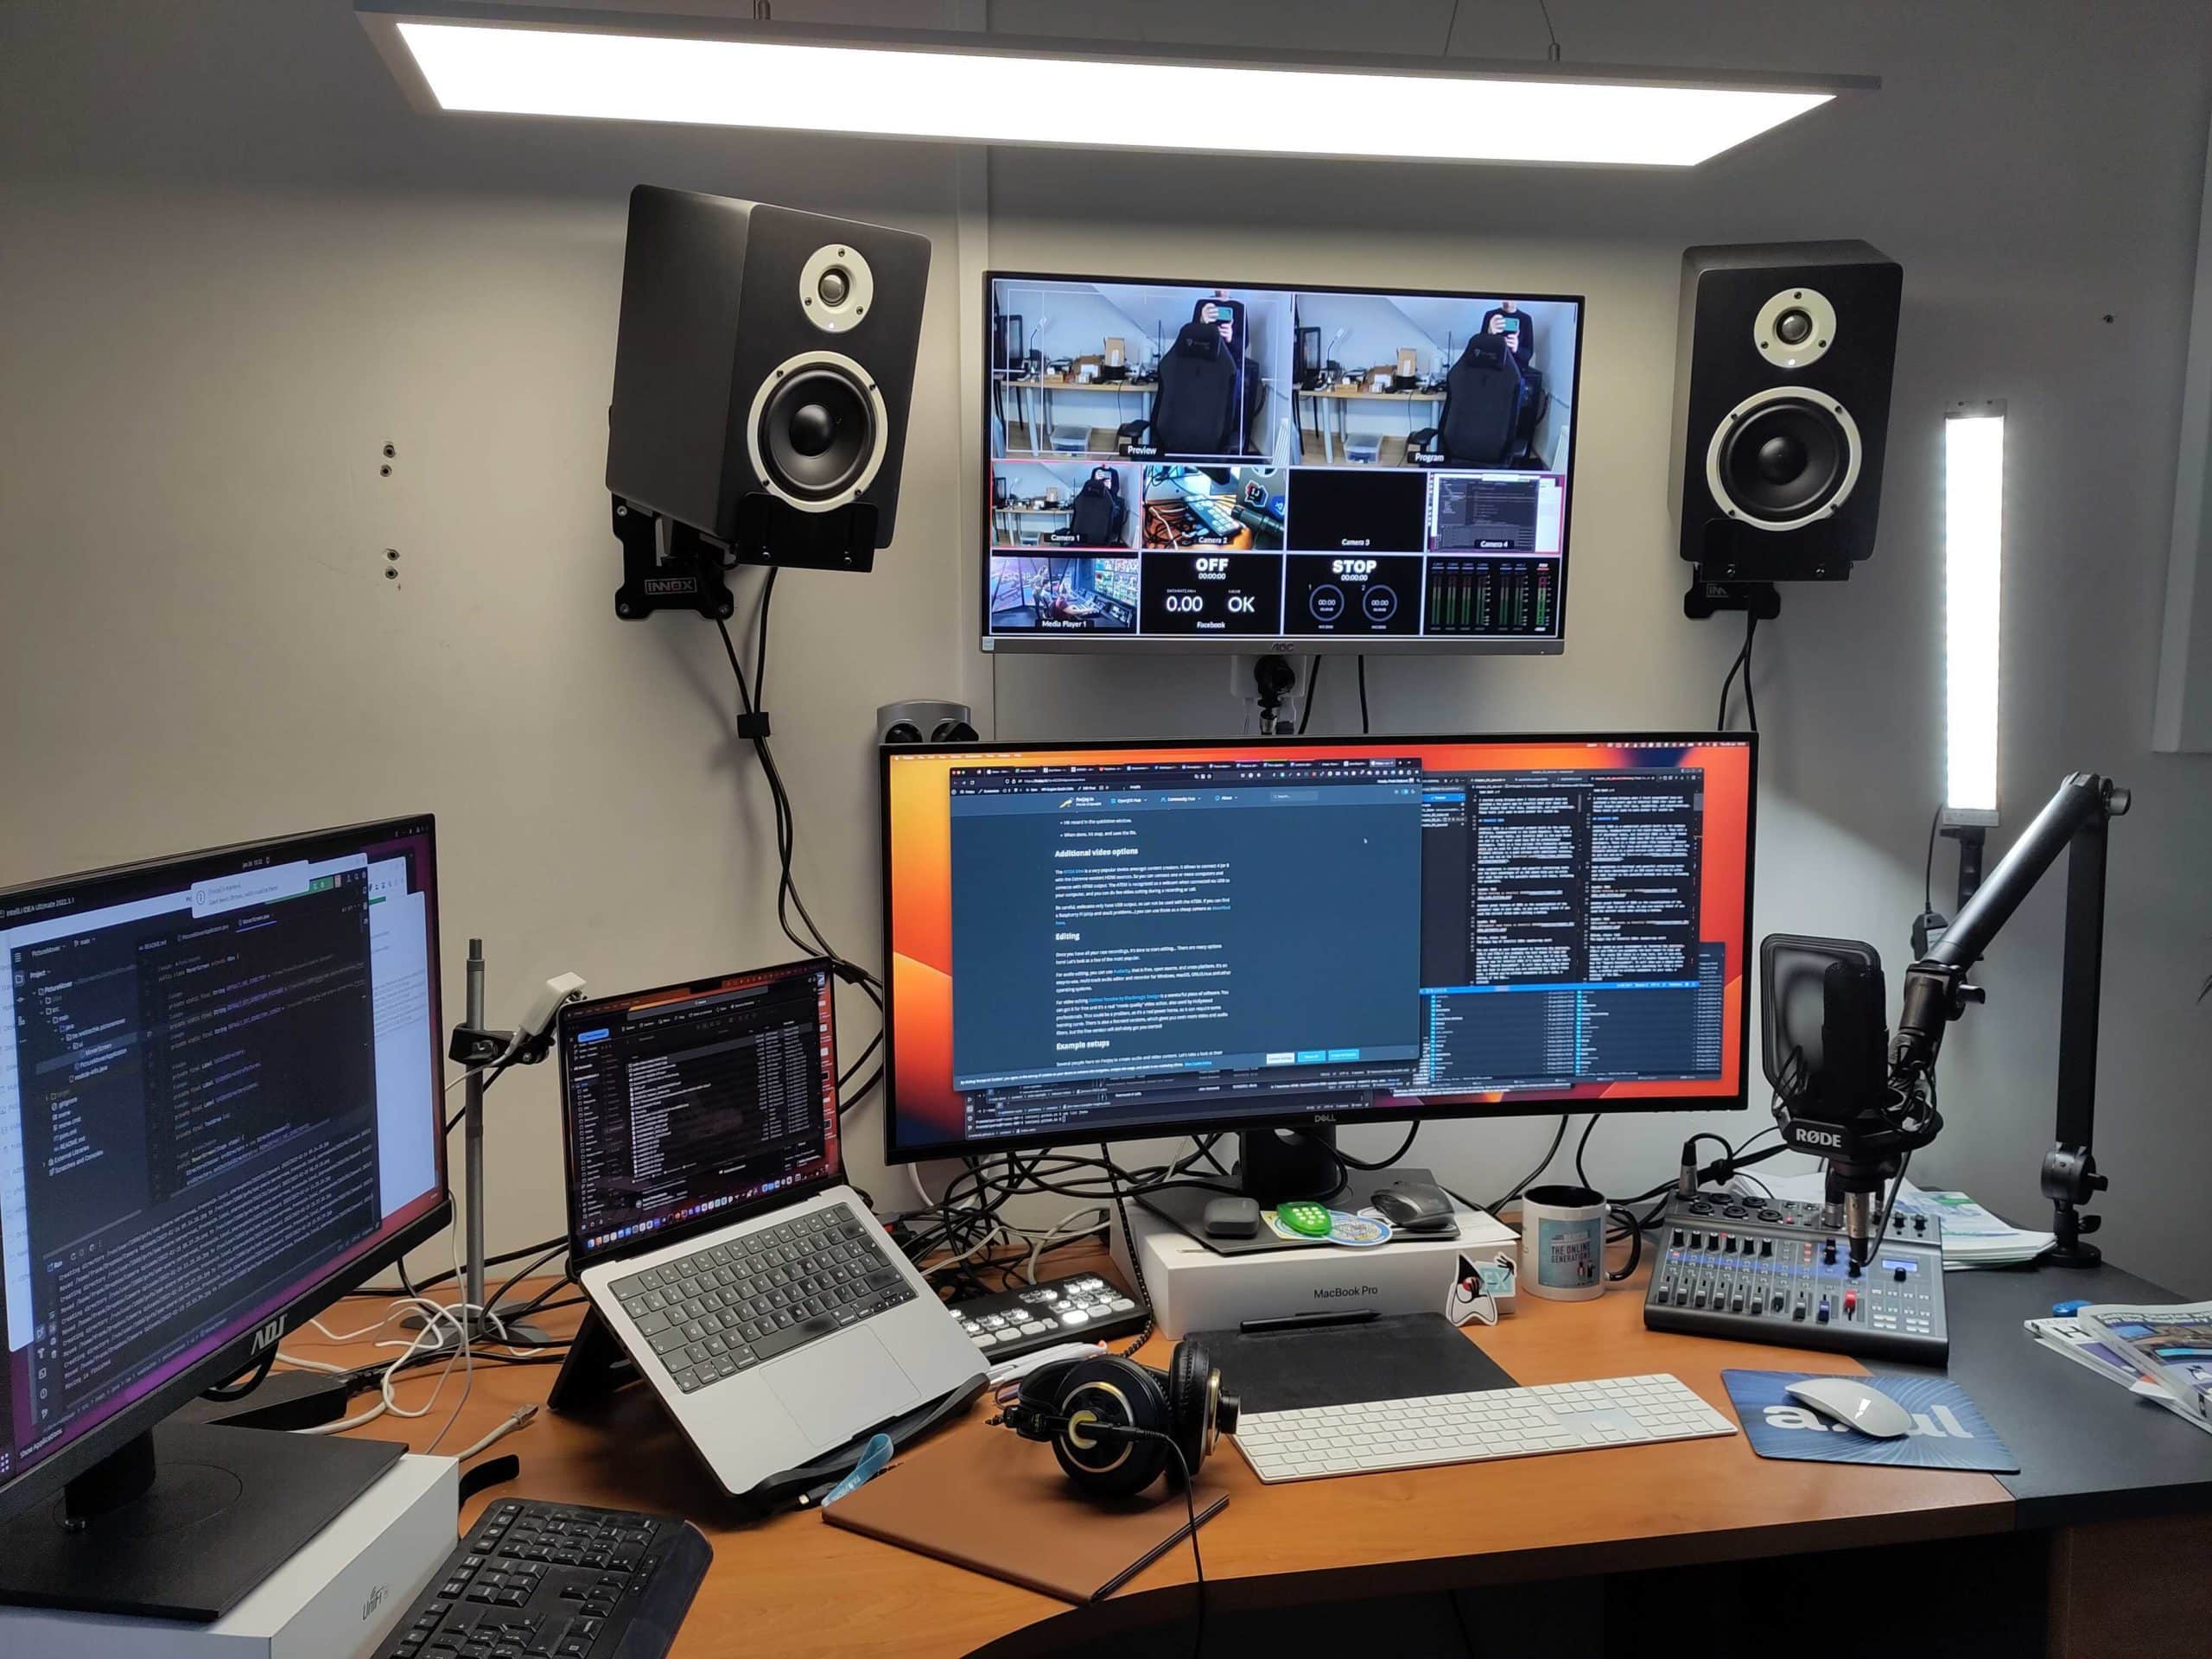
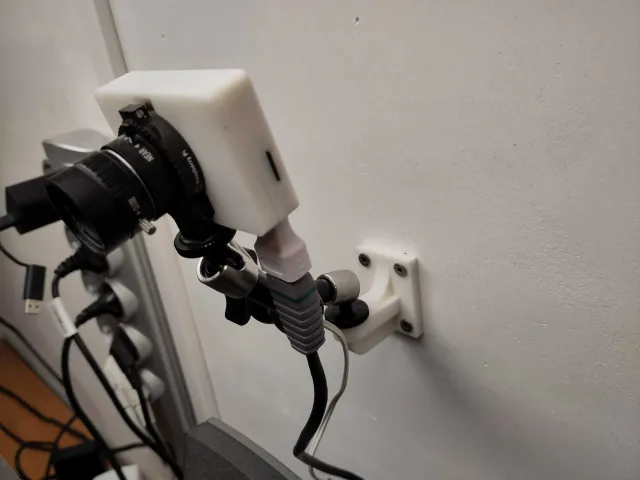
As I record and edit the Foojay podcasts, I invested a little more to extend my “home studio” with a good microphone (Rode), audio mixer (Zoom LiveTrak L-8), and active speakers. To mount a LED light (Bresser BR-2250) and Raspberry Pi camera on the wall, I created a small 3D printed holder.
To further improve my setup, I would need to move a 19"-rack to a different room as my router and NAS make a bit of fan-noise. Some foam on the walls would probably also improve the audio quality further. My speakers are mounted too high, so I need to ruin the wall a bit more with new (and unused) drill holes. And cable management is a very hard problem to tackle!
I use this setup for the Foojay podcast, and created the “Java Quick Start” tutorial.
Conclusion
Being “a nerd and techfreak”, investing in audio and video equipment could quickly get out of control. But when you are able to produce high quality recordings and edits, you will definitely add a lot of value to the content you create!
If you want to learn more about the Speed Editor, these are some very nice videos explaining the use of it:
