Review of the Elecrow Raspberry Pi Pico Advanced Kit
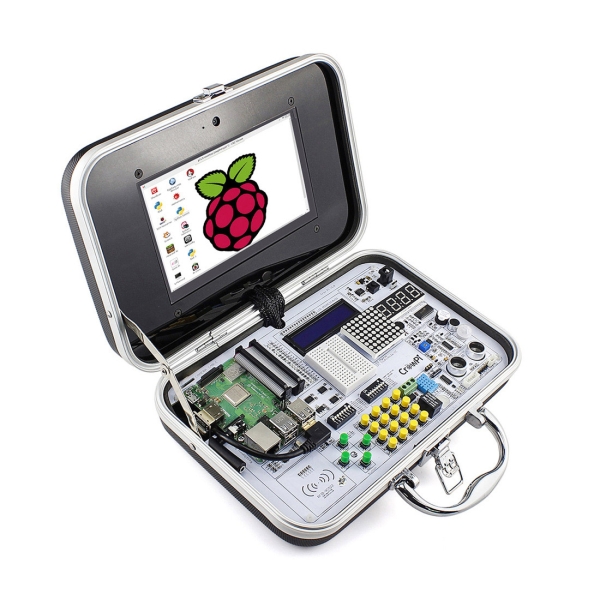
People who follow me, know I’m a big fan of the Elecrow CrowPi, the little suitcase with a Raspberry Pi and a lot of electronic components included. I used it already a lot in my presentations at various conferences to demonstrate #JavaOnRaspberryPi.
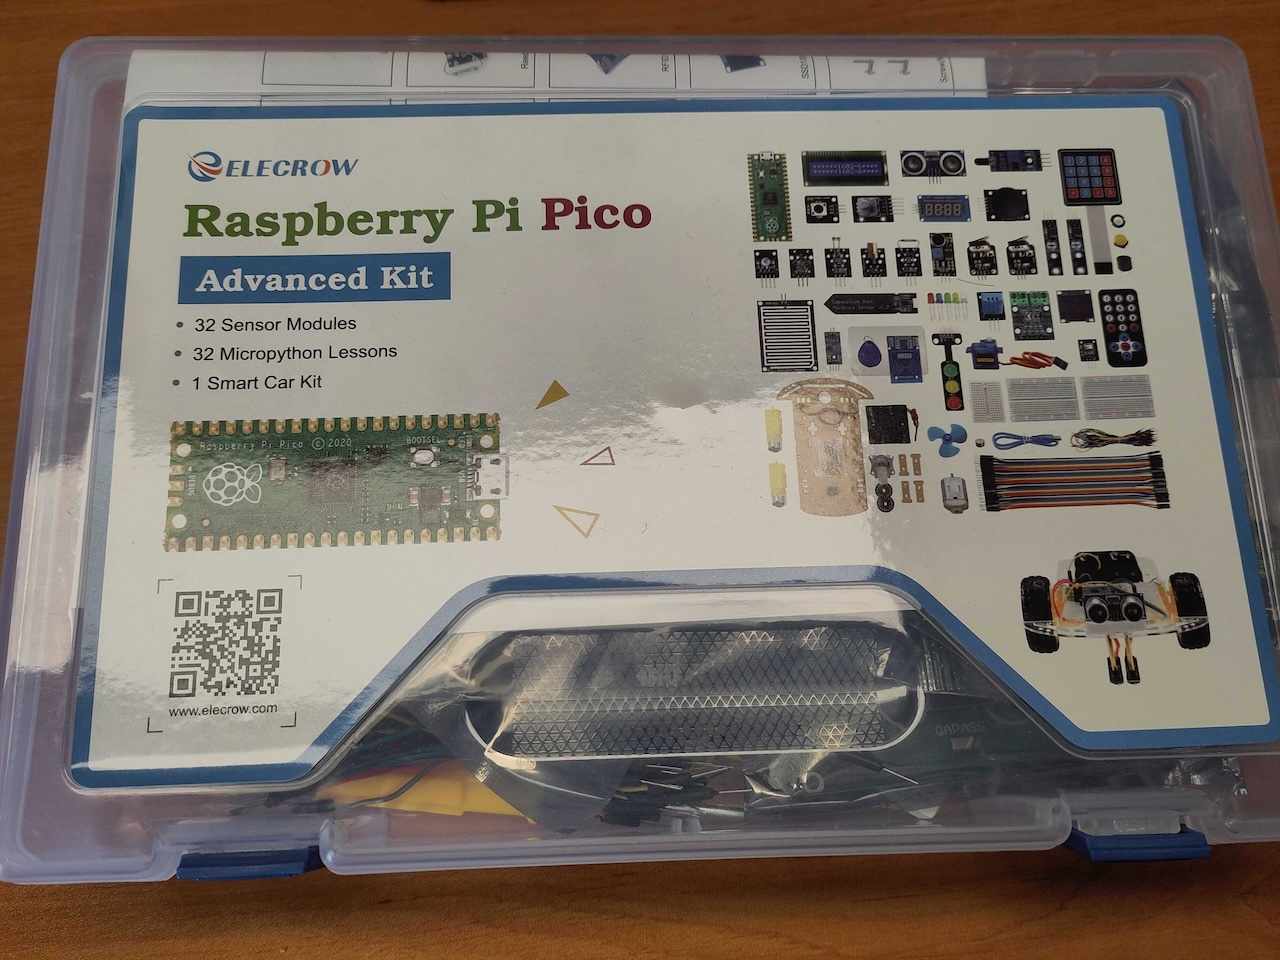
Recently, Elecrow sent me a “Raspberry Pi Pico Advanced Kit” for free, to test and evaluate it. It’s a plastic box with 32 modules, a smart car kit, breadboards, wires, and a Pico to get started quickly with electronic experiments.
You can buy the kit directly from Elecrow starting from $37,99 without Pico and minimal starter kit, up to $68,48 with the wireless Pico and full starter kit included. In Europe, you can buy it at Elektor for €59,95.
First Impression
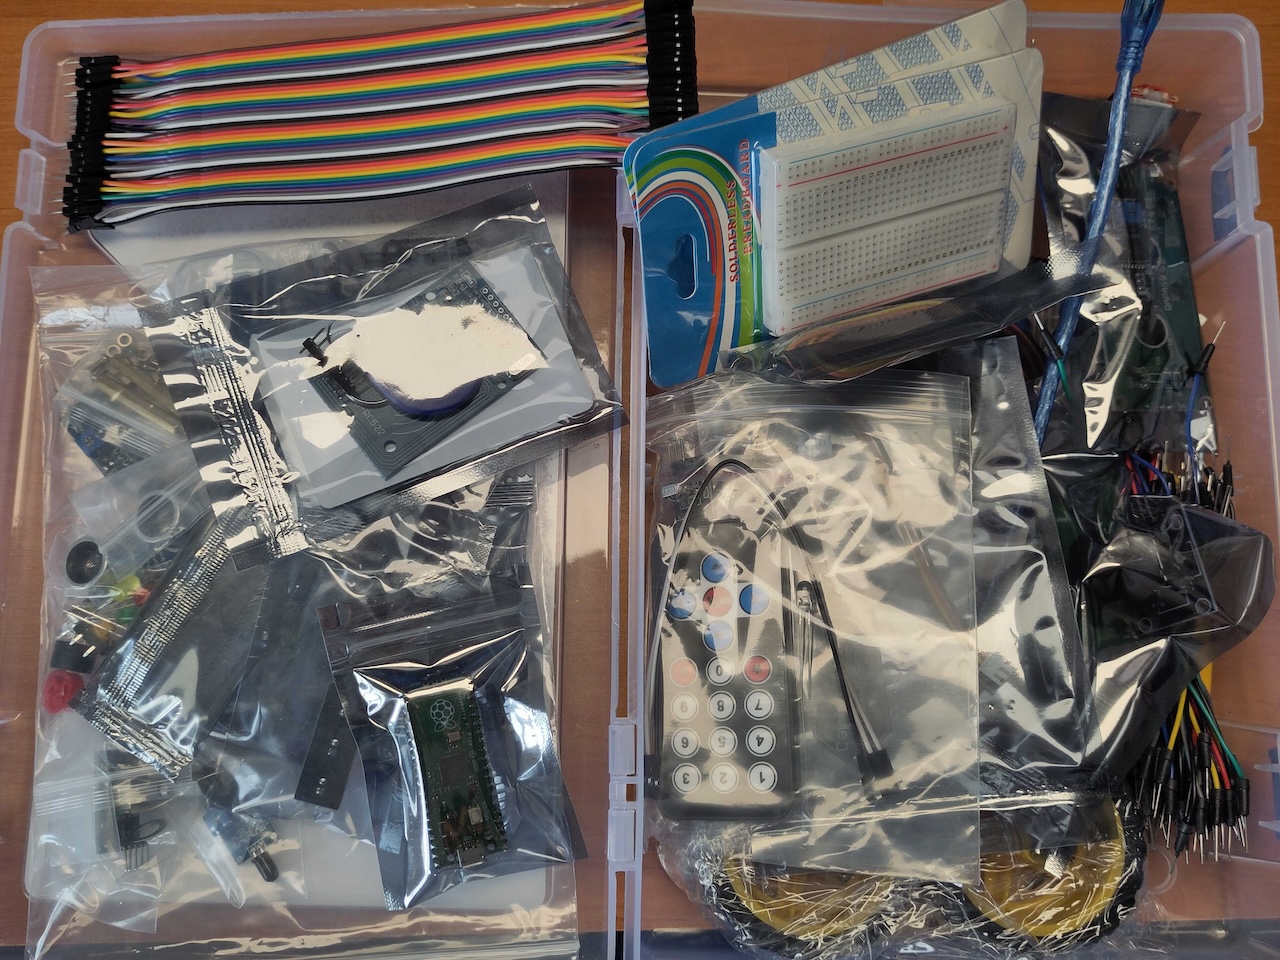
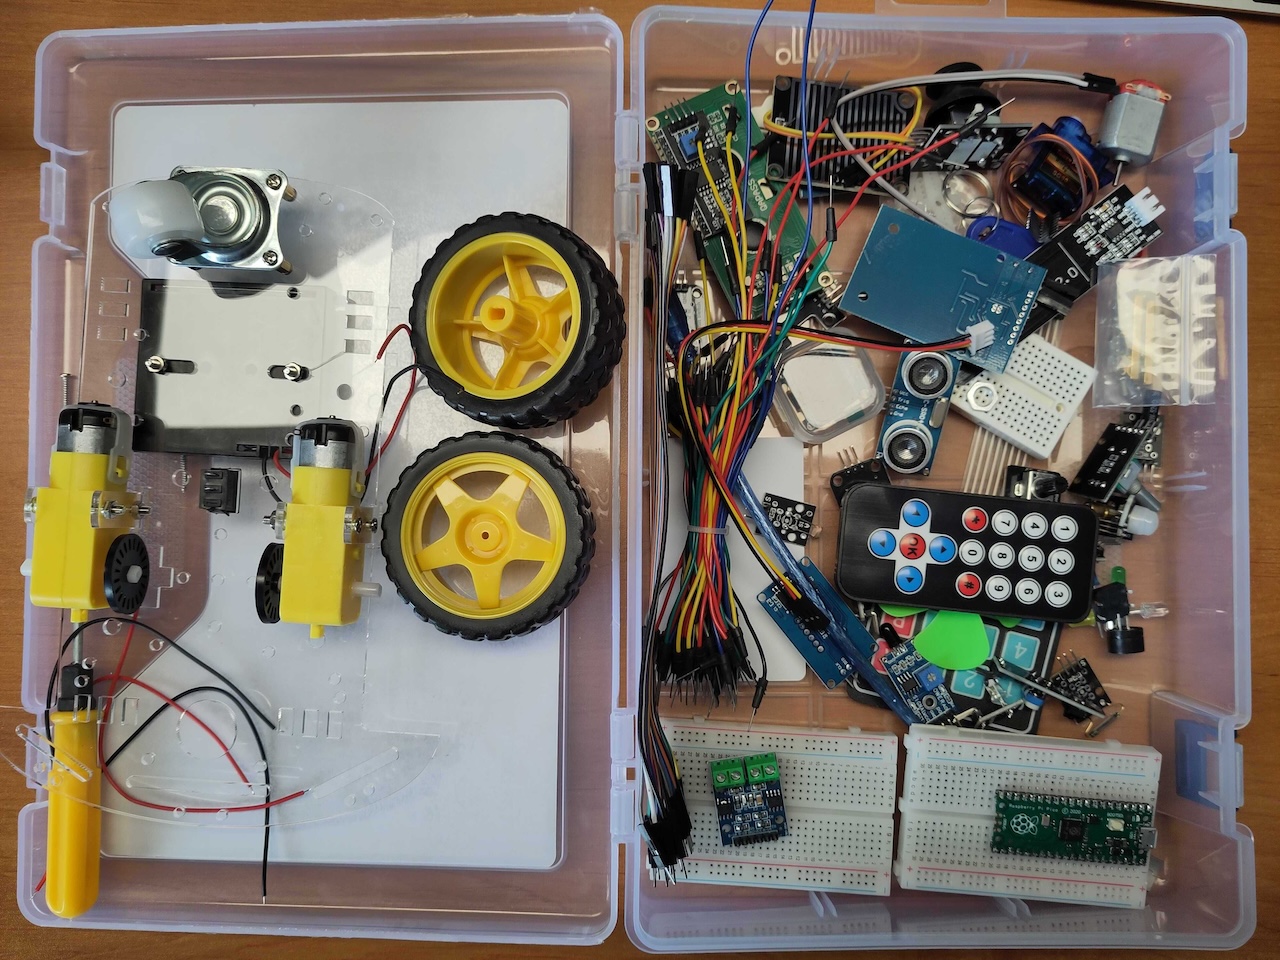
There is a lot in this box!!! Unfortunately, as is typical when you buy electronic components, with a lot of plastic packaging… But as soon as you start unpacking them, all these different sensors and components start screaming to be tested ;-). It’s is a typical mix of components you will find in most electronic starter kits, and this kit has a nice mix of different types of components.
In the tutorial PDF (89 pages), which you have to download, you get a short introduction about the Pico, the pin diagram, and how you have to prepare the Pico for MicroPython development with Thonny. There are 32 lessons in the tutorial:
- Lesson 1: Onboard LED Blinking Light
- Lesson 2: Breathing Light
- Lesson 3: Colorful Flowing Light
- Lesson 4: RGB Colorful Light
- Lesson 5: Switch Light
- Lesson 6: Voice-activated Light
- Lesson 7: Human Body Sensor Light
- Lesson 8: Smart Corridor Light
- Lesson 9: Laser Sight
- Lesson 10: Police Car Lights
- Lesson 11: Anti-theft Alarm
- Lesson 12: Music Box
- Lesson 13 Plant Doctor
- Lesson 14: Dimming Desk Light
- Lesson 15: Variable Speed Fan
- Lesson 16: Servo control
- Lesson 17: Mechanical Arm
- Lesson 18: Access Card
- Lesson 19: Electronic Clock
- Lesson 20: Traffic Light
- Lesson 21: Electronic Hourglass
- Lesson 22: Billboard
- Lesson 23: Mini Weather Station
- Lesson 24: Flood Warning
- Lesson 25: Alarm of Fire
- Lesson 26: Electronic Wall Calendar
- Lesson 27: Simple Calculator
- Lesson 28: Dc Reduction Motor
- Lesson 29: Bumper Cars
- Lesson 30: Tracking car
- Lesson 31: Obstacle Avoidance Car
- Lesson 32: Remote Control Car
Setting up all the different wirings and going through all these lessons, guarantees for many hours of programming fun!
Program with Python
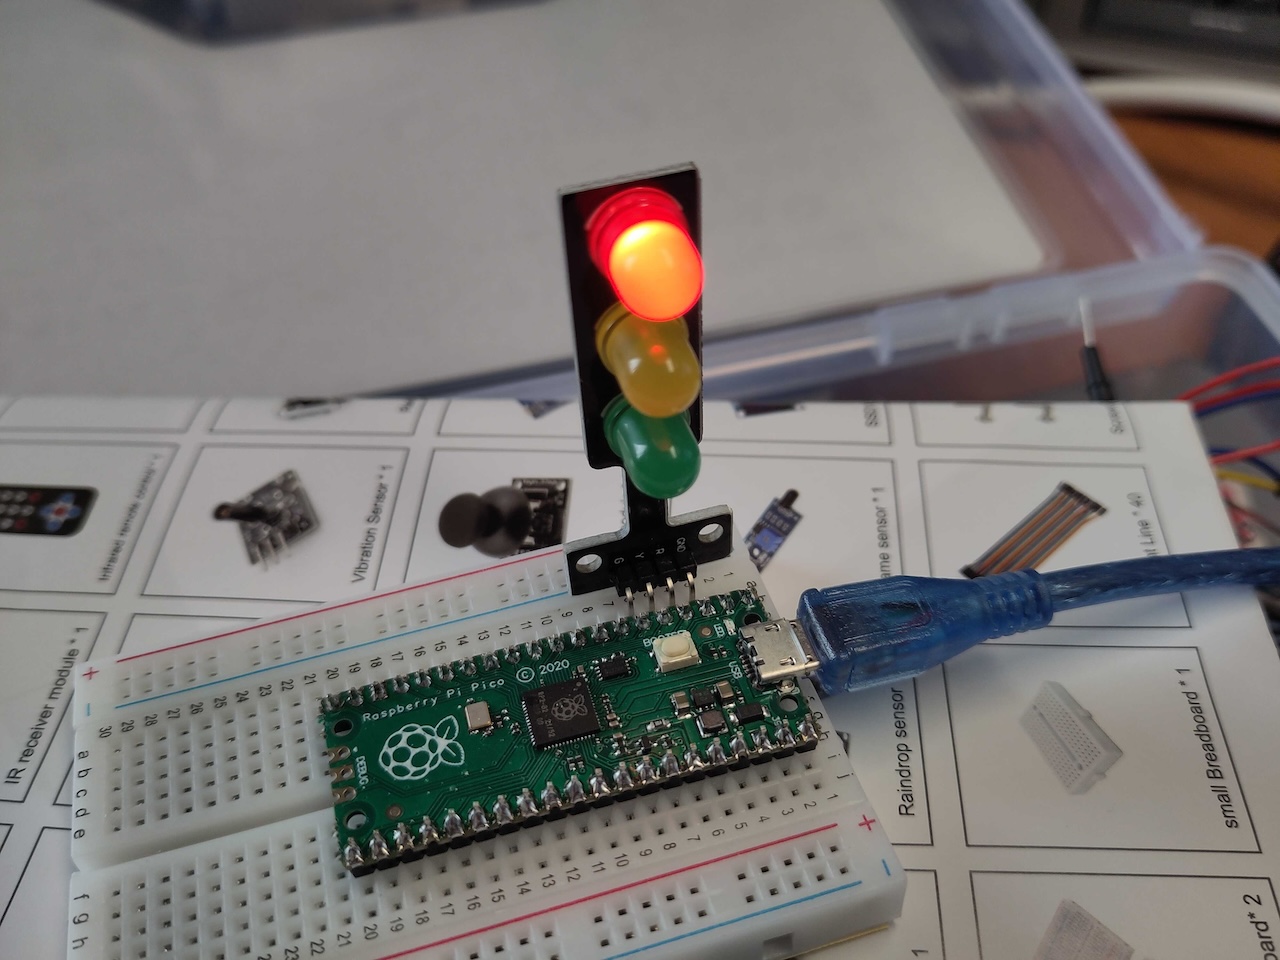
As a quick test, I tested the traffic light component included in this kit.
Prepare the Pico
First I prepared the Pico to program it with MicroPython:
- Download the MicroPython UF2 file from https://www.raspberrypi.com/documentation/microcontrollers/micropython.html.
- Plugin the USB from the Pico to your computer while pressing the little BOOTSEL button.
- The Pico shows up as a USB device “RPI-RP2” on your computer.
- Drag the downloaded UF2 file from your downloads to the RPI-RP2.
- The Pico restarts and is now ready.
Program with Thonny
Next step: downloading an IDE to write the program.
- Download Thonny from https://thonny.org/ and install it, or use
brew install thonnyon macOS. - Start Thonny.
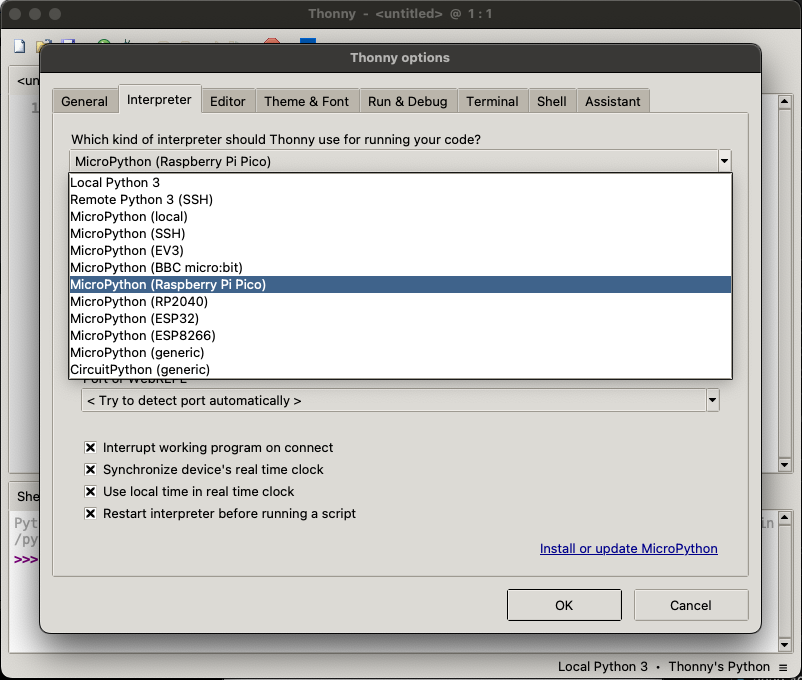
- In the “Settings” go to “Interpreter” and select “MicroPython (Raspberry Pi Pico)”.
- Open one of the examples provided by Elecrow (see “Sample Code” download below), or use the following code to blink the LED which is mounted on the Pico board itself.
from machine import Pin
import utime

led = Pin(25, Pin.OUT)

if __name__ == '__main__':
    while True:
        led.value(1)
        utime.sleep_ms(100)
        led.value(0)
        utime.sleep_ms(500)
- Hit the “Run current script” button, and you should see the result on the Pico.
Traffic Light Example
After the previous steps, we can connect any kind of sensor or component and control it from within Thonny. The following code controls the traffic light component connected on the first pins of the Pico. This doesn’t need wires if you put the Pico in a breadboard as you can see on the picture above.
from machine import Pin
from time import sleep

Led_R = Pin(2, Pin.OUT)
Led_Y = Pin(3, Pin.OUT)
Led_G = Pin(4, Pin.OUT)

if __name__ == '__main__':
    Led_R.value(0)
    Led_Y.value(0)
    Led_G.value(0)

    while True:
        Led_R.value(1)
        sleep(3)
        Led_R.value(0)

        for i in range(5):
            Led_Y.value(1)
            sleep(0.3)
            Led_Y.value(0)
            sleep(0.3)

        Led_G.value(1)
        sleep(6)
        Led_G.value(0)
As you can see, with minimal code that is easy to understand, you can create a nice little project. Ideal to attract the interest of anyone who wants to start experimenting with code and electronics.
Links
- Product page on Elecrow
- Downloads for the kit:
- User tutorial PDF
- ZIP with sample code
- Map and Assembly Manual: This sheet is included with the box, but on the version you can download, there is an extra QR code linking to the User Tutorial. On the sheet in the box I received, this QR code is missing, so I guess this link brings you to the improved version.
Conclusion
For a low price (partially thanks to the inexpensive Pico) you get a lot of value! Many sensors and components to follow the lessons in the tutorial, or create whatever idea comes into your mind. The only negative points I see are the plastic box which doesn’t have separations to keep the components organized and can’t find the assembled car kit, plus the amount of plastic bags for all components… But overall, this kit is well worth its money, and it’s something I’ll take to the CoderDojo club with me next time, to challenge some young coders to discover new frontiers!
