First experiments with Raspberry Pi Compute Module 4
I’m one of those people with boxes full of devices, waiting to be used in experiments… And from time to time, I dive into those boxes to fill in the gaps in between other tasks. So these are the results of my first Raspberry Pi Compute Module experiments!
This blog post is also explained in this video:
What is a Compute Module?
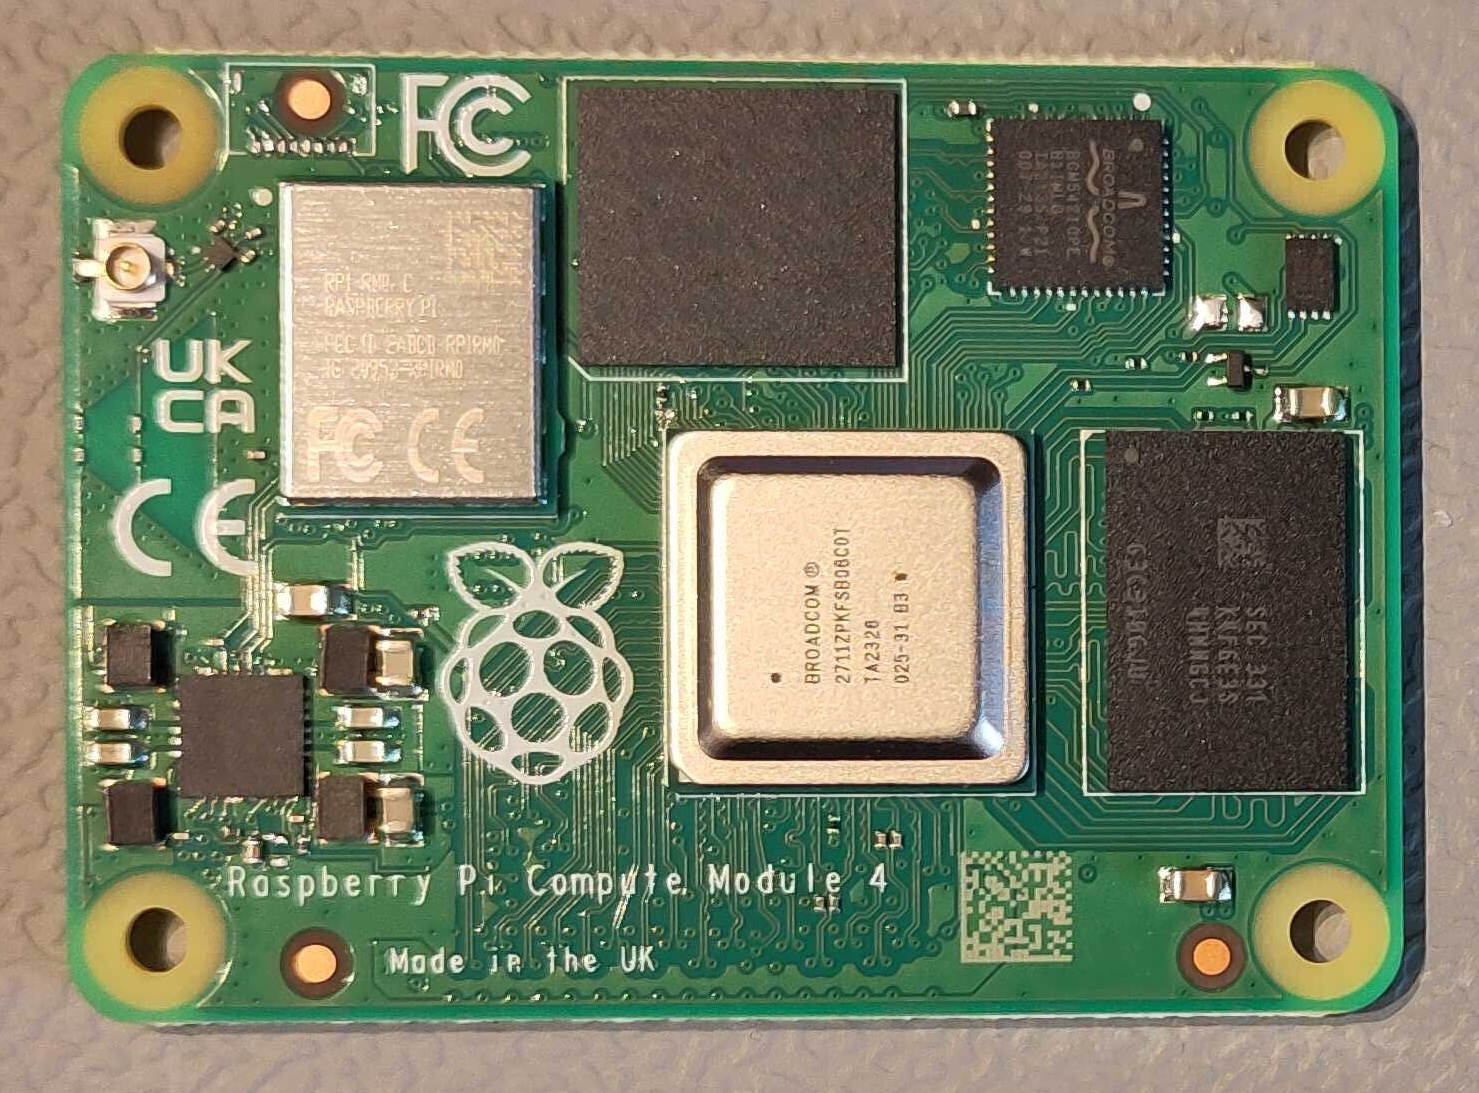
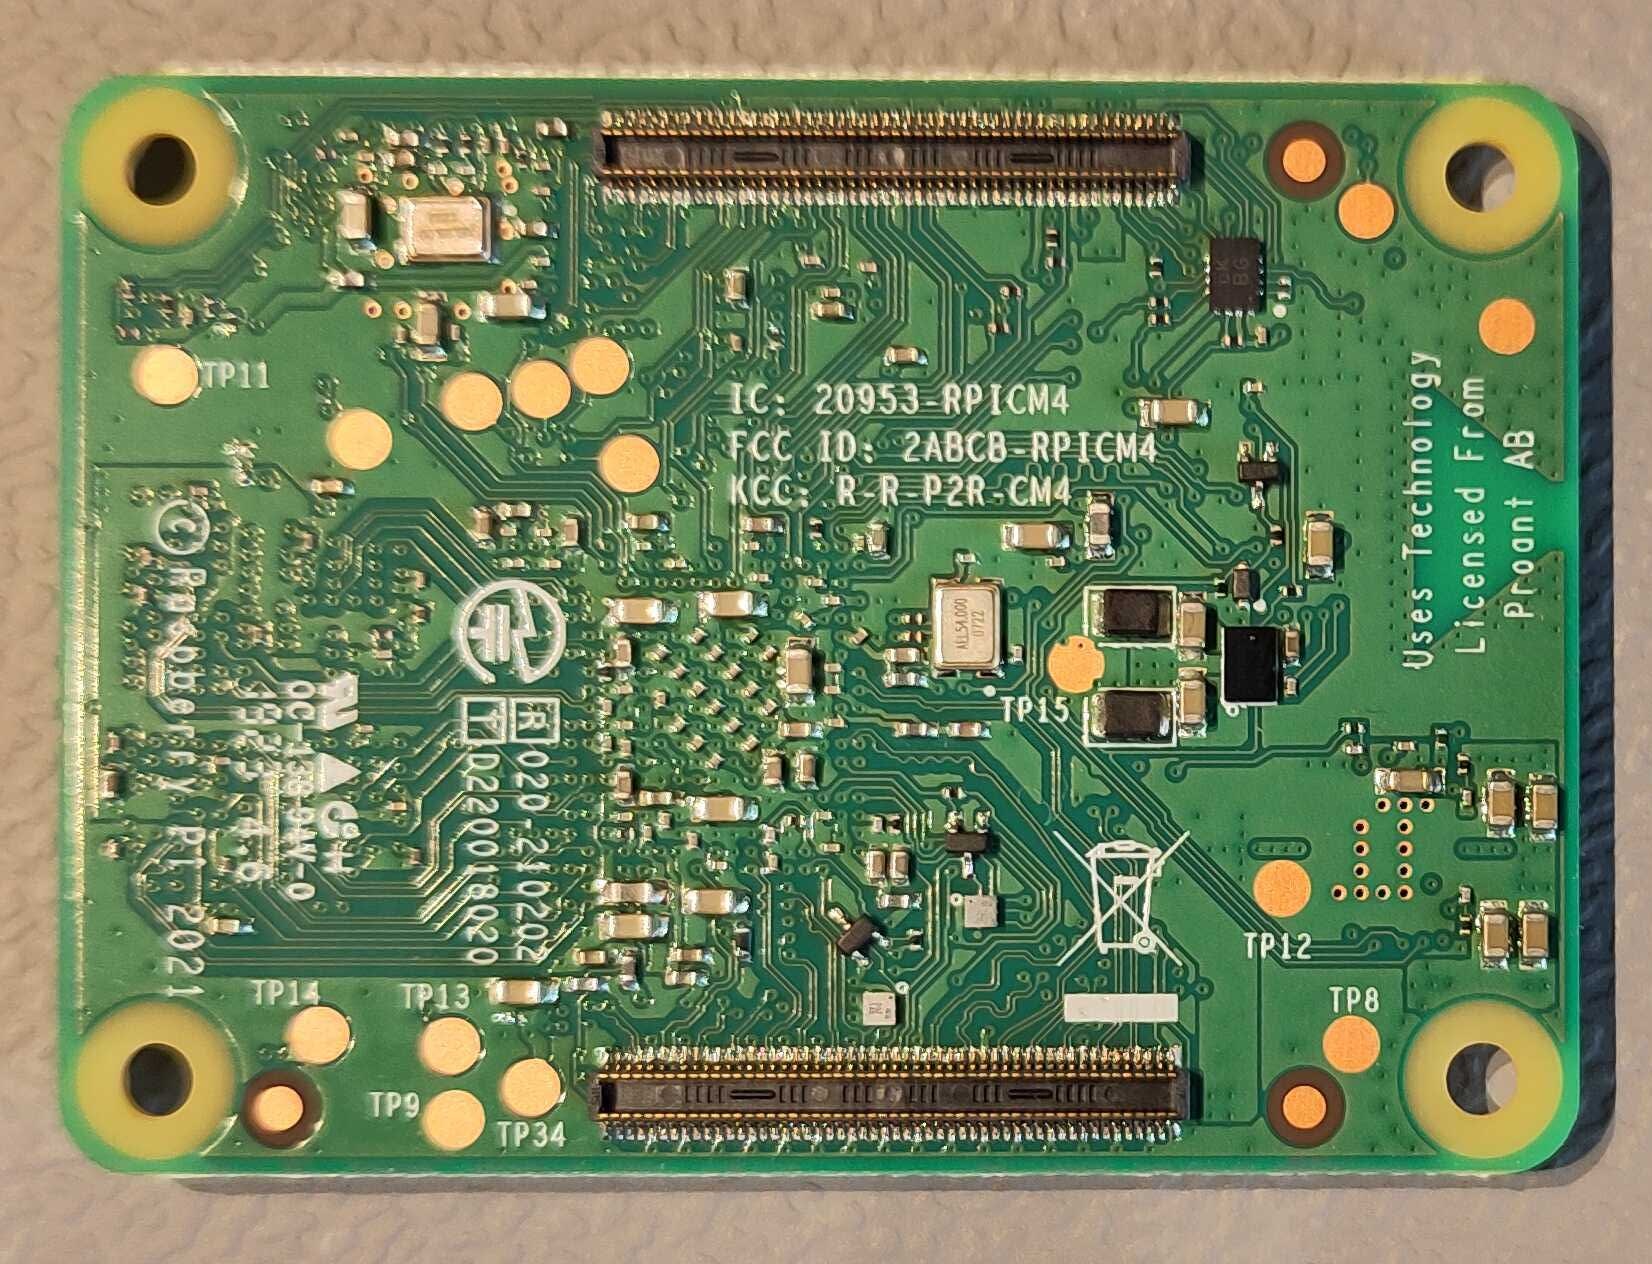
A Raspberry Pi Compute Module is a Raspberry Pi with a different shape. In this case, I’m using a Compute Module 4, which has the same processor as a “normal” Raspberry Pi 4, but lacks all the connectors. It only has two very small connectors on the bottom. To use a Compute Module, you need to click it onto one of the many existing IO Boards, are create your own one matching the use case of your project. This way, you can easily build a custom device with exactly those connections you need, without the need to build a full Linux computer yourself.
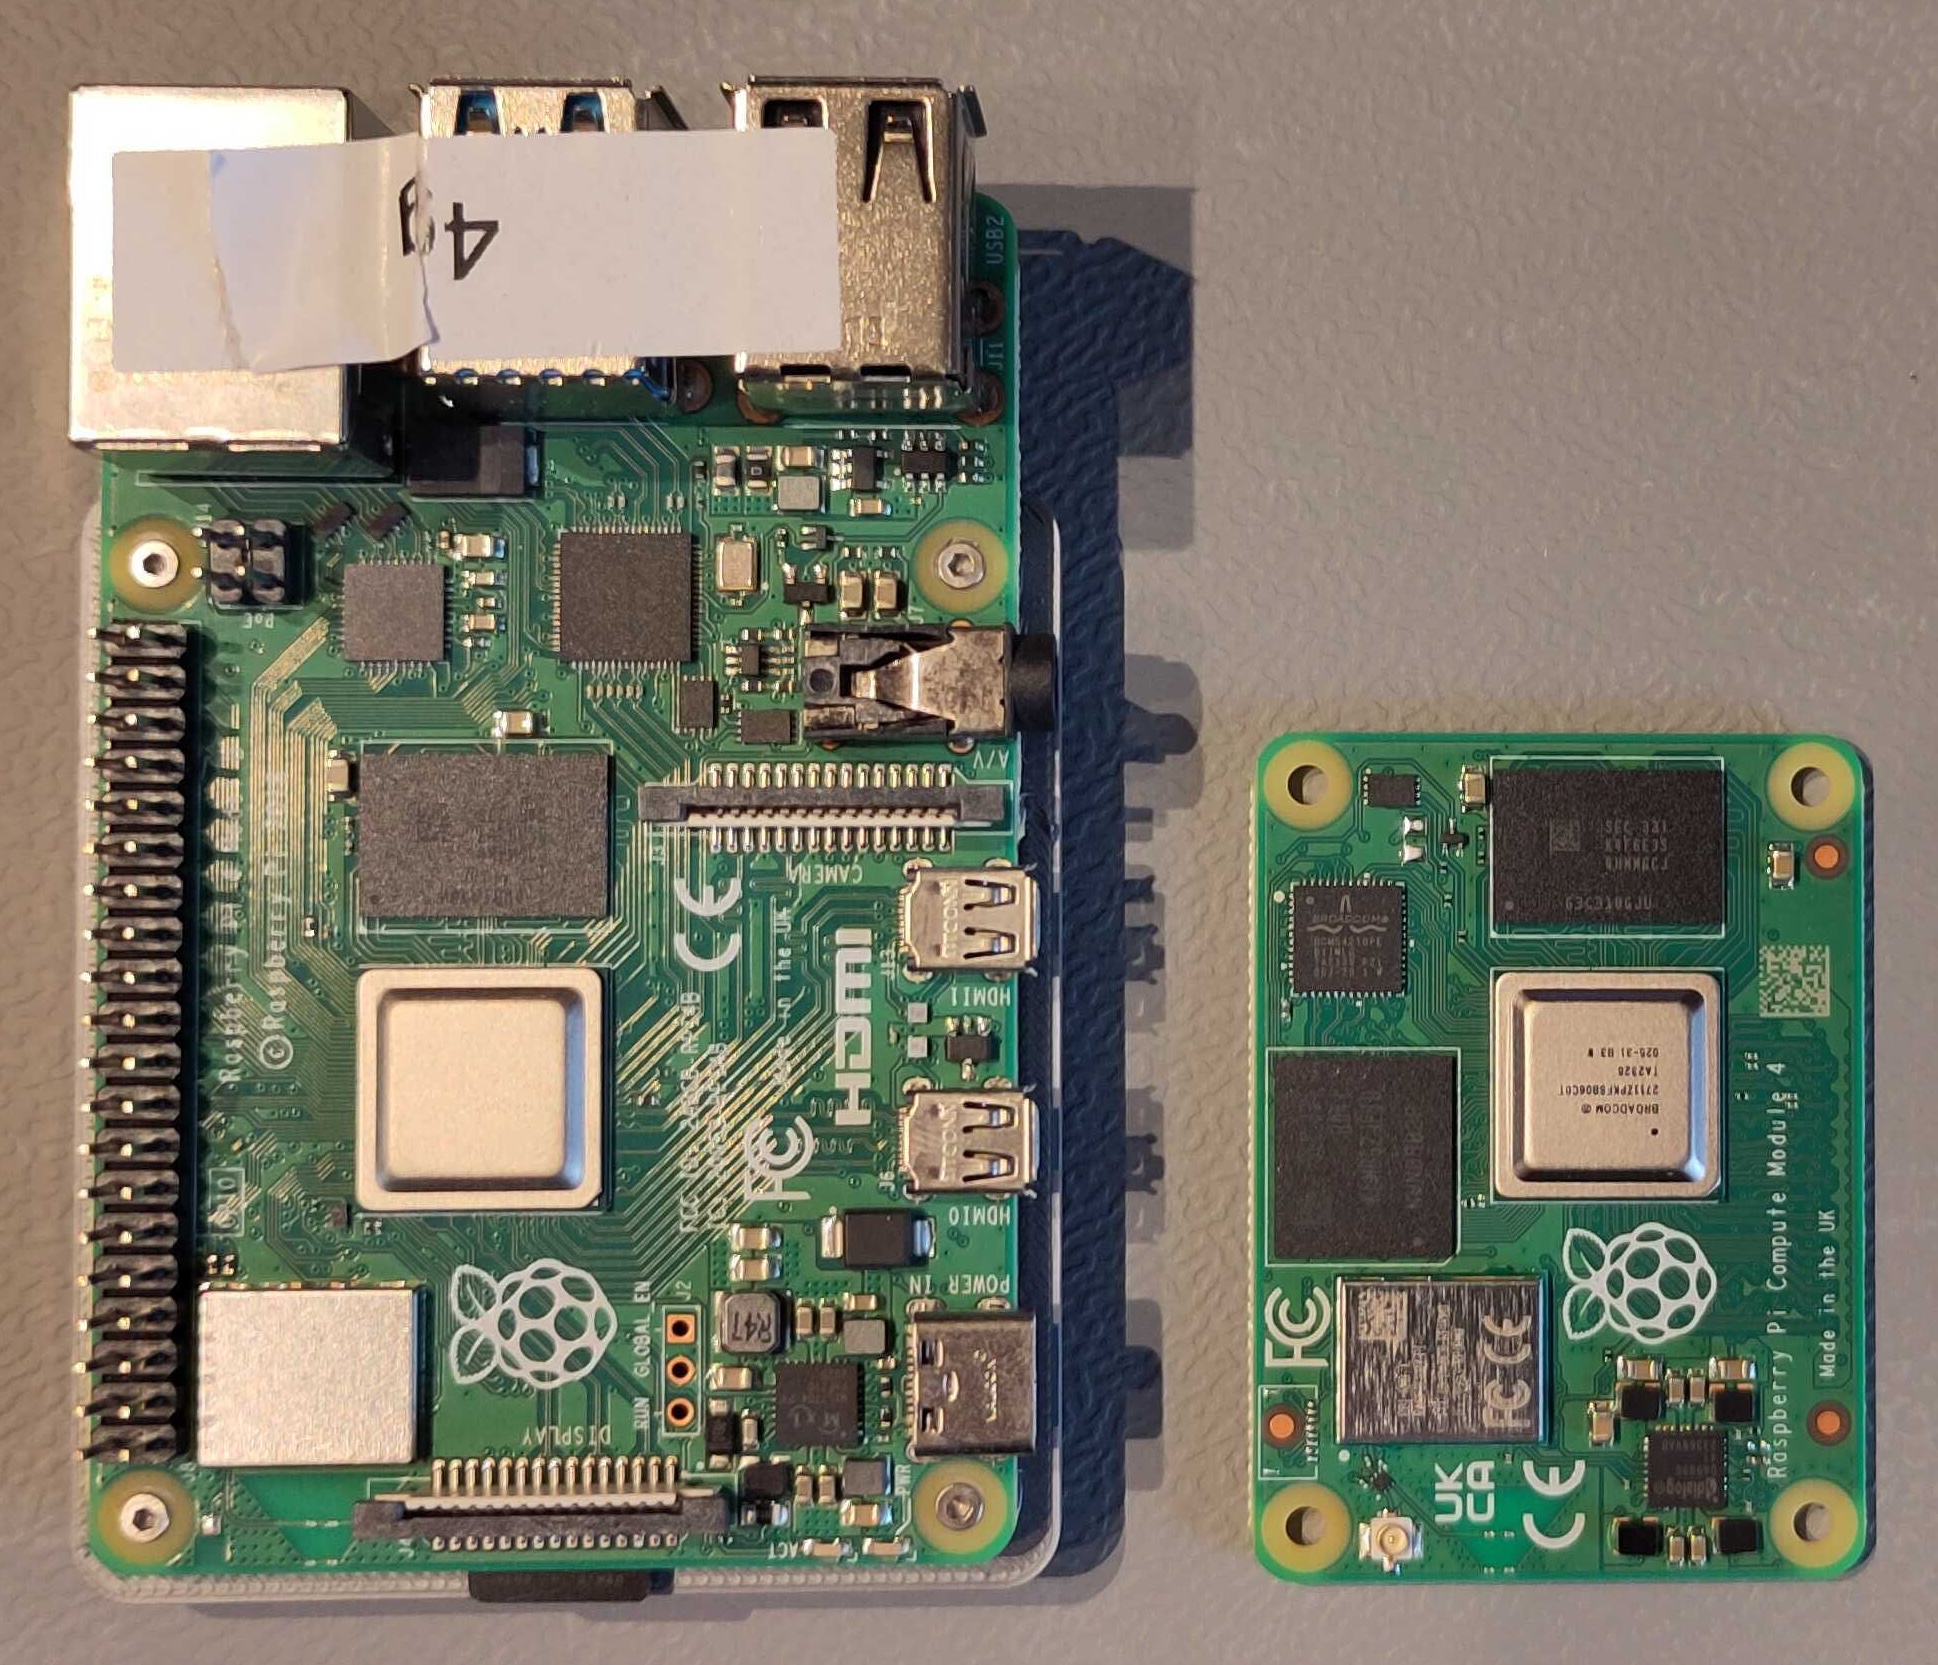
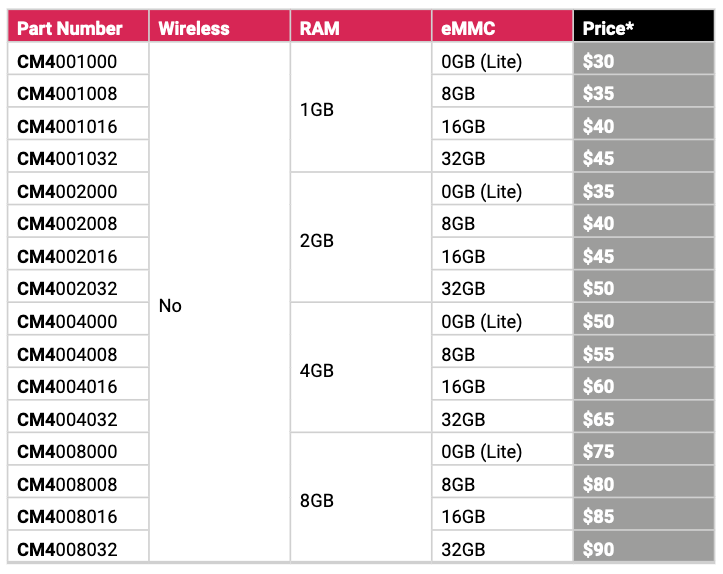
The Compute Module 4 exists in a lot of different variants, with or without wireless, and with or without eMMC. I used the “full version” with WiFi and eMMC so I don’t need an seperate SD card for the OS. The table below lists all the versions. You can easily read the part numbers as “CM4WRRMMM”, where:
- W is with (1) or without (0) wireless
- RR is the amount of RAM in GB
- MMM is the amount of eMMC in GB
I’ve two versions available on my test-table
- CM4104008:
Raspberry Pi Compute Module 4, Wireless, 4GB RAM, 8GB eMMC. - CM4102032:
Raspberry Pi Compute Module 4, Wireless, 2GB RAM, 32GB eMMC
More Info and Links
- Product page on the Raspberry Pi website
- One of the types I bought from DigiKey: 4GB RAM, 8GB eMMC, Wireless
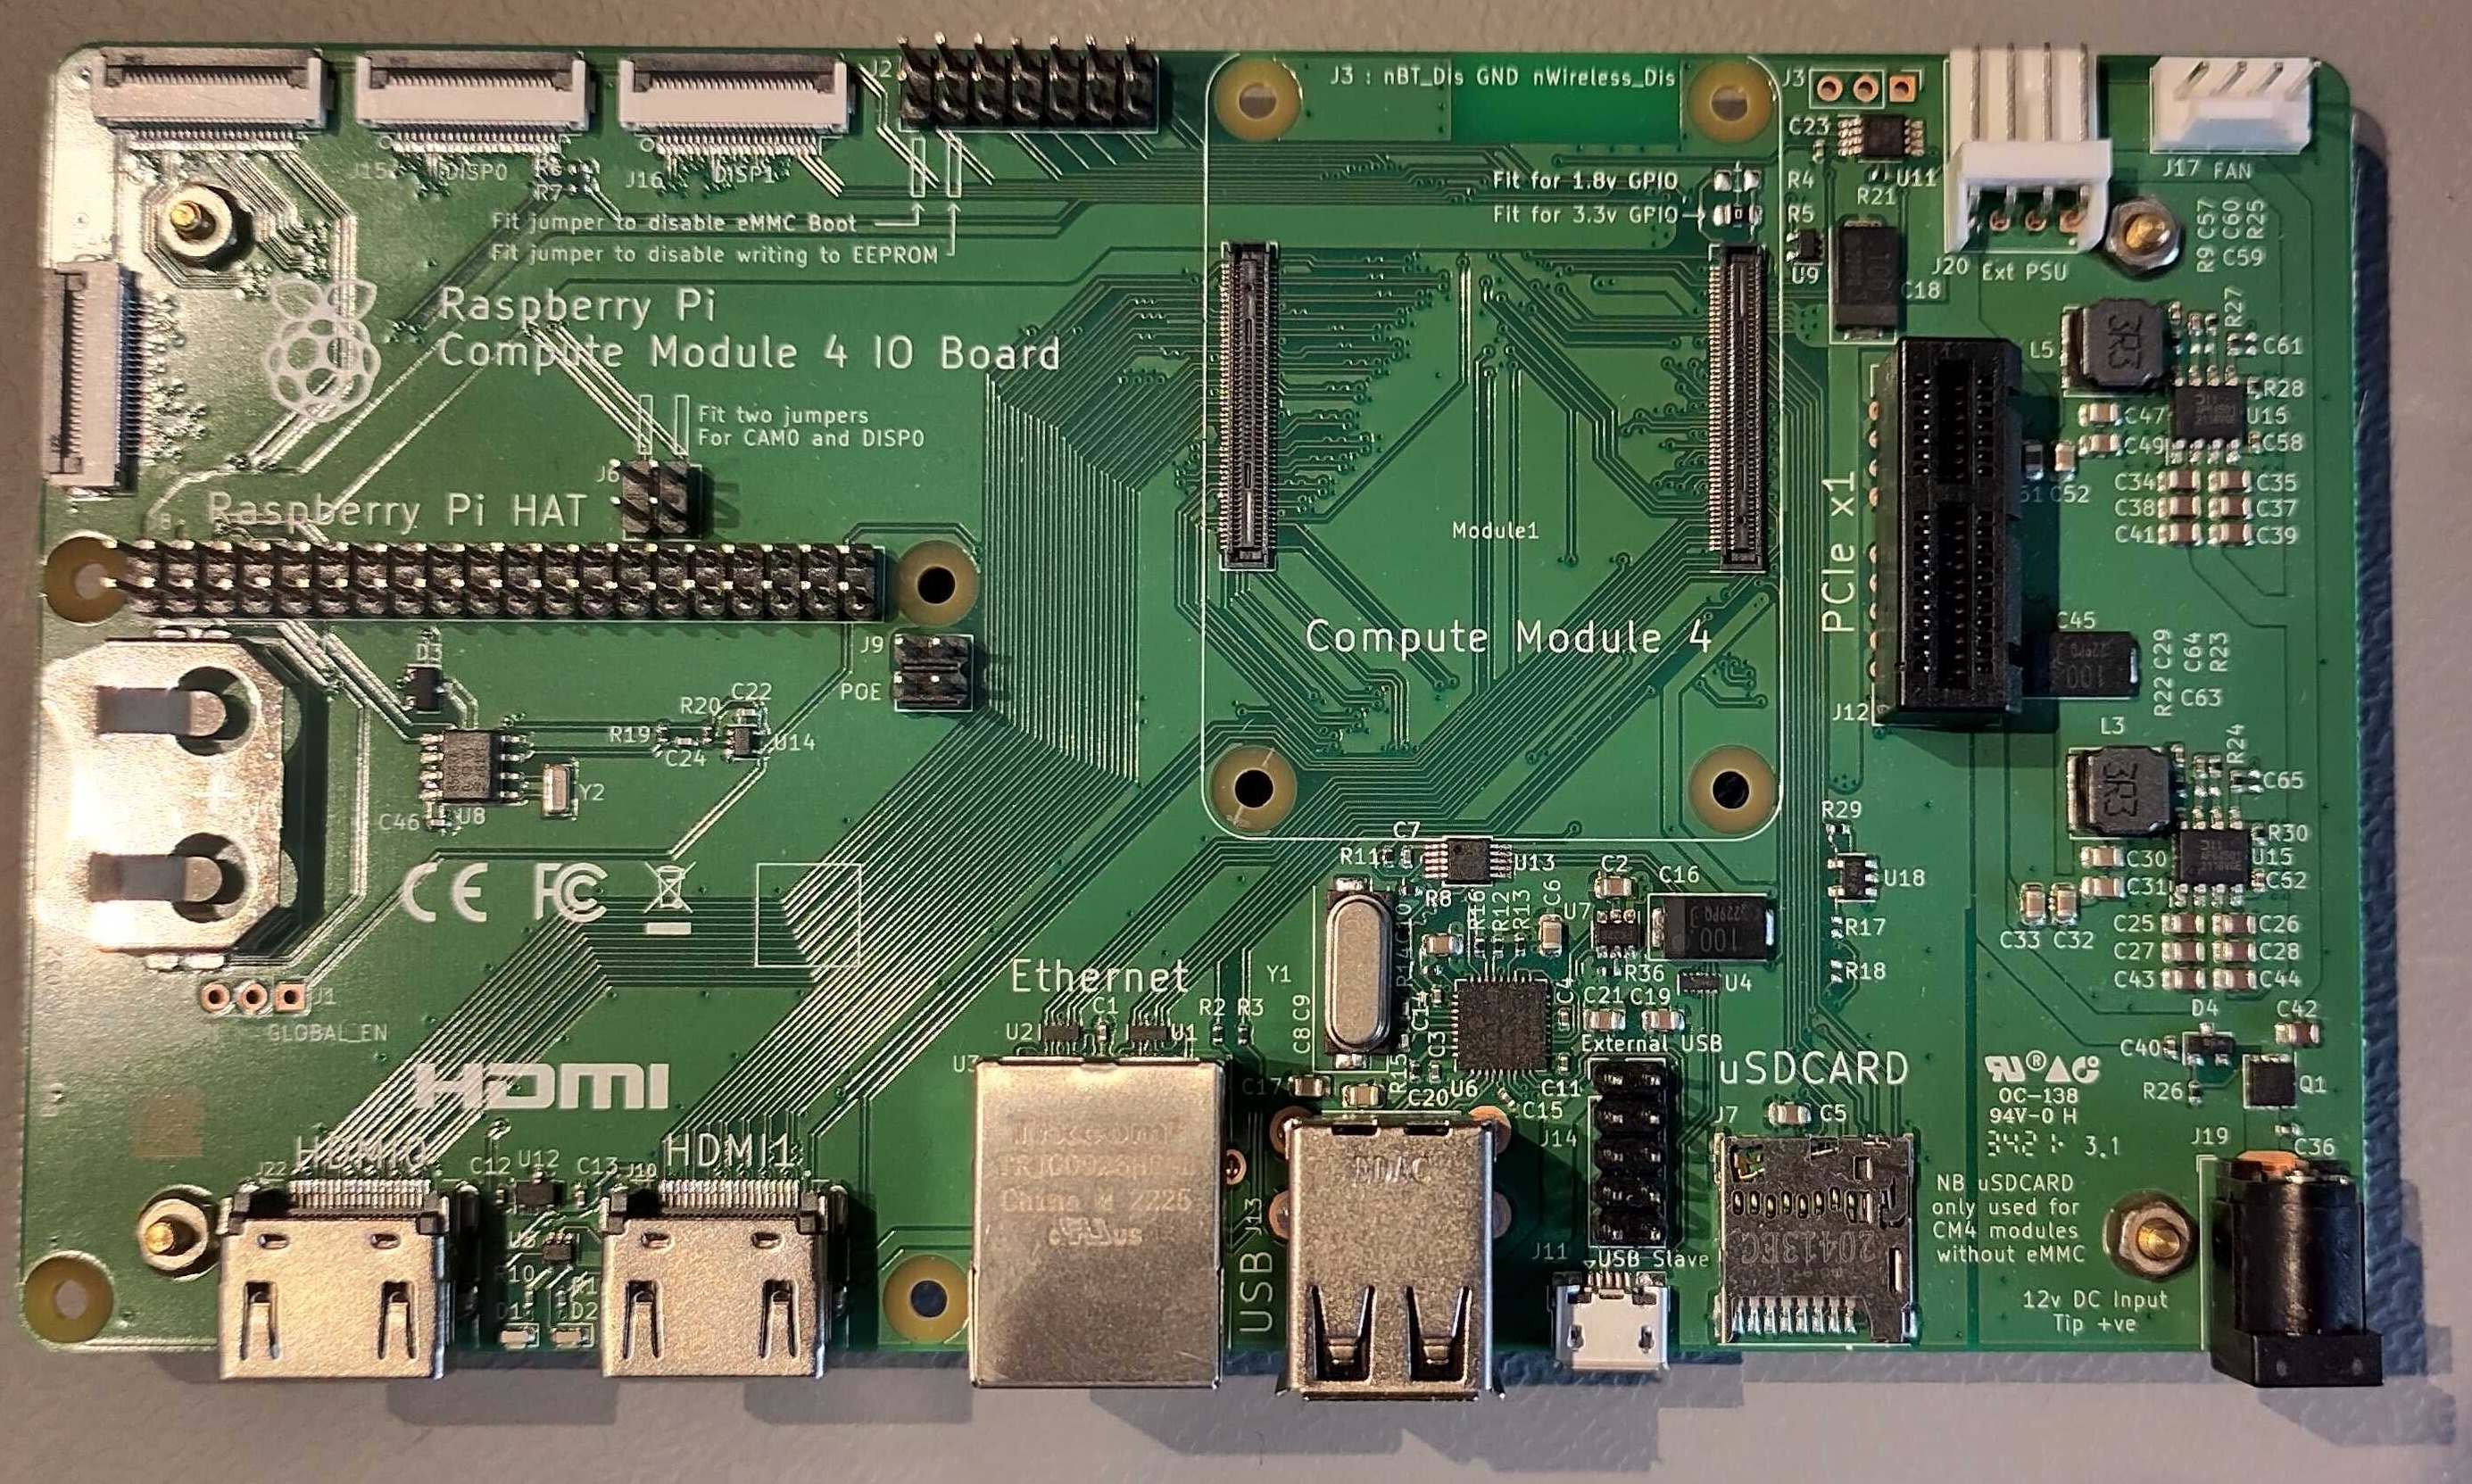
Compute IO Board
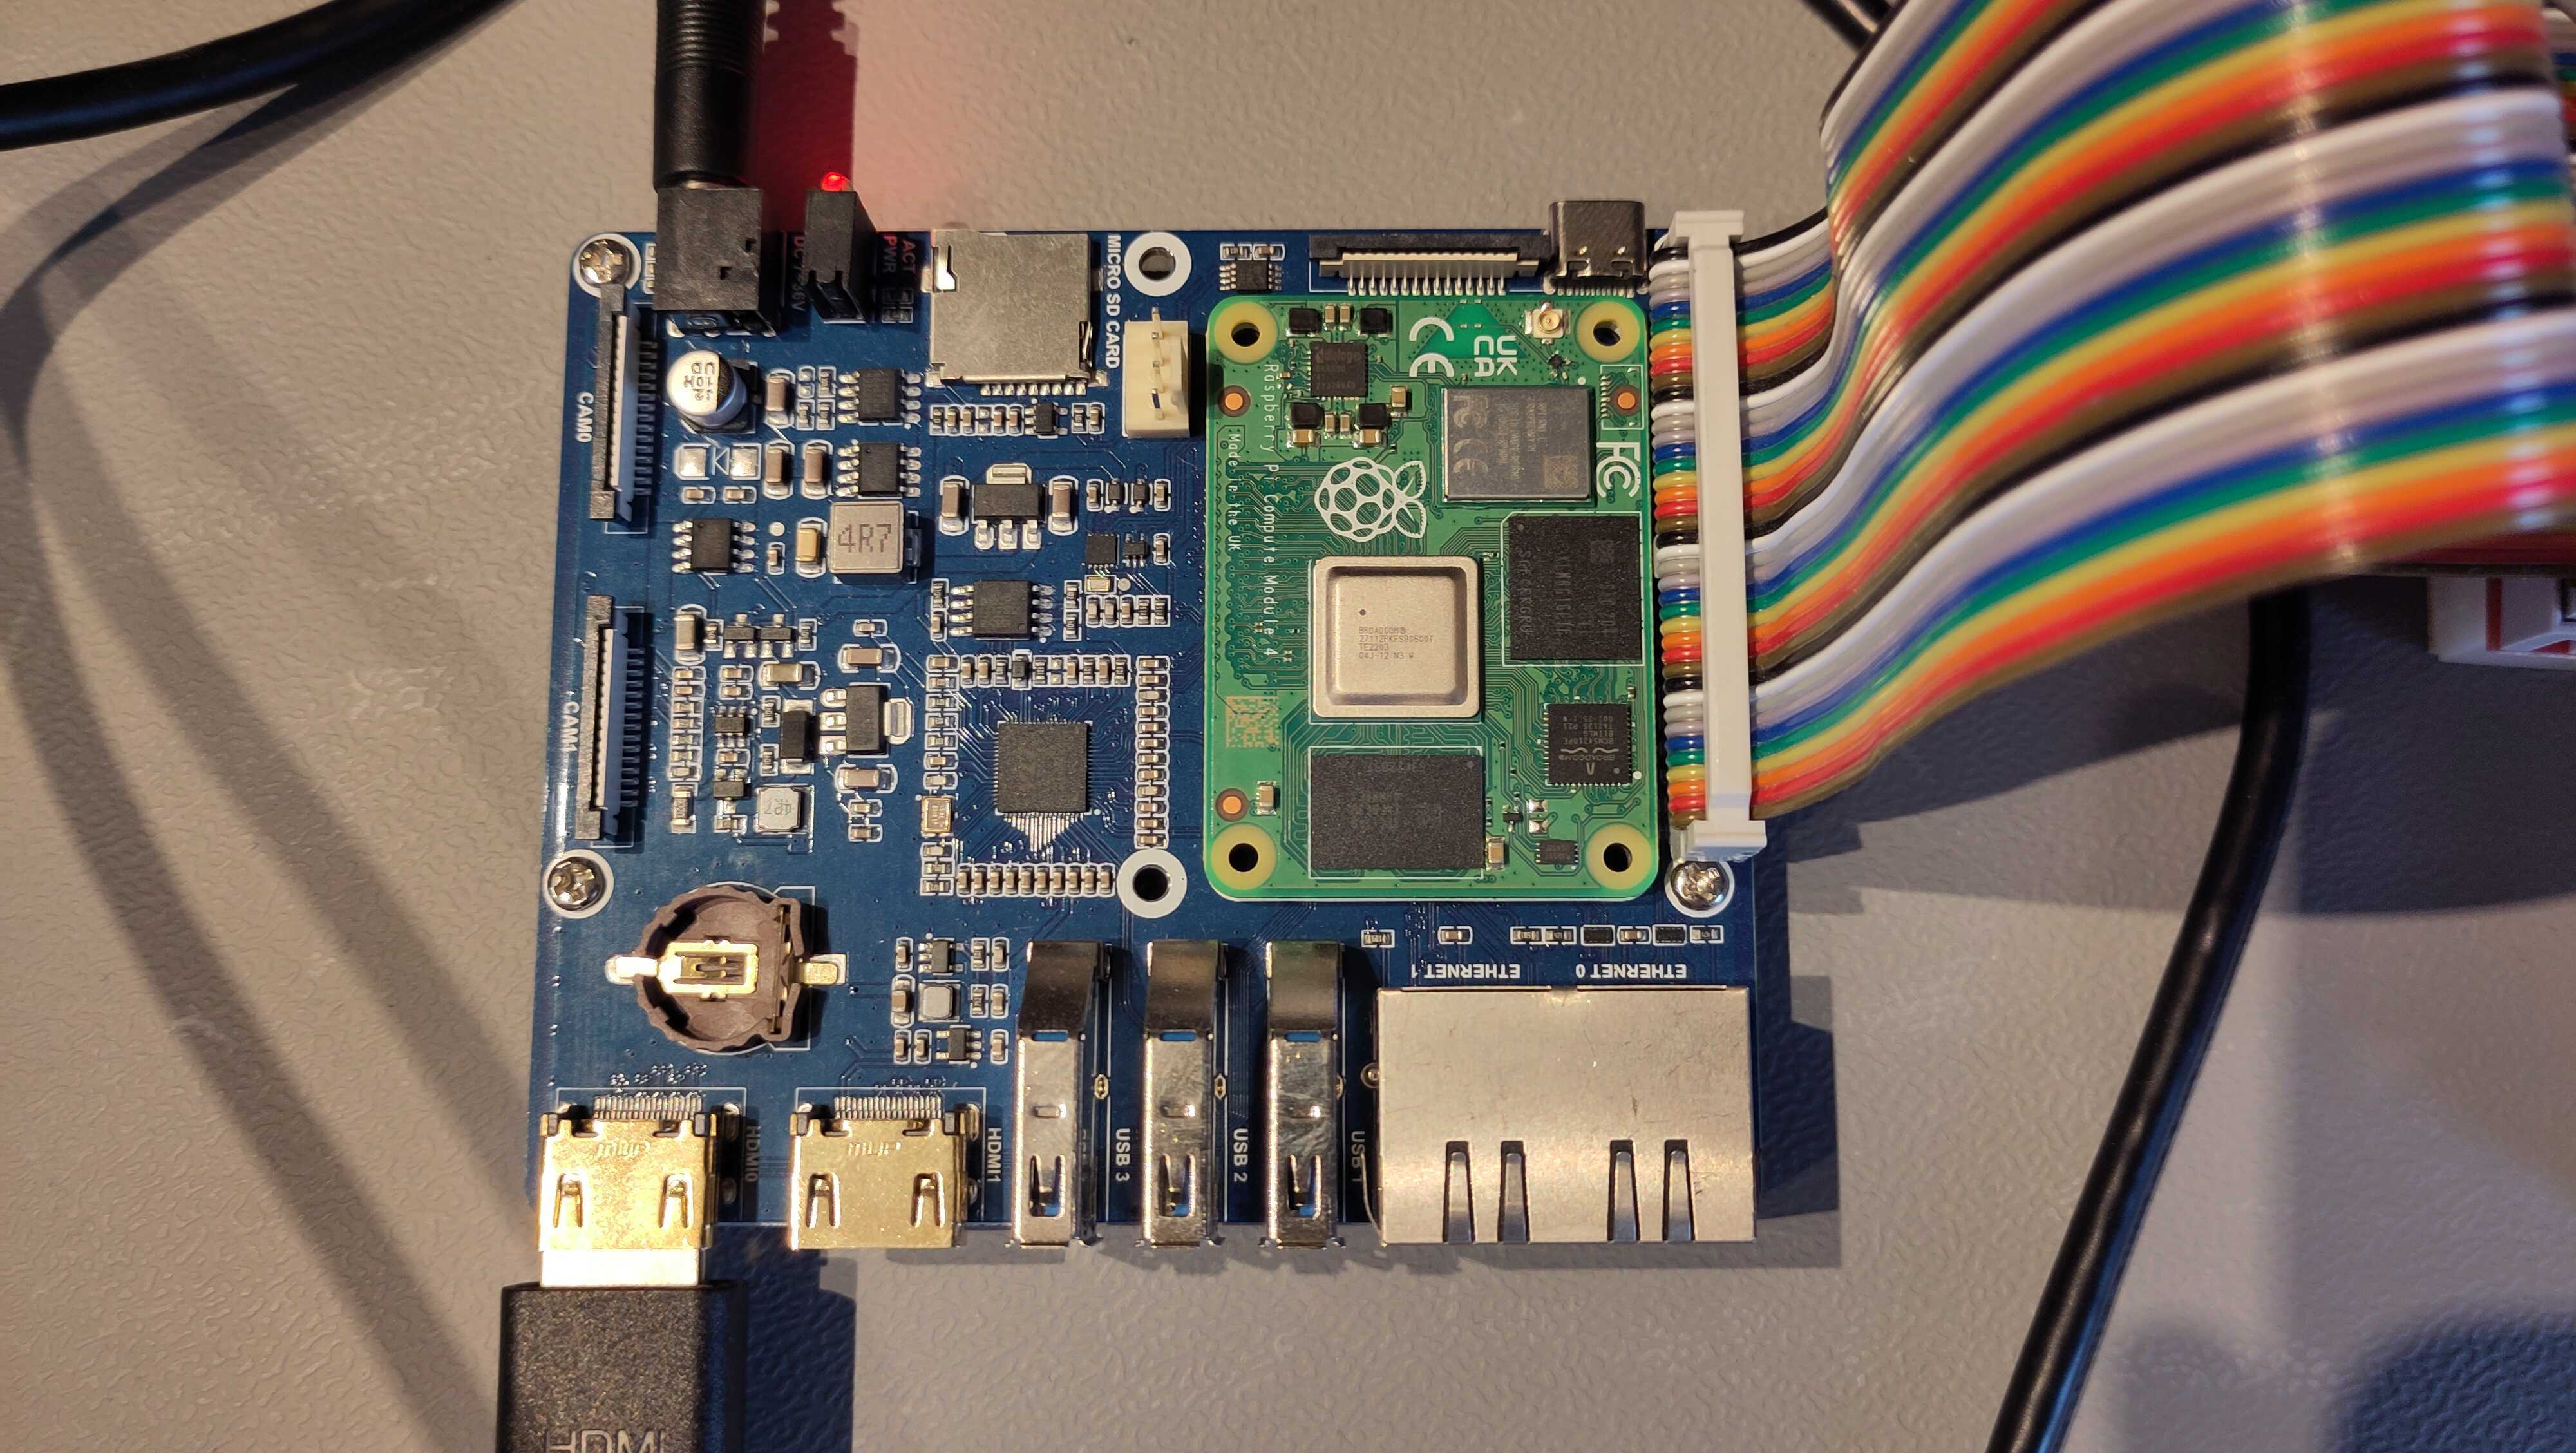
As the Compute Module must be combined with an IO-board, you’ll need to buy something extra before you can use it, or design such a board yourself, but that’s a lot of bridges to far for me ;-) At first I bought a Waveshare board, but then discovered it doesn’t allow you to put the Operating System on the eMMC. So I had to pull my credit card again, and buy the official Raspberry Pi IO Board. On that board, you have a jumper you can connect (see the yellow wire in the picture below), that makes the eMMC writeable from another computer, when connecting both with a USB cable.

Following the instructions by Jeff Geerling, I connected the Compute Module to a Raspberry Pi 5, and ran the rpiboot tool. At first, nothing happenend because of a bad USB-cable… Once that problem got solved, I got this output on the Rapsberry Pi 5:
$ sudo apt install libusb-1.0-0-dev
# On MacOS use `brew install libusb`
$ git clone --depth=1 https://github.com/raspberrypi/usbboot
$ cd usbboot
$ make
$ sudo ./rpiboot
RPIBOOT: build-date Aug 29 2024 version 20240422~085300 e7aefe30
Waiting for BCM2835/6/7/2711/2712...

# Following lines appear when the compute is connected with a good USB cable...
Loading embedded: bootcode4.bin
Sending bootcode.bin
Successful read 4 bytes
Waiting for BCM2835/6/7/2711/2712...
Loading embedded: bootcode4.bin
Second stage boot server
Cannot open file config.txt
Cannot open file pieeprom.sig
Loading embedded: start4.elf
File read: start4.elf
Cannot open file fixup4.dat
Second stage boot server done
I could then burn the OS with the Imager tool from the Raspberry Pi 5 to the Compute Module 4, pre-configuring the Wifi connection and user account. This took a suprisingly long time (over 30 minutes).
More Info and Links
- Product page on the Raspberry Pi website
- Raspberry Pi board at DigiKey
- Dual Gigabit Ethernet version by Waveshare
- Small version by Waveshare
- And there are many more…
First Boot of the OS
After first boot, I could easily connect with SSH, enabled VNC, and checked some system values:
$ uname -a
Linux compute4 6.6.31+rpt-rpi-v8 #1 SMP PREEMPT Debian 1:6.6.31-1+rpt1 (2024-05-29) aarch64 GNU/Linux

 $ lscpu
Architecture:             aarch64
  CPU op-mode(s):         32-bit, 64-bit
  Byte Order:             Little Endian
CPU(s):                   4
  On-line CPU(s) list:    0-3
Vendor ID:                ARM
  Model name:             Cortex-A72
    Model:                3
    Thread(s) per core:   1
    Core(s) per cluster:  4
    Socket(s):            -
    Cluster(s):           1
    Stepping:             r0p3
    CPU(s) scaling MHz:   100%
    CPU max MHz:          1500.0000
    CPU min MHz:          600.0000
    BogoMIPS:             108.00
    Flags:                fp asimd evtstrm crc32 cpuid
Caches (sum of all):
  L1d:                    128 KiB (4 instances)
  L1i:                    192 KiB (4 instances)
  L2:                     1 MiB (1 instance)
...
Pi4J on Compute Module 4
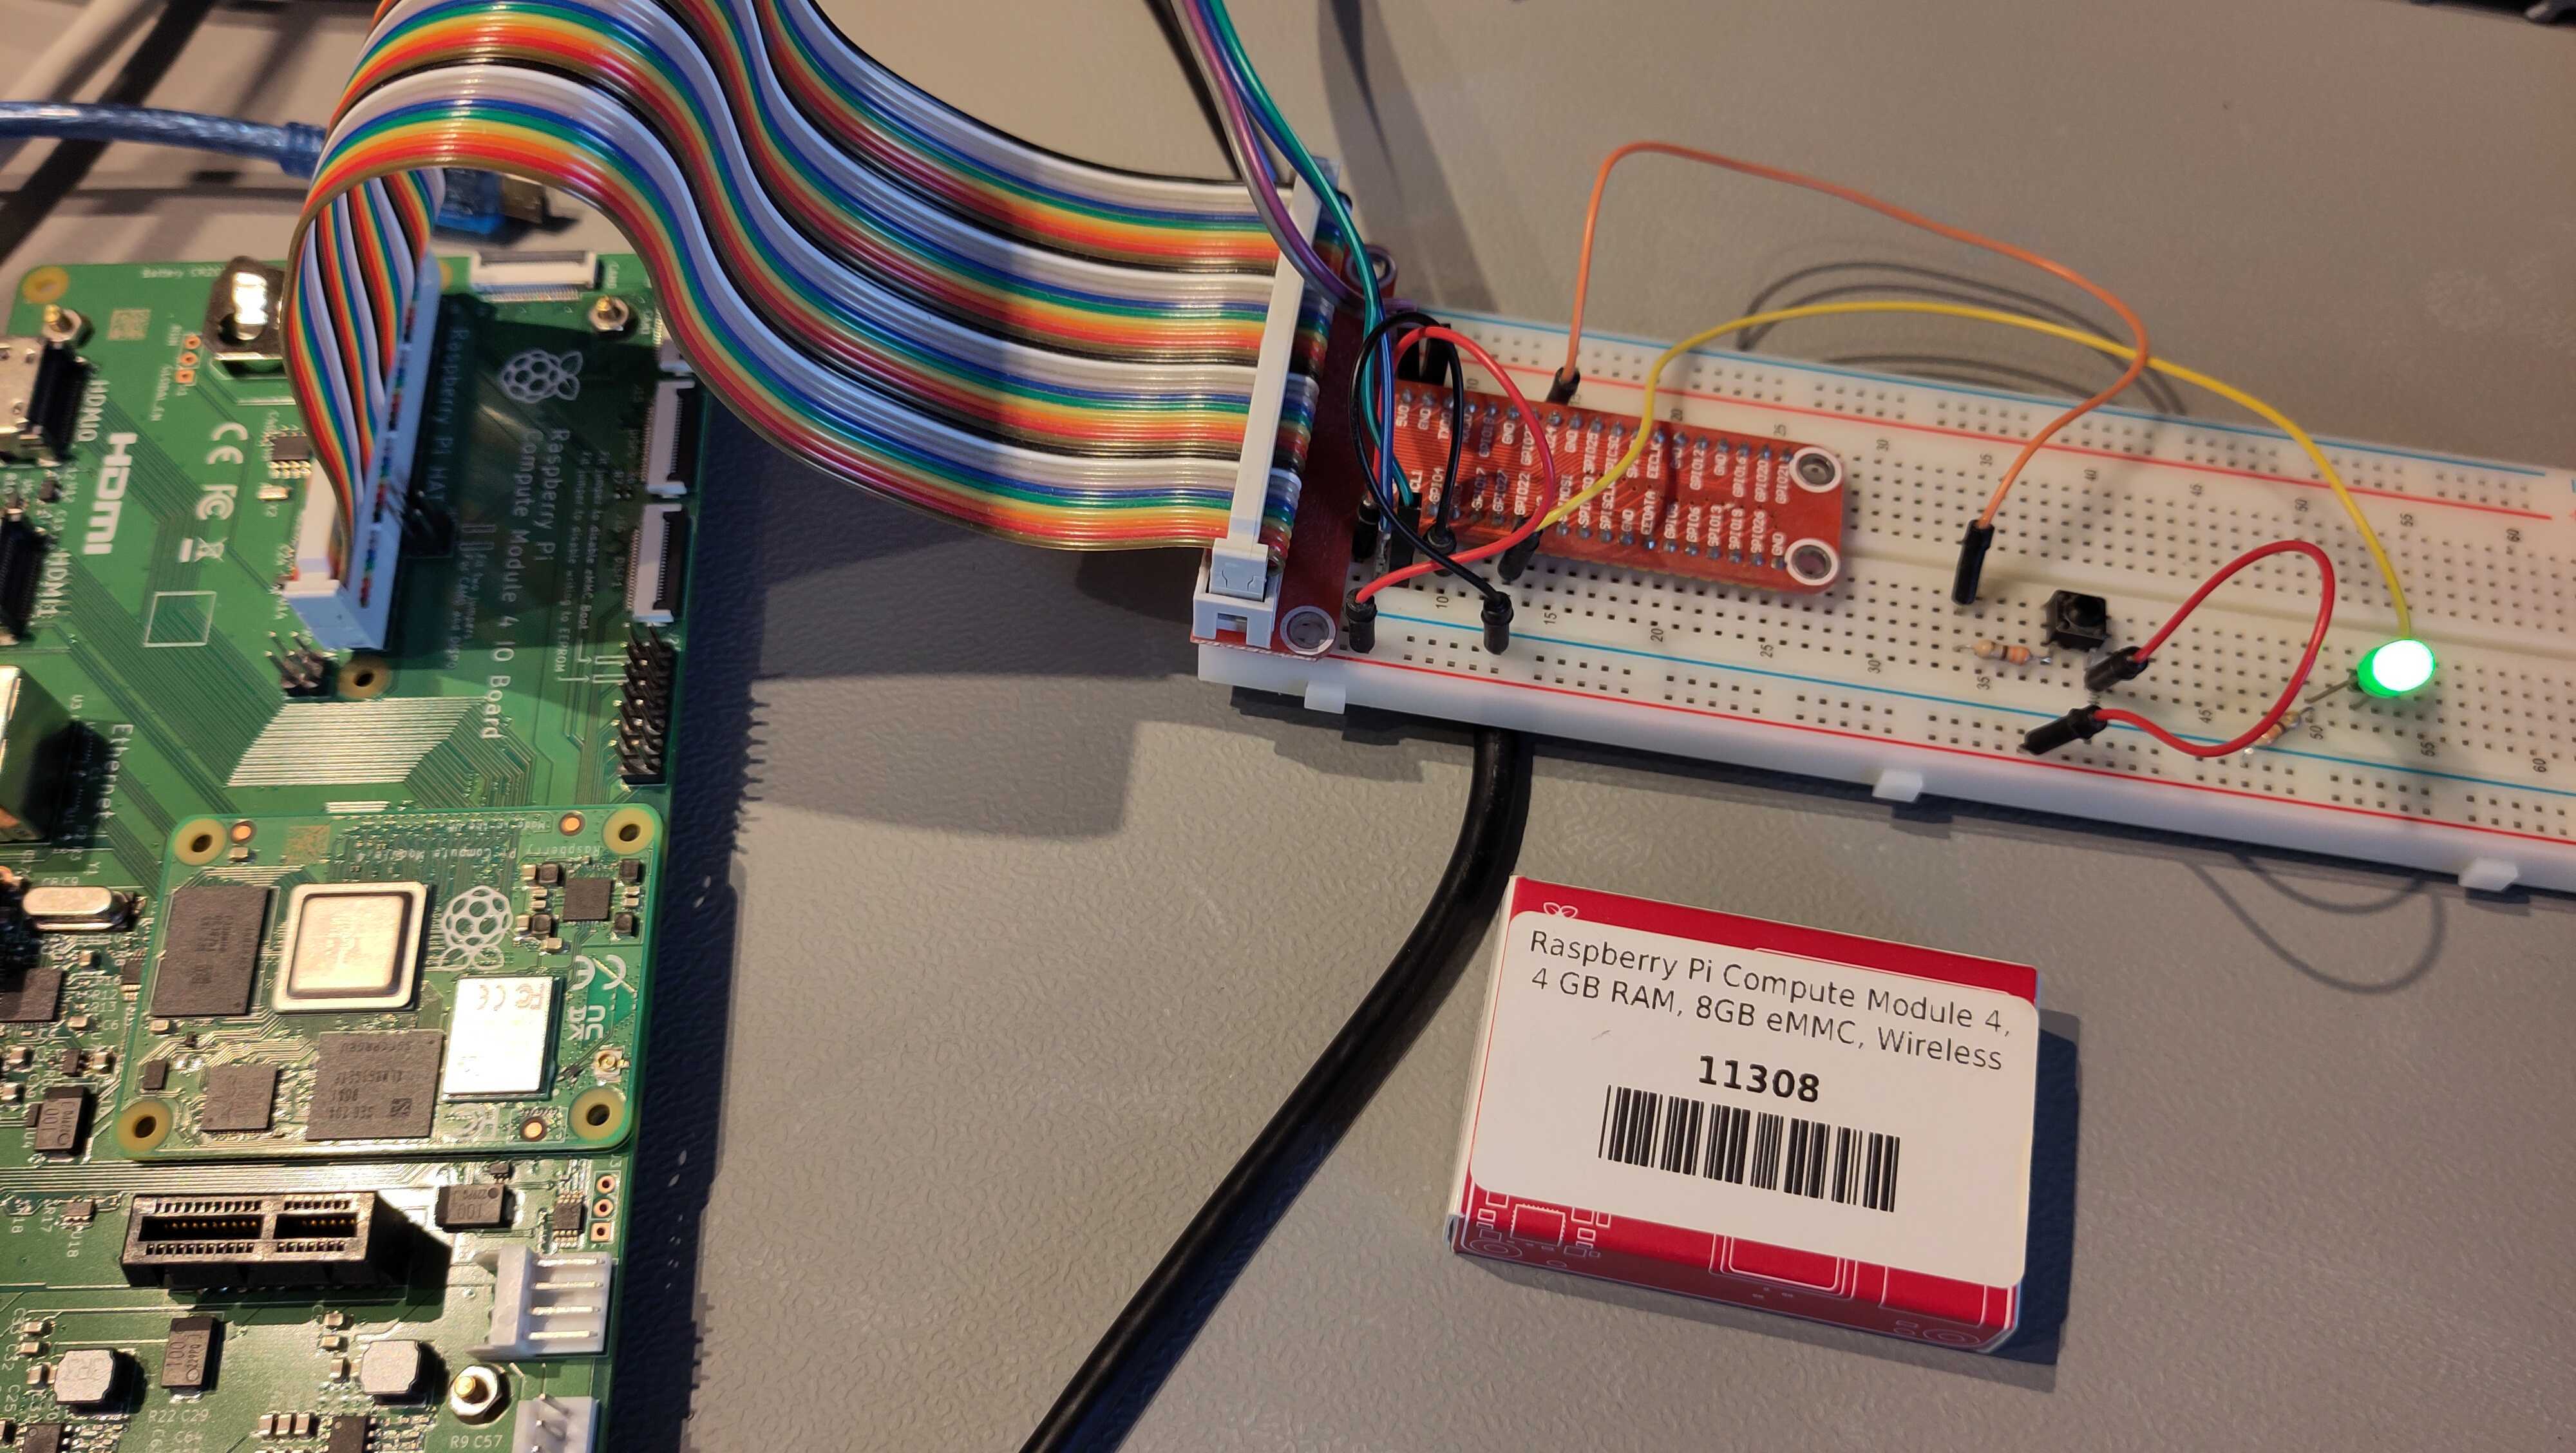
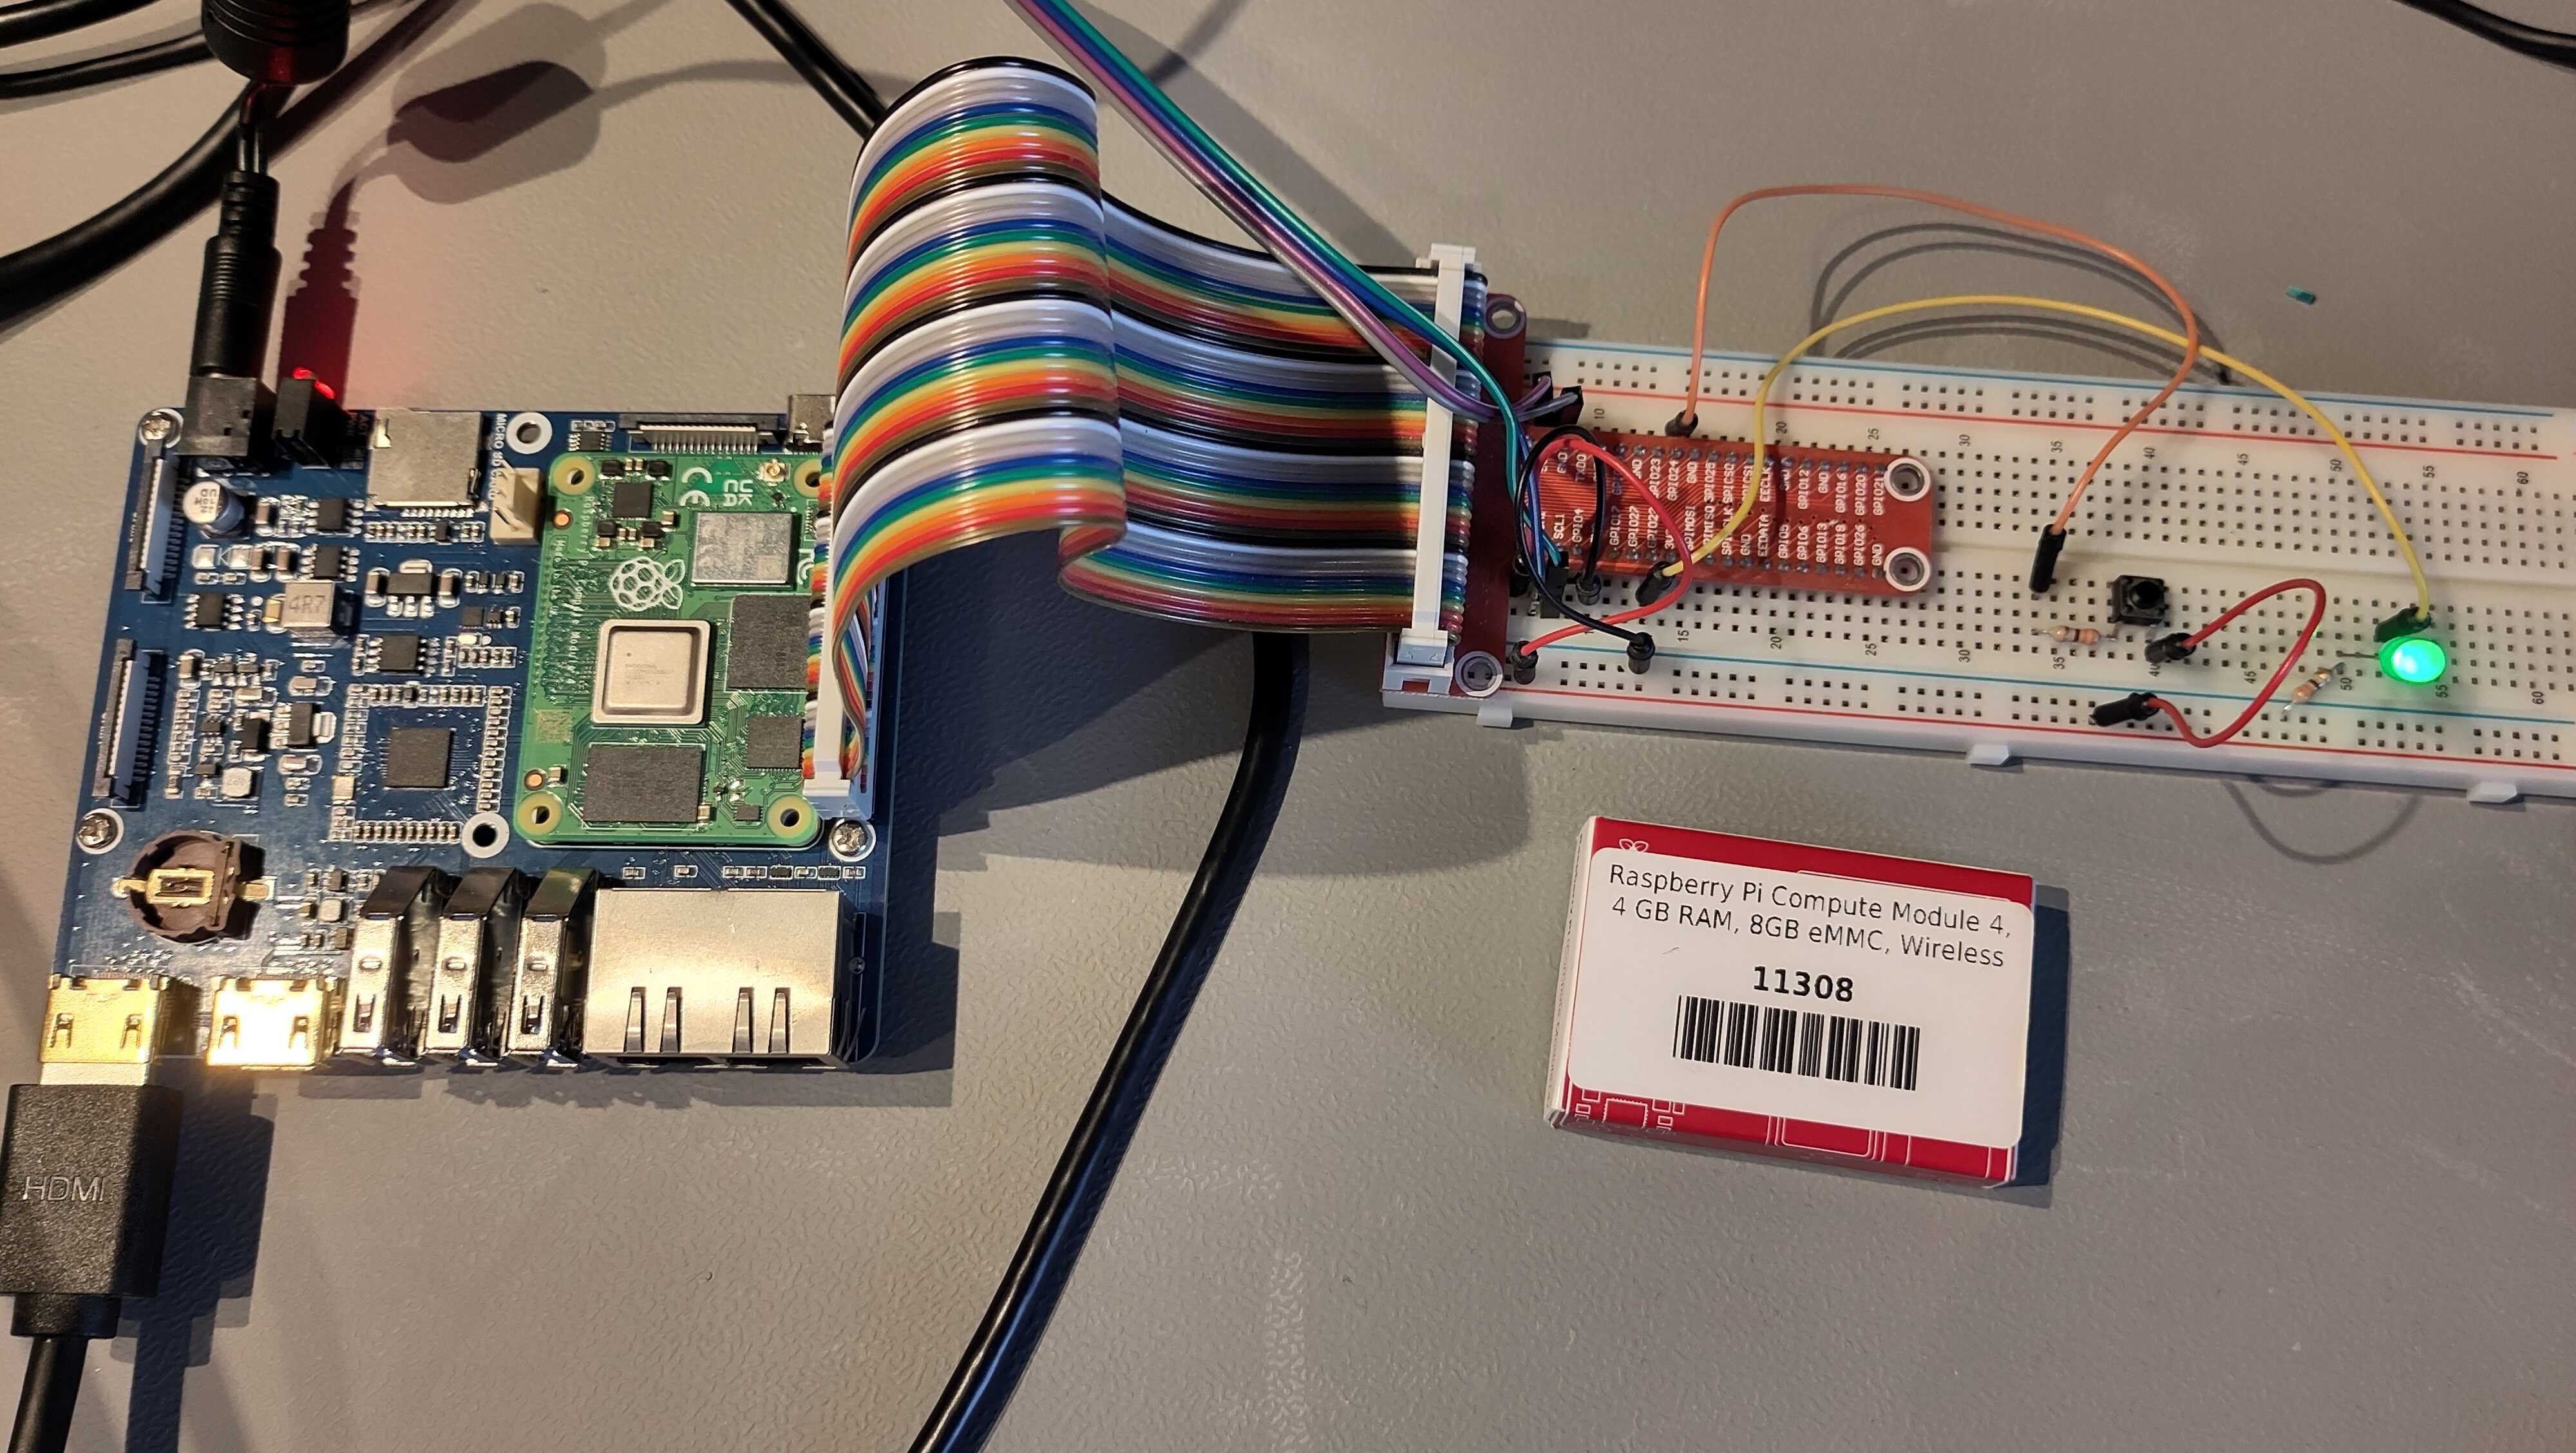
Ofcourse I wanted to know if Pi4J, the friendly object-oriented I/O API and implementation libraries for Java Programmers to access the full I/O capabilities of the Raspberry Pi platform, also works on the Compute Module. I connected the minimal example components, installed Java and Maven with SDKMAN, and ran the application.
$ curl -s "https://get.sdkman.io" | bash
$ source "$HOME/.sdkman/bin/sdkman-init.sh"
$ sdk install java 22.0.2.fx-zulu
$ sdk install maven
$ git clone https://github.com/Pi4J/pi4j-example-minimal.git
$ cd pi4j-example-minimal
$ mvn package
$ cd target/distribution
$ ./run.sh
Although the code worked, I noticed an error in the logs:
[main] INFO com.pi4j.boardinfo.util.BoardInfoHelper - Detected OS: Name: Linux, version: 6.6.31+rpt-rpi-v8, architecture: aarch64
[main] INFO com.pi4j.boardinfo.util.BoardInfoHelper - Detected Java: Version: 22.0.2, runtime: 22.0.2+9, vendor: Azul Systems, Inc., vendor version: Zulu22.32+15-CA
[main] WARN com.pi4j.boardinfo.util.BoardInfoHelper - Sorry, could not detect the board type
[main] INFO com.pi4j.context.impl.DefaultContext - Detected board model: Unknown
It seems the board detector in the Pi4J Core library didn’t recognize this board. This is done based on the output of cat /proc/cpuinfo, and it turned out that code was not defined yet in the library.
$ cat /proc/cpuinfo | grep 'Revision' | awk '{print $3}'
c03141
After some researching, I found on a forum that there are two revisions of these boards, so needed to add those, see this commit:
# BEFORE
COMPUTE_4("Compute Module 4", STACK_ON_COMPUTER,
  Arrays.asList("a03140", "b03140", "c03140", "d03140"),

# AFTER
COMPUTE_4("Compute Module 4", STACK_ON_COMPUTER,
  Arrays.asList("a03140", "b03140", "c03140", "d03140", "a03141", "b03141", "c03141", "d03141"),
With a snapshot build of Pi4J, the correct board is now detected:
[main] INFO com.pi4j.boardinfo.util.BoardInfoHelper - Detected board type COMPUTE_4 by code: c03141
As you can see in the pictures, the LED turns on and off as expected both with the Raspberry Pi and Waveshare Board. The button events are also handled correctly.
Conclusion
I guess the Compute Module is not used often in home and pet projects, but it’s a very small, yet fully functional Raspberry Pi and there are a lot of base boards available for every use case. And with Pi4J and Java its possibilities are endless for all types of projects. It’s also the ideal prototype board to build any product that needs a little Linux computer.