Drumbooth controller with Raspberry Pi, JavaFX, and Arduino
Based on multiple examples from my book “Getting started with Java on Raspberry Pi”, I created a touchscreen controller for the drum booth of my son. Combined with relays boards and an Arduino this allows to control LED strips and different lights with a touch screen interface.
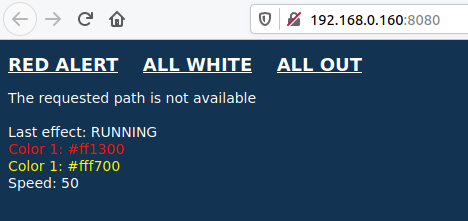
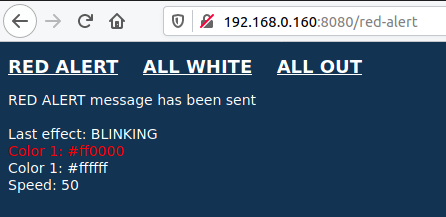
There is also a web server included so we can trigger some events from anywhere in the house through a webpage so we don’t need to yell anymore from down the stairs when food is on the table ;-)
The whole setup is connected after a 220V power switch to turn off everything when the booth is not in use. The Java application automatically starts at power-up of the Pi. One of the 220V lights is connected to the open side of the relay, so there is immediate light when that 220V switch is toggled on.
Material list
- Raspberry Pi 3B+
- Touchscreen, in my case a 7" model
- 2 * SPI stackable relay boards
- Arduino Uno
- WS2812B LED strip
- 5V power supply, depending on the number of LEDs on the strips, in my case this 20A model
- USB cable between Pi and Arduino
- Mounting material, a lot of cables, different lights to connect to the relays
Wiring
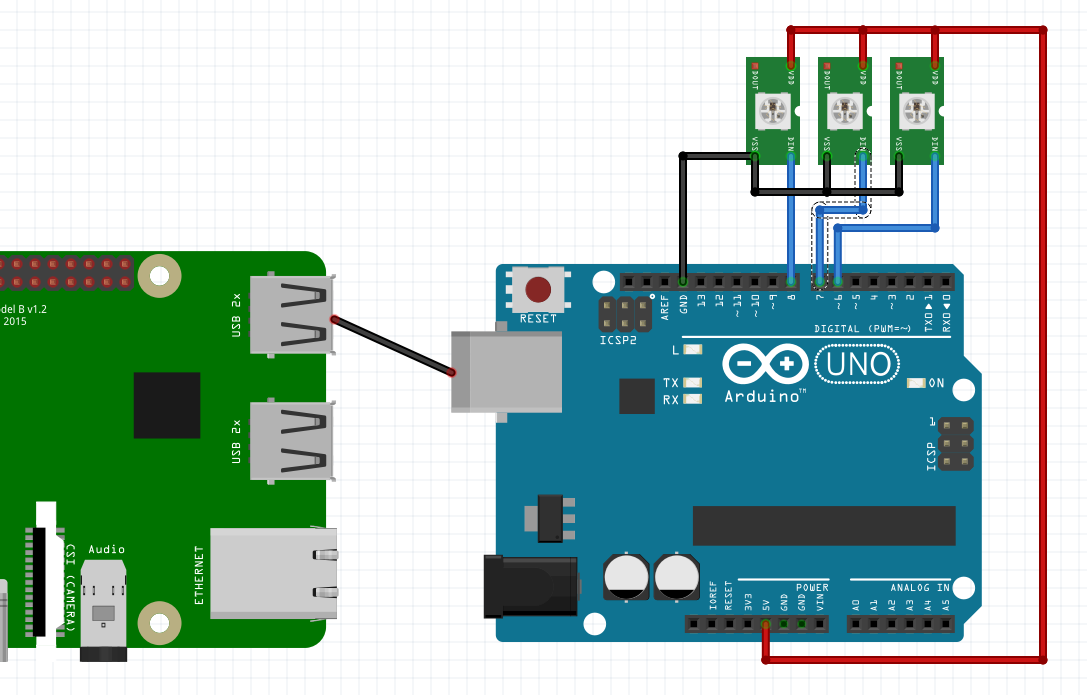
- USB cable between both boards (for serial communication)
- 5V and ground from power supply to Pi, Arduino and LED strips
- Control cable between pins 6, 7 and 8 to each of the three LED strips
Source code
This project is a combination of multiple examples of my book which are all shared in this GitHub project “JavaOnRaspberryPi”. The project itself is also shared on GitHub as “DrumBoothController”.
As it uses both a Raspberry Pi and an Arduino, you’ll find two directories in the sources.
The commands shared between both boards are strings in the structure “COMMAND_ID:SPEED:R1:G1:B1:R2:G2:B2”, where the command ID is one of the following options:

Some examples
- 1:20:255:0:0 = all LEDs fixed full red
- 3:2500:255:0:0:0:0:255 = change all leds from full red to full blue every 2,5 seconds
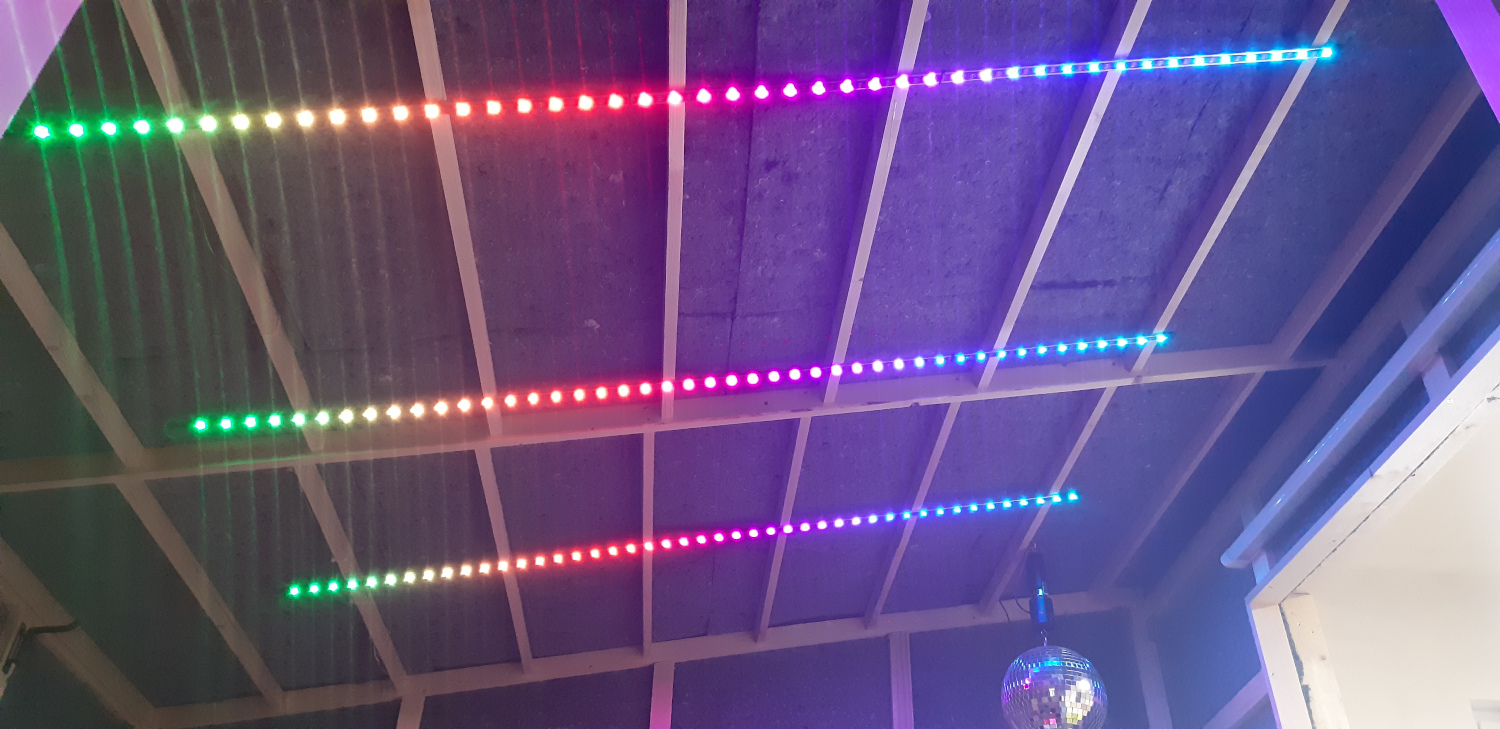
- 5:50:255:0:0:0:0:255 = all leds are blue, and one running led is red for 50 milliseconds
Arduino to control the LED strips
As I’m using three parallel LED strips, I wanted to have the same effect on all three of them. So the code starts with the initialization of the strips.
Adafruit_NeoPixel strip1 = Adafruit_NeoPixel(NUMBER_OF_LEDS, PIN1, NEO_GRB + NEO_KHZ800);
Adafruit_NeoPixel strip2 = Adafruit_NeoPixel(NUMBER_OF_LEDS, PIN2, NEO_GRB + NEO_KHZ800);
Adafruit_NeoPixel strip3 = Adafruit_NeoPixel(NUMBER_OF_LEDS, PIN3, NEO_GRB + NEO_KHZ800);
The communication between both boards is done with a serial link (not Mosquitto as in the book because I only want to use one controller in this case). Therefor in the loop-method the serial data is read and handled.
void loop() {
  checkSerial();
  handleMessage();

  currentLoop++;

  // Only do LED effect when loop exceeds the defined animationSpeed
  if (currentLoop >= animationSpeed) {
    // Depending on the commandId, call the correct LED effect
    if (commandId == 1) {
      setStaticColor();
    } else if (commandId == 2) {
      setStaticFade();
    } else if (commandId == 3) {
      ...
    }

    currentLoop = 0;
  }

  delay(5);
}
Check the GitHub sources for each of the called methods.
Java and JavaFX for the Raspberry Pi
The Java application contains three different screens
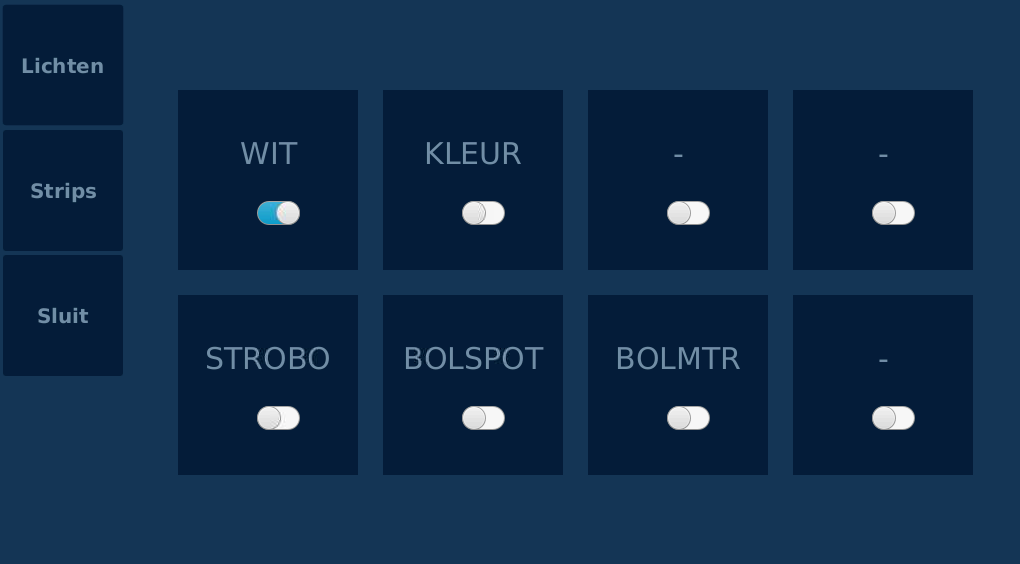
- Relay controller with toggle buttons for the 2 * 4 relays
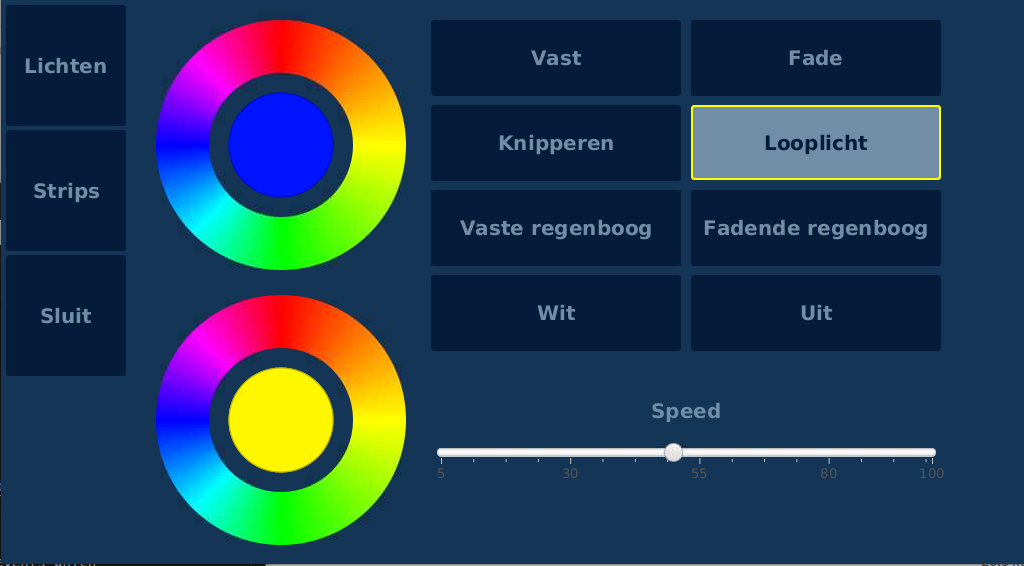
- LED strip controller to select colors and LED effect, using this color selector component from Gerrit Grunwald.
- Exit screen to safely power down the Pi before cutting the power
An EventManager is shared between all UI-components and the Undertow web server handle to align the UI with the events which are triggered through the webpage. This event manager is also where the commands are executed to:
- control the relays with I²C
- send LED commands through serial communication using Pi4J
The following screenshots show the initial state when the running lights were selected on the LED strip UI. The second screenshot shows the state after selecting “red alert” on the web page.
End result
The web and touch screen UI’s side by side. As you can see (from 37"), changes via the web page are immediately visualized in the JavaFX UI.
